
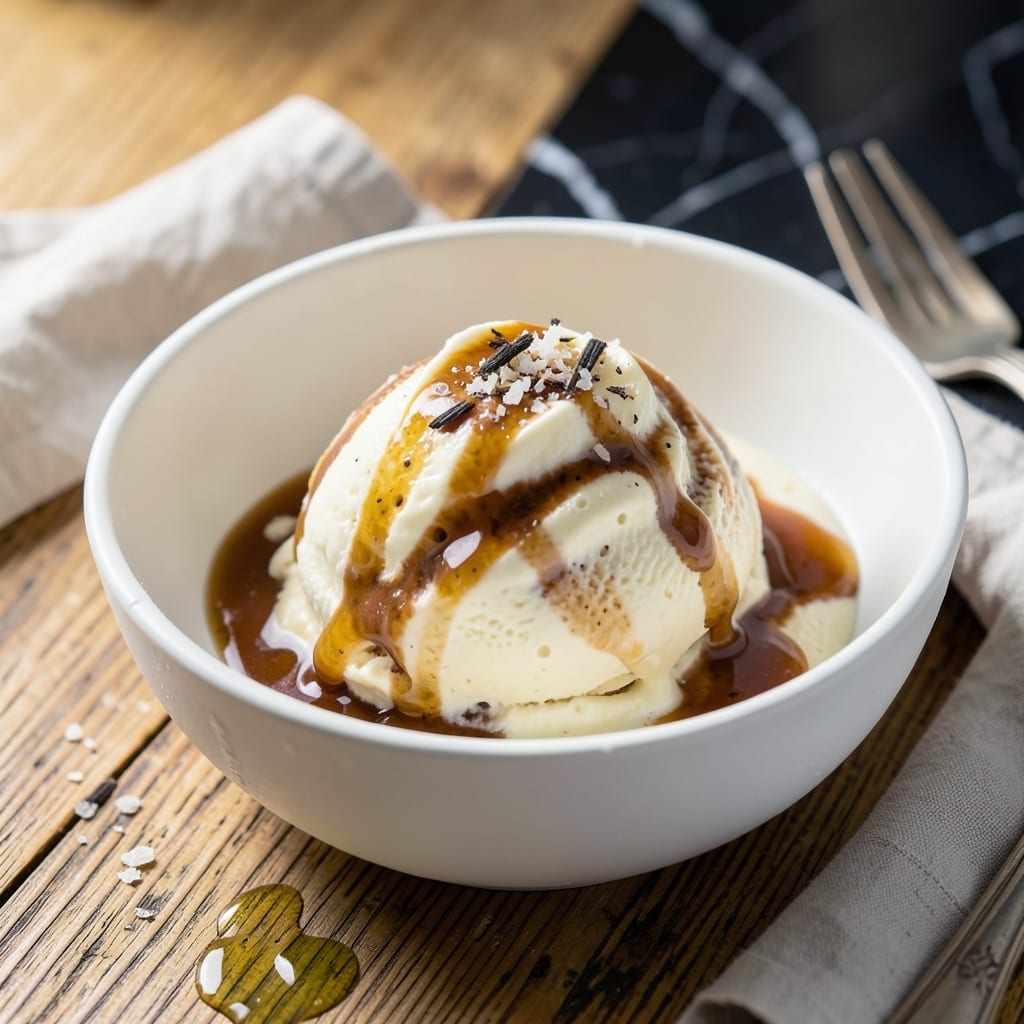
I’ve perfected this no-churn protein ice cream after countless trials, and it’s a game-changer for satisfying sweet cravings without guilt.
With just 3 ingredients and no special equipment, this recipe delivers a silky smooth texture that rivals traditional ice cream. The key is precise mixing and freezing techniques that prevent iciness.
You’ll end up with a creamy, high-protein treat that’s ready in 4 hours—no churning required. It’s the perfect post-workout snack or healthy dessert option.
Customize with your favorite flavors or mix-ins for endless possibilities. Here’s how to make it.
Ingredients for Protein Ice Cream Recipe No Machine
Just five ingredients for a creamy, high-protein frozen treat with zero ice crystals.
| Ingredient | Amount | Notes |
|---|---|---|
| Vanilla Protein Powder 💪 | 2 cups | Whey or plant-based, unflavored or vanilla |
| Frozen Bananas 🍌 | 2 whole | Peeled, sliced, and frozen overnight |
| Unsweetened Almond Milk 🥛 | ½ cup | Or any milk of choice |
| Vanilla Extract 🌿 | 1 tsp | Pure extract for best flavor |
| Salt 🧂 | 0.125 tsp | Enhances all the flavors |
The protein powder is the foundation here. Whey isolate gives the smoothest texture, but plant-based works too—just pick an unflavored or vanilla variety. Optimum Nutrition Gold Standard is my go-to for whey, Orgain if you need vegan. Bananas need to be spotty and ripe before freezing (that’s when they’re sweetest)—slice them first so they’re easier to blend later.
Out of almond milk? Any milk works, even water in a pinch (though it’ll be less creamy). No protein powder? Greek yogurt at 1:1 ratio gets close, but the texture won’t be as light. The vanilla extract is optional, but worth the splash—it rounds out the flavor. If your bananas aren’t sweet enough, a drizzle of honey or maple syrup fixes that (just blend it in).
This keeps 1-2 weeks in the freezer if stored airtight. Let it sit at room temp for 5-10 minutes before scooping—it firms up a lot. Perfect for portioning into containers for grab-and-go snacks.
Why You’ll Love This Recipe
- No Blender Needed: I just throw everything in a bowl, mash the frozen bananas, and stir—no fancy gadgets, no mess.
- Creamy Vanilla Dream: The protein powder and frozen bananas blend into this rich, soft-serve texture that tastes like a dessert, not a workout shake.
- Post-Workout Rescue: Honestly, I make a big batch on Sunday and grab a scoop after the gym all week—no thawing, no fuss.
- Budget-Friendly Treat: A bag of frozen bananas and a scoop of protein powder cost less than a pint of store-bought, and I get way more servings.
Step-by-Step Instructions for Protein Ice Cream No Machine
This no-churn method delivers creamy, dreamy results without any fancy equipment.
Step 1: Soften the Frozen Bananas
Let the frozen bananas sit at room temperature for 5-10 minutes until slightly softened but still cold. You want them to be just pliable enough to blend without seizing up your food processor. If they’re rock hard, the blades will struggle to break them down properly.
I’ve found this brief softening step makes all the difference in achieving that ultra-smooth texture. Don’t let them thaw completely though—you need the cold temperature to create that ice cream consistency. The bananas should still feel icy to the touch but yield slightly when pressed.
Step 2: Blend the Base Ingredients
Add all the frozen bananas, 2 cups Vanilla Protein Powder, 0.5 cup Unsweetened Almond Milk, 1 tsp Vanilla Extract, and 0.125 tsp Salt to your food processor. Start with short pulses to break up the frozen chunks, then transition to continuous blending.
The mixture will initially look crumbly and dry, but keep going. After 30-60 seconds, it should transform into a thick, creamy batter that clings to the sides. Stop and scrape down the bowl as needed—this ensures even blending and prevents pockets of unincorporated powder.
Watch for the texture to become completely smooth with no visible banana chunks. The protein powder will make the mixture thicker than traditional banana ice cream, which is exactly what we want for that premium ice cream mouthfeel.
Step 3: Adjust Consistency and Flavor
Taste the mixture and adjust if needed. If it’s too thick to blend smoothly, add another splash of Unsweetened Almond Milk, 1 tablespoon at a time, until it reaches a soft-serve consistency. Remember that it will firm up slightly in the freezer.
If you prefer a sweeter result, this is the moment to add a natural sweetener, but I find the bananas provide plenty of sweetness. The Vanilla Extract should come through prominently—if it doesn’t, you may need to add another ½ tsp and blend again.
Step 4: Freeze to Perfection
Transfer the mixture to a freezer-safe container, smoothing the top with a spatula. For the creamiest texture, press plastic wrap directly against the surface to prevent ice crystals from forming. This step is crucial for maintaining that silky mouthfeel.
Freeze for at least 4 hours or until completely firm. I recommend letting it set overnight for the best texture. The protein content means it won’t get rock hard like traditional ice cream, but it will hold its shape when scooped. When ready to serve, let it sit at room temperature for 5-10 minutes to soften slightly for easier scooping.
Pro Tips For Making Protein Ice Cream Recipe No Machine
- Freeze Bananas Solid: Use bananas that have been frozen for at least 12 hours—any less and they’ll turn your ice cream slushy instead of creamy. I learned this the hard way after too many sad, soupy batches.
- Add Liquid Slowly: Start with just 1-2 tablespoons of almond milk, then blend and check texture before adding more. Too much liquid is the fastest way to ruin the thickness.
- Pulse the Protein: Blend the bananas first until smooth, then add the protein powder and pulse. This prevents clumps and that weird chalky texture you get when protein powder doesn’t fully dissolve.
- Use Ripe Bananas: The sweeter the banana, the better the flavor—black-spotted ones are ideal. Sounds obvious, but I’ve tried underripe ones and the ice cream tasted bland and starchy.
Pro Cooking Tips for This Recipe
Equipment Essentials
A high-speed food processor is non-negotiable here—I use my Cuisinart 14-Cup and it handles frozen bananas like a dream. A blender works too, but you’ll need to scrape the sides frequently. Avoid small processors; they struggle with the volume.
Precision Timing
Don’t rush the banana softening step. I set a timer for exactly 8 minutes to hit that sweet spot between rock-hard and mushy. The texture changes dramatically in that window. 🌡️
Layered Blending
Start with just bananas and milk, then add protein powder last. This prevents the powder from sticking to the bottom. Pulse 5 times first, then blend continuously. I count to 45 seconds for perfect creaminess.
Container Choice
Use a wide, shallow container for freezing—I prefer glass Pyrex because it conducts cold evenly. Metal can work but may cause the edges to freeze too quickly. Always press plastic wrap directly on the surface.
Temperature Control
Your freezer should be at 0°F or below. If it’s warmer, the ice cream may develop ice crystals. I keep a cheap freezer thermometer in mine to monitor. Let it set for exactly 4 hours before checking. 💡
Scooping Secret
Run your scoop under hot water for 10 seconds before each use. This glides through the protein ice cream effortlessly. I also warm my serving bowls slightly for that perfect soft-serve texture.
Nutrition Facts
Frequently Asked Questions
Can I use a blender instead of a food processor?
Yes, but scrape the sides often. A high-speed blender works, though a food processor gives better texture.
Why does my ice cream turn icy?
Likely due to insufficient blending or skipping the plastic wrap. Press wrap directly on the surface to prevent crystals.
Can I add mix-ins like chocolate chips?
Fold in ¼ cup of mix-ins after blending, before freezing. Nuts or fruit work great too.
How long does it keep in the freezer?
It stays fresh for 1-2 weeks in an airtight container. For best texture, eat within 5 days.

- Pudding Recipe With Egg Yolks: Silky Smooth Custard in Minutes - November 3, 2026
- Pudding Pops Recipe Cook and Serve: Silky Frozen Treats Without the Machine - November 3, 2026
- Protein Ice Cream Recipe Blender Xanthan Gum: Ultra Creamy Texture Without the Guilt - November 3, 2026