
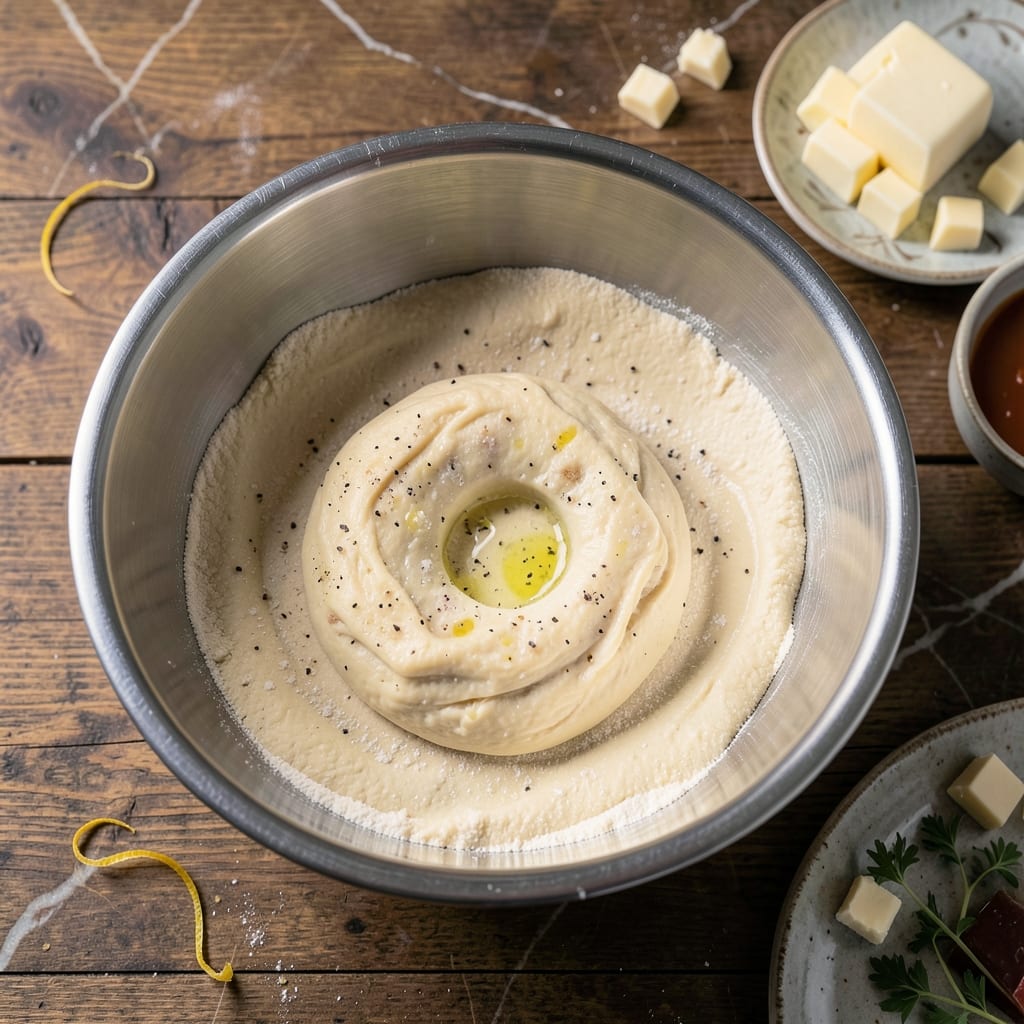
Making flaky puff pastry by hand is entirely achievable without a food processor. The secret lies in proper technique and patience.
This method relies on folding and rolling the dough to create those signature airy layers. Cold butter and precise timing are your best allies for success.
You’ll achieve perfectly golden, crisp pastry with distinct layers that rise beautifully in the oven. The process rewards careful attention to detail.
This recipe proves that traditional techniques still deliver the best results. The hands-on approach gives you complete control over the texture.
Ingredients for Puff Pastry Recipe No Food Processor
Six simple ingredients transform into golden, flaky layers with precise hand technique.
| Ingredient | Amount | Notes |
|---|---|---|
| All-Purpose Flour 🌾 | 2 cups | Plus extra for dusting work surface |
| Unsalted Butter 🧈 | 1 cup | Very cold, cut into small cubes |
| Ice Water 💧 | ½ cup | Plus 1-2 tbsp as needed |
| Fine Sea Salt 🧂 | 1 tsp | Diamond Crystal preferred for consistency |
| Lemon Juice 🍋 | 1 tbsp | Freshly squeezed for acidity |
| Granulated Sugar 🍚 | 1 tsp | Optional for slight sweetness |
The butter must be ice cold—this is non-negotiable for distinct layers. Use European-style unsalted butter (82% fat content) like Plugrá or Kerrygold for superior results. The flour should be all-purpose, not bread flour (too high protein). Weigh your ingredients if possible—250g flour and 225g butter is the ideal ratio for professional-grade pastry.
No food processor? No problem. The hand method actually gives you more control over layer formation. If you must substitute, vegetable shortening works but lacks flavor. For a richer taste, add 1 tbsp vodka to the water—it evaporates during baking, creating extra flakiness. The lemon juice isn’t just for flavor; its acidity strengthens the gluten just enough.
Dough must rest 30 minutes between folds—this relaxes the gluten and keeps the butter cold. Wrap tightly in plastic and refrigerate for up to 3 days, or freeze for 3 months. Thaw frozen dough in the fridge overnight before using to prevent butter from melting prematurely.
Why You’ll Love This Recipe
- No Fancy Tools: I can make flaky layers without dragging out the food processor—just my hands, a bowl, and those cold butter cubes.
- Buttery Crisp: The salt and lemon juice cut through the richness, balancing that golden, crisp puff perfectly.
- Endless Uses: I’ve turned one batch into turnovers, tarts, and even a quick pie topping for dessert.
- Budget Win: All-purpose flour and butter are pantry staples, and this makes way more than store-bought for half the cost.
Step-by-Step Instructions for Puff Pastry No Food Processor
Master the art of hand-laminated dough with this precise, time-tested technique for perfect layers.
Step 1: Prepare the Détrempe Dough Base
In a large mixing bowl, combine the 2 cups All-Purpose Flour, 1 tsp Fine Sea Salt, and 1 tsp Granulated Sugar. Create a well in the center and add the ½ cup Ice Water and 1 tbsp Lemon Juice.
Using a wooden spoon, gradually incorporate the flour into the wet ingredients until a shaggy dough forms. The lemon juice tenderizes the gluten slightly while the ice water keeps everything cool, which is critical for flaky layers.
Turn the dough onto a lightly floured surface and knead gently for 2-3 minutes just until smooth—overworking will develop too much gluten, making the pastry tough rather than tender.
Step 2: Chill the Dough and Prepare the Butter Block
Shape the dough into a 6-inch square, wrap it tightly in plastic wrap, and refrigerate for 30 minutes. Meanwhile, arrange the 1 cup Unsalted Butter cubes on a piece of parchment paper, shaping them into a 6-inch square as well.
Fold the parchment over the butter and gently pound it with a rolling pin to form a uniform block. The butter must remain cold but pliable—if it softens, chill it for 10 minutes before proceeding. This butter block, called the “beurrage,” is the key to creating those distinct flaky layers.
Step 3: Encase the Butter and Begin Laminating
Roll out the chilled détrempe on a lightly floured surface into a 10-inch square. Place the butter block diagonally in the center, with each corner pointing toward the middle of the dough’s edges.
Fold the dough corners over the butter to completely encase it, sealing the edges tightly. You should now have a neat package. Lightly flour the surface and roll this out into a 20×10-inch rectangle, ensuring the butter stays fully enclosed and doesn’t break through the dough.
Step 4: Perform the Turns for Perfect Layers
Fold the rectangle in thirds like a business letter (this is called a “single turn”). Wrap the dough in plastic and chill for 20 minutes. Repeat this rolling and folding process three more times, chilling for 20 minutes between each turn.
After the fourth turn, you’ll have created 48 layers of butter and dough. The chilling periods are essential—they relax the gluten and prevent the butter from melting into the dough, which would ruin the flakiness. You’ll see the dough becoming smoother and more elastic with each turn.
After the final turn, wrap the dough tightly and refrigerate for at least 1 hour before using. This resting period ensures the layers set properly, making it easier to roll out for your final application.
Pro Tips For Making Puff Pastry Recipe No Food Processor
- Chill the Butter: Cut your unsalted butter into small cubes and refrigerate for 30 minutes before starting—I learned this the hard way after my first three attempts turned into greasy flatbread.
- Ice Water Only: Use truly ice-cold water (I float ice cubes in mine) to keep the dough from getting warm as you work it, which is the thing that matters most for those flaky layers.
- Skip the Overworking: Fold and turn your dough just enough—about 4-6 turns total—because after ruining two batches by over-handling, I finally figured out less is more.
- Rest Between Folds: Give your dough a 15-20 minute rest in the fridge between folds, even if you’re impatient like me—your future layers will thank you.
Make-Ahead Tips for puff pastry recipe no food processor
Overnight Chill
After completing all turns, wrap your dough tightly in plastic wrap and refrigerate overnight. This extended rest allows the gluten to fully relax and the butter to firm up, making it easier to roll out for your final use. I always do this step—it makes a noticeable difference in texture. ❄️
Freezing for Later
For long-term storage, wrap the dough in plastic wrap and then place it in a freezer bag. It will keep for up to 3 months. When ready to use, thaw it overnight in the fridge—never at room temperature, as this can cause the butter to separate.
Divide for Convenience
If you plan to use the dough for multiple applications, divide it into portions before the final chill. I typically split mine into 4 equal pieces, each wrapped individually. This way, you can use one portion at a time without thawing the entire batch.
Pre-Roll for Quick Use
Roll out the dough to your desired thickness before chilling or freezing. For example, if you’re making pastries, roll it to ⅛-inch thickness, then layer with parchment and freeze. This saves time when you’re ready to bake—just cut and shape as needed.
Reviving Chilled Dough
When taking dough from the fridge, let it sit at room temperature for 10-15 minutes before rolling. This slight softening makes it more pliable. If it’s too cold, it may crack; if too warm, the butter will start to melt. 💡
Check for Readiness
Test the dough by pressing your finger into it lightly. If the indentation springs back slowly, it’s ready to roll. If it springs back too quickly, it needs more rest time. This simple test ensures you won’t overwork the dough.
Nutrition Facts
Frequently Asked Questions
Why is cold butter essential for this method?
Cold butter creates distinct layers that expand during baking. If it melts prematurely, it will blend into the dough, resulting in a dense texture instead of flaky layers. Keep it chilled between folds for best results.
How many folds are needed for flaky results?
Four single turns (folding in thirds) create 48 layers. Each turn multiplies the layers, so don’t skip the chilling steps between folds. Patience ensures the perfect rise.
Can I use a stand mixer instead of hand-mixing?
Yes, but use the paddle attachment and mix just until combined. Overmixing develops too much gluten. The hand method gives you better control over texture and layer formation.
What’s the best way to store unused dough?
Wrap tightly in plastic wrap and refrigerate for up to 3 days. For longer storage, freeze for up to 3 months. Thaw overnight in the fridge before using.

- Pudding Recipe With Egg Yolks: Silky Smooth Custard in Minutes - November 3, 2026
- Pudding Pops Recipe Cook and Serve: Silky Frozen Treats Without the Machine - November 3, 2026
- Protein Ice Cream Recipe Blender Xanthan Gum: Ultra Creamy Texture Without the Guilt - November 3, 2026