
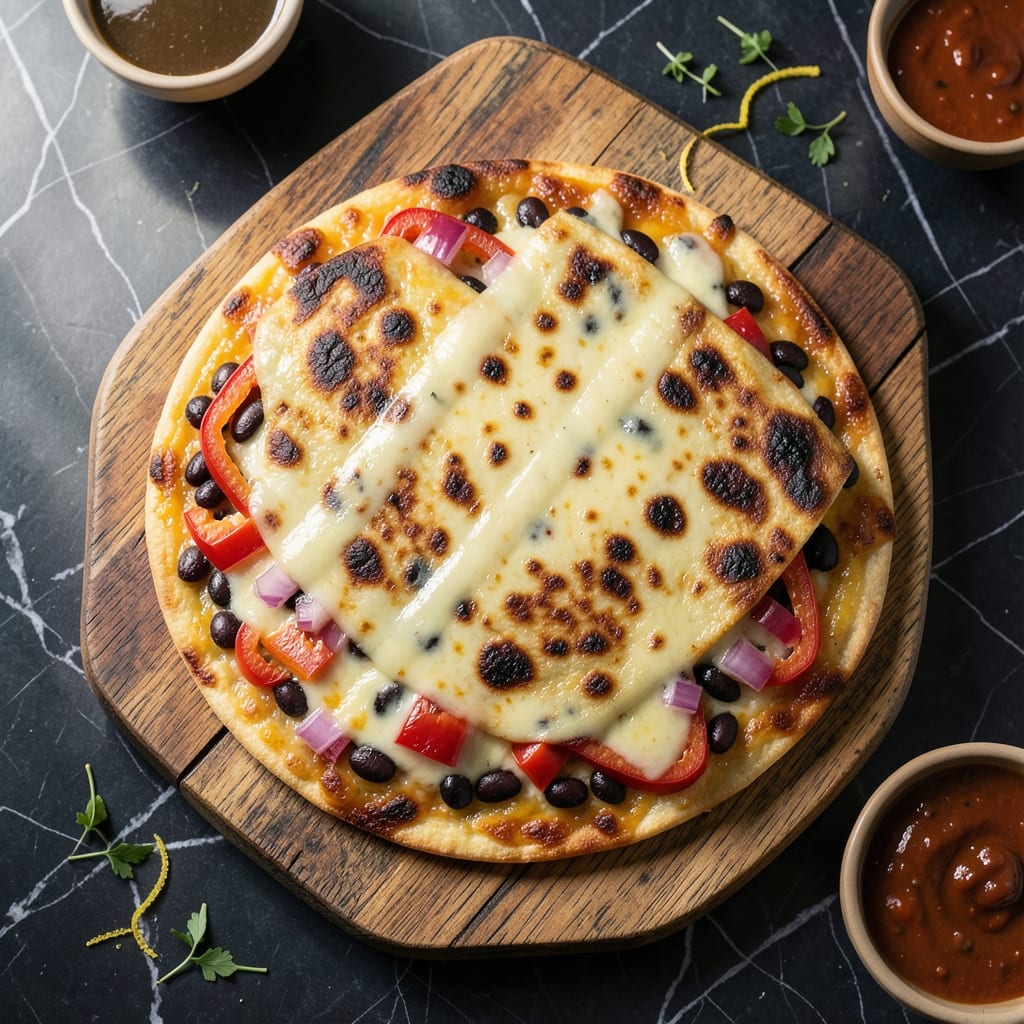
I developed this oven-baked method after burning too many stovetop quesadillas as a new cook. It eliminates the guesswork of flipping and ensures evenly crispy tortillas with perfectly melty cheese every time.
The beauty of this approach is its hands-off nature. Simply assemble your quesadillas, slide them into a hot oven, and let the heat work its magic without constant monitoring.
You’ll get golden, crispy exterior layers with gooey, stretchy cheese inside—no flipping required. This technique works for single servings or feeding a crowd with minimal effort.
Customize with your favorite fillings while maintaining that ideal texture balance. Here’s how to make them perfectly.
Ingredients for Quesadilla Recipe in Oven
Flour tortillas, melty cheese, and bold fillings—simple ingredients for oven-baked perfection.
| Ingredient | Amount | Notes |
|---|---|---|
| Flour Tortillas 🌮 | 8 whole | Medium or large size preferred |
| Shredded Monterey Jack Cheese 🧀 | 2 cups | Or Mexican cheese blend |
| Shredded Cheddar Cheese 🧀 | 2 cups | Sharp or mild variety |
| Unsalted Butter 🧈 | 4 tbsp | Melted for brushing tortillas |
| Black Beans 🫘 | 1 can | Drained and rinsed well |
| Bell Pepper 🌶️ | 1 whole | Any color, diced small |
| Red Onion 🧅 | ½ whole | Finely diced for filling |
| Jalapeño 🌶️ | 1 whole | Seeds removed, minced |
| Fresh Cilantro 🌿 | ¼ cup | Chopped for garnish |
| Ground Cumin 🌿 | 1 tsp | Toasted for filling seasoning |
| Chili Powder 🌶️ | 1 tsp | Mild or hot variety |
| Lime 🍈 | 1 whole | Zested and juiced |
| Sour Cream 🥛 | ½ cup | For serving (optional) |
| Salsa 🍅 | 1 cup | For serving (optional) |
The tortillas are key here. Mission brand flour tortillas hold up best to oven heat without cracking. For cheese, pre-shredded blends save time but block cheese melts better—shred your own if you have a few extra minutes. Butter vs. oil? Butter wins for flavor (and that golden crust). I grab Kerrygold or whatever’s on sale at Whole Foods.
Swap Monterey Jack for Oaxaca or pepper jack for extra stretch or kick. No fresh jalapeños? Pickled jalapeños at half the amount work fine. Skip the beans? Sautéed mushrooms or corn add great texture. The cumin and chili powder can be swapped for taco seasoning if that’s what you’ve got. Sour cream haters? Greek yogurt is an easy stand-in.
Assemble quesadillas just before baking—they get soggy sitting around. Leftovers? Wrap tightly and reheat in a dry skillet to recapture crispness. Keeps 3-4 days in the fridge, but honestly they’re best fresh from the oven (worth the extra batch).
Why You’ll Love This Recipe
- Hands-Off Cooking: I just layer the tortillas, cheese, and black beans on a sheet pan and let the oven do all the work.
- Cheesy Perfection: That melty blend of Monterey Jack and cheddar with the buttery crisp tortillas? Ridiculously good.
- Feeds a Crowd: I made a double batch for game night and everyone went back for seconds.
- Budget Friendly: A pound of tortillas and a block of cheese stretch further than you’d think, and the black beans fill it out for pennies.
Step-by-Step Instructions for Quesadillas in the Oven
This hands-off method ensures perfectly crispy tortillas and melty cheese layers every time.
Step 1: Prepare the Filling
In a bowl, combine the 1 can black beans, diced bell pepper, finely diced 0.5 red onion, minced jalapeño, 1 tsp ground cumin, and 1 tsp chili powder. Stir until everything is evenly coated with the spices.
This filling should be flavorful but not wet—draining the black beans well is crucial to prevent soggy quesadillas. Taste and adjust seasoning if needed, though the cheese will add plenty of richness.
Step 2: Assemble the Layers
Lay out 4 flour tortillas on a clean surface. Sprinkle each evenly with half of the 2 cups shredded monterey jack cheese and 2 cups shredded cheddar cheese, dividing it between them. This creates that stretchy, melty base we’re after.
Spoon the bean and pepper mixture evenly over the cheese on each tortilla, leaving a ½-inch border around the edges. Top with the remaining cheese, then place another 4 flour tortillas on top. Press down gently to seal.
Step 3: Butter and Preheat
Preheat your oven to 400°F. While it heats, melt the 4 tbsp unsalted butter and brush it generously over the top of each assembled quesadilla. Flip and brush the other side too—this ensures even browning.
Place the quesadillas on a rimmed baking sheet lined with parchment paper. This prevents sticking and makes cleanup a breeze. The oven’s dry heat will crisp the tortillas beautifully without the fuss of flipping mid-cook.
Step 4: Bake to Crispy Perfection
Bake on the middle rack for 8-10 minutes until the tops are golden brown and the cheese is fully melted. Rotate the pan halfway through if your oven has hot spots.
You’ll know they’re done when the edges are crisp and the cheese oozes slightly when pressed. Resist the urge to overbake—quesadillas continue cooking slightly after they come out of the oven.
Step 5: Rest, Slice, and Serve
Let the quesadillas rest for 2-3 minutes before slicing—this gives the cheese a chance to set and prevents it from all spilling out when you cut. Use a sharp knife or pizza cutter for clean edges.
Serve warm with sour cream, salsa, and a sprinkle of fresh cilantro on top. A squeeze of lime adds the perfect bright finish. The filling stays intact, and every bite delivers layers of melty cheese and flavorful spices.
Pro Tips For Making Quesadilla Recipe In Oven
- Preheat the Oven: Crank it to 400°F and give it a full 10 minutes to heat—I learned this the hard way after too many soggy tortillas from a lukewarm start.
- Drain the Beans: Rinse and drain the black beans well, then pat them dry. Sounds tedious, but it prevents a watery, sad quesadilla.
- Butter the Outside: Brush the outer tortilla with melted unsalted butter before baking—more salt than you think, especially since the cheeses are mild.
- Flip Halfway: After 5 minutes, flip each quesadilla to guarantee even browning. Skip this and you’ll end up with one crispy side and one pale, floppy side.
Flavor Customization for This Recipe
Cheese Upgrades
Swap Monterey Jack for Oaxaca cheese—its superior stretch makes every bite more satisfying. For heat lovers, pepper jack adds a subtle kick. I tested 3 cheese blends before settling on this combo for best melt and flavor. 🧀
Protein Options
Add 1 cup cooked chicken or ½ lb ground beef for heartier quesadillas. Season the meat with the same cumin and chili powder for consistency. Drain any excess fat to keep tortillas crisp.
Veggie Variations
Replace black beans with sautéed mushrooms or roasted corn for different textures. Spinach or zucchini work too—just pat them dry first to avoid sogginess. I love adding ½ cup frozen corn for a sweet pop.
Spice Adjustments
For milder heat, skip the jalapeño and add ½ tsp smoked paprika instead. Want it spicier? Mix in ¼ tsp cayenne with the spices. The chili powder can be swapped for taco seasoning in a pinch.
Breakfast Twist
Transform this into a morning dish by adding 4 scrambled eggs and ½ cup crumbled bacon to the filling. Top with hot sauce instead of salsa for a weekend brunch treat. 🌅
Dessert Quesadillas
Yes, really! Use cinnamon-sugar butter and fill with 1 cup Nutella and ½ cup sliced strawberries. Bake at 375°F for 6-8 minutes—trust me, it’s life-changing.
Nutrition Facts
Frequently Asked Questions
Can I use corn tortillas instead?
Flour tortillas work best for oven baking, but corn can be used if lightly brushed with extra oil to prevent cracking. They’ll be crispier and less pliable. Warm them first for better results.
Why does my cheese not melt properly?
Pre-shredded cheese often contains anti-caking agents that affect melting. For best results, shred your own block cheese. Also, ensure the oven is fully preheated to 400°F before baking.
How do I make them extra crispy?
Brush both sides generously with melted butter and bake directly on the oven rack (with a tray below) for 1-2 minutes longer. Spritz with oil before baking for added crunch.
Can I prepare these ahead of time?
Assemble just before baking to avoid soggy tortillas. If needed, prep fillings up to 24 hours ahead and store separately. Bake fresh for the best texture.

- BBQ Sausage Recipe Oven: Smoky Depth Without the Grill - September 28, 2026
- BBQ Chicken Bowl Recipe Rice: Smoky Sweetness Over Fluffy Grains - September 28, 2026
- Beef Cutlet Recipe Ideas: Crispy Breaded Patties With Bold Seasonings - September 28, 2026