
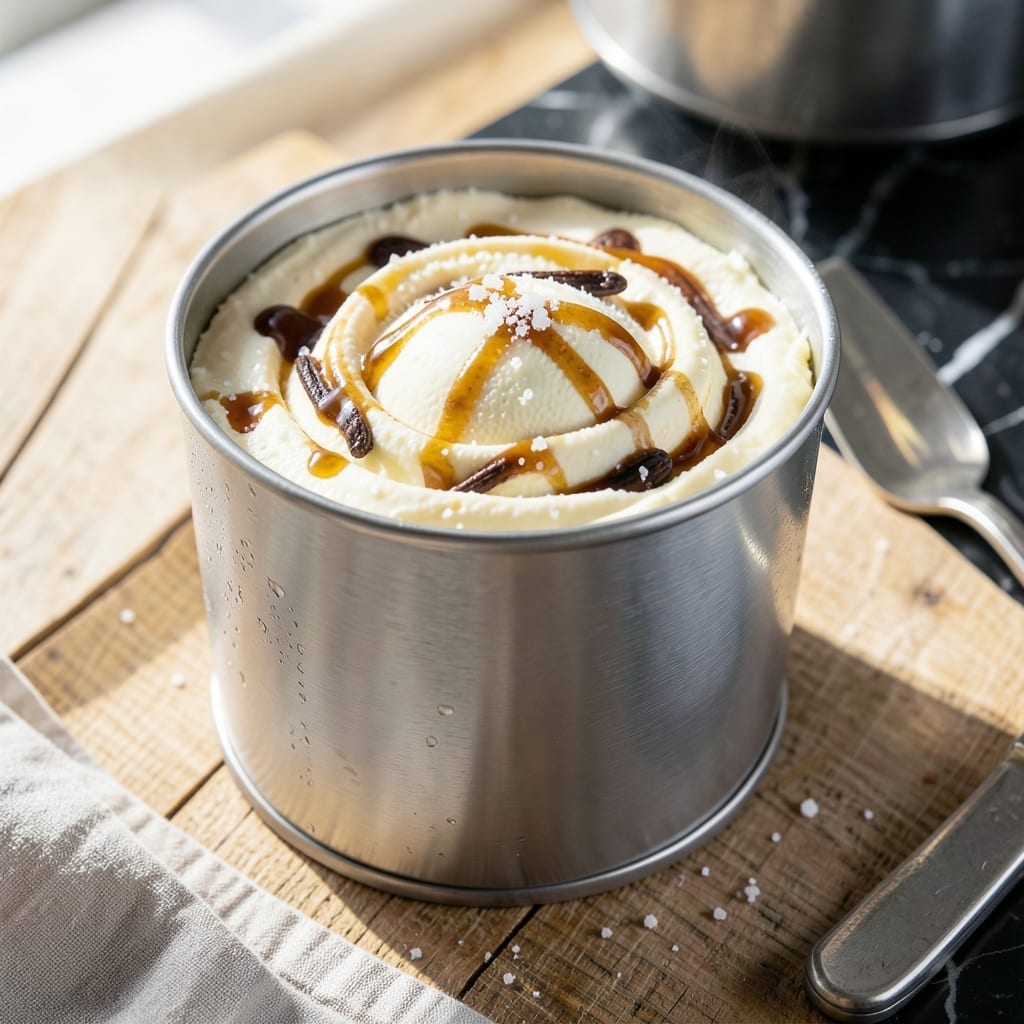
There’s nothing like creamy homemade ice cream fresh from the churn. This method maximizes your 6-quart machine’s capacity for smooth, rich results every time.
By pre-chilling the base and churning at the right speed, you’ll achieve that perfect velvety texture. No store-bought tub compares to this homemade quality.
Ingredients for Recipe for 6 Quart Ice Cream Maker
Ten ingredients transform into the creamiest homemade ice cream your machine can handle.
| Ingredient | Amount | Notes |
|---|---|---|
| Heavy Whipping Cream 🥛 | 4 cups | Full-fat for rich texture |
| Whole Milk 🥛 | 2 cups | Cold, for smooth base |
| Granulated Sugar 🍚 | 1 ½ cups | Fine grain for quick dissolving |
| Pure Vanilla Extract 🌿 | 2 tbsp | Real vanilla, not imitation |
| Large Egg Yolks 🥚 | 6 whole | Room temperature for best results |
| Table Salt 🧂 | ½ tsp | Enhances all flavors |
| Sweetened Condensed Milk 🥛 | 1 can | 14 oz can, for creaminess |
| Vanilla Bean 🌿 | 1 whole | Split and scraped (optional) |
| Half-and-Half 🥛 | 1 cup | Balances richness and creaminess |
| Unsalted Butter 🧈 | 2 tbsp | Melted for smooth texture |
The heavy cream is non-negotiable here. Whole Foods or Costco have the best quality at reasonable prices. Look for cream with at least 36% fat content (check the label)—anything less won’t churn properly. The egg yolks add richness, so use pasture-raised if possible. I always grab mine from the farmers market when I can. The vanilla? Splurge on Nielsen-Massey or make your own—it’s worth it.
No heavy cream? Full-fat coconut milk at a 1:1 ratio works for a dairy-free version, but texture changes. Out of egg yolks? Cornstarch slurry can thicken, but it’s not the same. The sweetened condensed milk is the secret to ultra-creamy results—Eagle Brand is my go-to. Want chocolate ice cream? Add melted chocolate to the base before churning (about 8 oz).
The base keeps in the fridge for 24 hours before churning—great for prepping ahead. Once churned, ice cream stays fresh for 1 week in an airtight container. Freeze leftovers in portions for up to 3 months. Press plastic wrap directly on the surface to prevent ice crystals.
Why You’ll Love This Recipe
- One Bowl Wonder: I just whisk the egg yolks, sugar, and vanilla in one bowl, then mix in the cream and milk—no fancy steps.
- Velvety Vanilla: The heavy cream and egg yolks make it so rich, it tastes like a premium scoop from my favorite parlor.
- Crowd Pleaser: Six quarts means I can feed a whole birthday party or stock my freezer for weeks.
- Budget Friendly: Honestly, it costs less than half what store-bought premium ice cream runs me for the same amount.
Step-by-Step Instructions for 6 Quart Ice Cream Maker
Here’s the method. Straightforward, tested, works every time.
Step 1: Heat the Dairy Base
In a heavy saucepan, combine the 4 cups Heavy Whipping Cream, 2 cups Whole Milk, and 1 cup Half-and-Half over medium heat. Stir occasionally with a silicone spatula to prevent scalding, especially around the edges where milk solids tend to stick.
Heat the mixture until small bubbles form around the edges and steam rises from the surface—the temperature should reach about 170°F but not boil. This gentle heating ensures the dairy won’t curdle while fully dissolving the fat for a smooth base.
Step 2: Temper the Egg Yolks with Sugar
While the dairy warms, whisk the 6 whole Large Egg Yolks and 1.5 cups Granulated Sugar in a large bowl until pale and slightly thickened, about 2 minutes. The sugar helps stabilize the yolks, preventing them from scrambling when they meet the hot liquid.
Once the dairy mixture is hot, slowly pour about 1 cup of it into the yolk mixture while whisking constantly. This tempering step gradually raises the egg temperature, ensuring a silky custard rather than sweet scrambled eggs.
Step 3: Cook the Custard to Thickness
Pour the tempered yolk mixture back into the saucepan with the remaining dairy. Add the 0.5 tsp Table Salt and 2 tbsp Unsalted Butter. Cook over medium-low heat, stirring constantly, until the custard thickens enough to coat the back of a spoon—about 8-10 minutes.
Watch for the mixture to reach 175-180°F on an instant-read thermometer. At this point, it should leave a clear path when you run a finger through it on the spoon. Don’t rush this step—proper thickening now means a creamier texture later.
Step 4: Infuse and Chill the Base
Remove the custard from heat and stir in the 2 tbsp Pure Vanilla Extract and 1 can Sweetened Condensed Milk. If using the 1 whole Vanilla Bean, split it, scrape the seeds into the custard, and add the pod for extra infusion while it cools.
Strain the custard through a fine-mesh sieve into a clean bowl to remove any cooked bits of egg or vanilla pod. Press plastic wrap directly onto the surface to prevent a skin from forming, then refrigerate until completely cold—4 hours or overnight. Chilling is non-negotiable for smooth, creamy results.
Once chilled, pour the base into your 6-quart ice cream maker and churn according to the manufacturer’s instructions, typically 25-30 minutes, until thick and creamy, resembling soft-serve. Transfer to a lidded container and freeze for at least 4 hours to firm up before serving.
Pro Tips For Making Recipe For 6 Quart Ice Cream Maker
- Temper the Yolks: Slowly whisk about a cup of the hot cream mixture into the egg yolks before combining everything—this prevents scrambled eggs in your custard. I learned this the hard way after ruining a batch with lump-filled custard.
- Chill Thoroughly: Let the custard cool completely in the fridge, at least 4 hours or overnight. Skipping this step gives you icy, uneven ice cream instead of that smooth, creamy texture.
- Use Full-Fat Dairy: Splurge on the heavy cream and whole milk—low-fat versions won’t give you the rich, velvety base this recipe needs. Sounds obvious, but I tried cutting corners once and regretted it.
- Pre-Freeze the Bowl: Make sure your ice cream maker’s bowl is fully frozen (24 hours is best). A lukewarm bowl turns your custard into soup before it even starts churning.
Common Mistakes When Making Great recipe for 6 quart ice cream maker
Skipping the Chill
Never pour warm custard into your machine. I learned this the hard way—it won’t freeze properly and can damage the motor. Always chill the base for at least 4 hours, or overnight for best results. Patience here means creamy, not icy, texture. ❄️
Overfilling the Machine
Your 6-quart maker needs room to churn. Fill it only ¾ full—this allows the paddles to aerate the base properly. Overfilling leads to poorly churned, dense ice cream that never reaches the right consistency.
Using Cold Ingredients
Room-temperature yolks blend smoothly into warm dairy. If you use cold eggs straight from the fridge, they’ll seize up and create lumps. Take them out 30 minutes before starting—this small step prevents a scrambled egg disaster.
Rushing the Churn
Don’t check the progress every 5 minutes. Resist the urge! Opening the lid lets warm air in, which slows freezing and can create ice crystals. Let it run the full 25-30 minutes for that perfect soft-serve consistency.
Ignoring Add-Ins
Mix-ins like chocolate chips or nuts should go in during the last 5 minutes of churning. Adding them too early means they’ll sink to the bottom. If they’re cold from the fridge, warm them slightly first to prevent freezing the base prematurely.
Skipping the Sieve
Always strain your custard after cooking. This removes any cooked egg bits or vanilla pod fragments, ensuring silky-smooth ice cream. I use a fine-mesh sieve—it’s a game-changer for texture. 💡
Frequently Asked Questions
How long should I chill the base before churning?
Chill the custard for at least 4 hours, but overnight is even better. This ensures the mixture is completely cold for smooth, creamy results.
Can I make a smaller batch in a 6-quart machine?
Yes, but fill the machine at least ½ full for proper churning. Too little base won’t aerate correctly, leading to dense ice cream.
Why is my ice cream icy instead of creamy?
This usually happens if the base wasn’t cold enough before churning or if you skipped straining. Always chill thoroughly and strain for silky texture.
When should I add mix-ins like chocolate chips?
Add them during the last 5 minutes of churning. This prevents them from sinking to the bottom.
Nutrition Facts

- BBQ Sausage Recipe Oven: Smoky Depth Without the Grill - September 28, 2026
- BBQ Chicken Bowl Recipe Rice: Smoky Sweetness Over Fluffy Grains - September 28, 2026
- Beef Cutlet Recipe Ideas: Crispy Breaded Patties With Bold Seasonings - September 28, 2026