
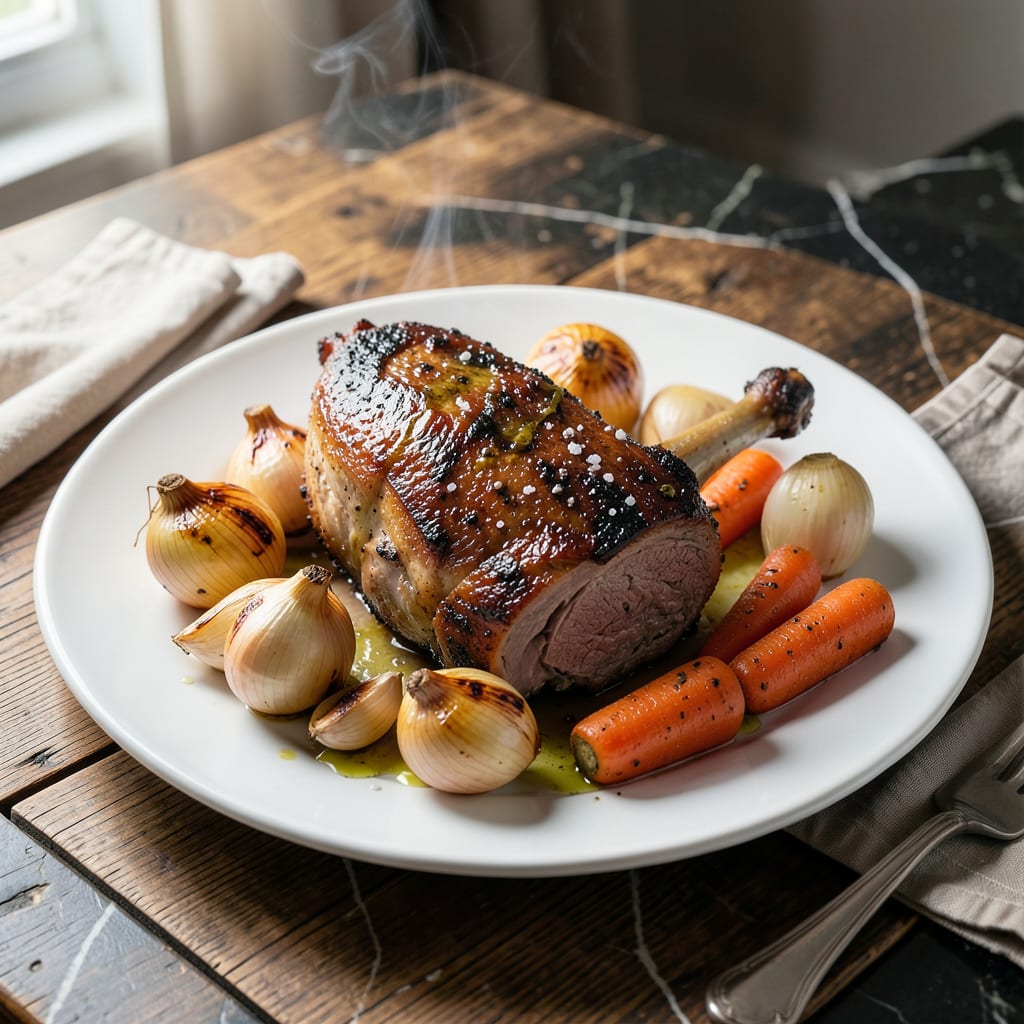
This arm roast recipe delivers melting tenderness through a slow-cooked method that transforms tough cuts into succulent perfection.
With simple seasoning and patient cooking, the meat becomes fork-tender while developing rich, deep flavors that define traditional comfort food.
Ingredients for Recipe for Arm Roast
Transform tough cuts into succulent perfection with these carefully selected ingredients for slow-cooked excellence.
| Ingredient | Amount | Notes |
|---|---|---|
| Beef Arm Roast 🥩 | 3 lb | Chuck arm roast preferred |
| Kosher Salt 🧂 | 2 tsp | Diamond Crystal brand preferred |
| Freshly Ground Black Pepper 🌶️ | 1 tsp | Coarse grind recommended |
| Garlic Cloves 🧄 | 6 cloves | Peeled and smashed |
| Yellow Onion 🧅 | 2 whole | Medium-sized, quartered |
| Carrots 🥕 | 3 whole | Large, cut into chunks |
| Celery Stalks 🌿 | 3 pieces | Cut into 2-inch pieces |
| Beef Broth 💧 | 2 cups | Low-sodium preferred |
| Red Wine 🍷 | 1 cup | Dry variety recommended |
| Tomato Paste 🍅 | 2 tbsp | For depth of flavor |
| Dried Thyme 🍃 | 1 tsp | Crushed for better release |
| Bay Leaves 🌿 | 2 pieces | Dried, whole |
| Olive Oil 🫒 | 2 tbsp | For searing roast |
| All-Purpose Flour 🌾 | 2 tbsp | For thickening gravy |
The beef arm roast is the foundation here. Chuck arm roast offers the ideal marbling for slow cooking, ensuring that melting tenderness the recipe promises. Source from Whole Foods or Costco for quality cuts, or ask your butcher to recommend a well-marbled piece. Look for meat with a bright red color and visible fat streaks—this guarantees flavor and moisture during the long cooking process.
No red wine on hand? Substitute with an extra cup of beef broth plus 1 tbsp balsamic vinegar for similar depth. Fresh thyme can replace dried at triple the amount, though dried works perfectly fine. For the broth, Better Than Bouillon or Swanson are reliable brands. If tomato paste feels wasteful, those Trader Joe’s squeeze tubes are a game-changer—no waste, and they keep indefinitely.
Arm roast tastes even better the next day. Store leftovers in the fridge for up to 4 days or freeze for 3 months. Always slice against the grain when serving for maximum tenderness. The gravy thickens as it cools—reheat with a splash of broth to restore its silky consistency.
Why You’ll Love This Recipe
- Set It and Forget: I just season, sear, and let the oven do the work for hours while I do literally anything else.
- Garlic Onion Magic: The garlic cloves and yellow onion melt into the beef, creating a rich, savory depth that’s seriously hard to beat.
- Feeds the Whole Crew: One arm roast stretches to feed my family of five with leftovers for sandwiches the next day.
- Budget-Friendly winner: This cut is affordable, and with just salt, pepper, and a few aromatics, it turns into a meal that feels special without the price tag.
Step-by-Step Instructions for Arm Roast
Achieve melting tenderness with this slow-cooked method that transforms tough cuts into succulent perfection.
Step 1: Sear and Season the Beef Arm Roast
Pat the 3 lb Beef Arm Roast completely dry with paper towels to ensure a proper sear. Season generously with all the 2 tsp Kosher Salt and 1 tsp Freshly Ground Black Pepper, pressing the seasoning into the meat so it adheres well during cooking.
Heat the 2 tbsp Olive Oil in a large Dutch oven over medium-high heat until shimmering. Sear the roast on all sides for 3-4 minutes per side until deeply browned. This creates a flavorful crust and locks in juices. Transfer the roast to a plate and set aside.
Step 2: Sauté the Aromatics and Deglaze
In the same Dutch oven, add the 2 whole Yellow Onion (quartered), 3 whole Carrots (chunked), and 3 pieces Celery Stalks (cut into 2-inch pieces). Sauté for 5-6 minutes until the vegetables begin to soften and develop color.
Add the 6 cloves Garlic Cloves (peeled and smashed) and cook for 1 minute until fragrant. Stir in the 2 tbsp Tomato Paste and cook for another 2 minutes to deepen its flavor. Pour in the 1 cup Red Wine and scrape up any browned bits from the bottom of the pot.
Step 3: Braise the Roast with Liquids and Herbs
Return the seared roast to the Dutch oven. Pour in the 2 cups Beef Broth and add the 1 tsp Dried Thyme and 2 pieces Bay Leaves. The liquid should come about halfway up the roast—add a bit more broth if needed.
Bring to a simmer, then cover and transfer to a preheated 325°F oven. Braise for 2.5 to 3 hours, turning the roast every 45 minutes to ensure even cooking. The roast is done when it shreds easily with a fork.
Step 4: Thicken the Sauce and Finish
Remove the roast from the Dutch oven and set it aside. Skim any excess fat from the surface of the braising liquid. Place the Dutch oven on the stovetop over medium heat and bring the liquid to a gentle simmer.
Whisk the 2 tbsp All-Purpose Flour with 2 tablespoons of cold water to make a slurry, then stir it into the simmering liquid. Cook for 3-5 minutes until the sauce thickens enough to coat the back of a spoon. Taste and adjust seasoning if necessary.
Return the roast to the sauce, spooning it over the top to coat evenly. Let it sit for 10 minutes before serving to allow the flavors to meld together.
Pro Tips For Making Recipe For Arm Roast
- Sear It Hard: I learned this the hard way—get your pan screaming hot before adding the arm roast. A deep, dark crust on all sides locks in flavor and makes the final dish taste far richer.
- Score the Fat: Before seasoning, make shallow cuts in the fat cap of the beef arm roast. This helps the salt, pepper, and garlic penetrate deeper and prevents the fat from curling during cooking.
- Skip the Cold Roast: After burning three batches, I finally figured out to pull the roast from the fridge at least 30 minutes before cooking. Cold meat seizes up in the pan and cooks unevenly.
- Use a Meat Thermometer: Sounds weird, but it works: arm roast is forgiving, but pulling at 195°F for shredding or 145°F for slicing guarantees it won’t be dry or tough. I skip this when I’m lazy, but the dish is noticeably better when I don’t.
Dietary Considerations for This Dish
Gluten-Free Adaptation
This dish can easily be made gluten-free by substituting the 2 tbsp All-Purpose Flour with 2 tbsp cornstarch or arrowroot powder. Mix it with cold water as directed to create your slurry. I’ve tested both options and find they thicken the gravy just as effectively without compromising flavor. 🌾
Low-Sodium Options
To reduce sodium, use low-sodium beef broth and cut the 2 tsp Kosher Salt by half. You can also omit the salt entirely and adjust to taste at the end. I often use Swanson’s No Salt Added broth for a healthier version that still tastes rich.
Dairy-Free Note
This recipe is naturally dairy-free, as it relies on beef, vegetables, and herbs for flavor. No substitutions are needed here—just follow the instructions as written. The slow-cooked method ensures the meat stays tender without any dairy additions.
Keto-Friendly Adjustments
For a keto-friendly version, skip the 2 tbsp All-Purpose Flour entirely and let the sauce reduce naturally. The braising liquid will thicken slightly as it cools, or you can use 1 tsp xanthan gum for a thicker consistency. The dish remains hearty and flavorful. 💪
Allergen Awareness
The primary allergen in this recipe is celery, which some people may need to avoid. Simply omit the 3 pieces Celery Stalks if allergies are a concern—the dish will still turn out delicious with the remaining aromatics.
Vegetable Swaps
If you’re avoiding onions or garlic, substitute with 2 leeks (white parts only) or 1 tbsp onion powder and 1 tsp garlic powder. These alternatives provide similar depth of flavor without the fresh ingredients.
Nutrition Facts
Frequently Asked Questions
How long should I cook the roast?
Braise in a 325°F oven for 2.5 to 3 hours, turning every 45 minutes. It’s done when it shreds easily with a fork.
Can I use a slow cooker instead?
Yes! Sear the roast first, then cook on low for 8 hours or high for 5-6 hours with the same liquid and aromatics.
What if my sauce is too thin?
Simmer uncovered for 5-10 minutes to reduce. For quicker thickening, mix 1 tbsp cornstarch with cold water and stir in.
Should I let the meat rest before serving?
Let it rest for 10-15 minutes after cooking to redistribute juices for maximum tenderness.

- BBQ Sausage Recipe Oven: Smoky Depth Without the Grill - September 28, 2026
- BBQ Chicken Bowl Recipe Rice: Smoky Sweetness Over Fluffy Grains - September 28, 2026
- Beef Cutlet Recipe Ideas: Crispy Breaded Patties With Bold Seasonings - September 28, 2026