
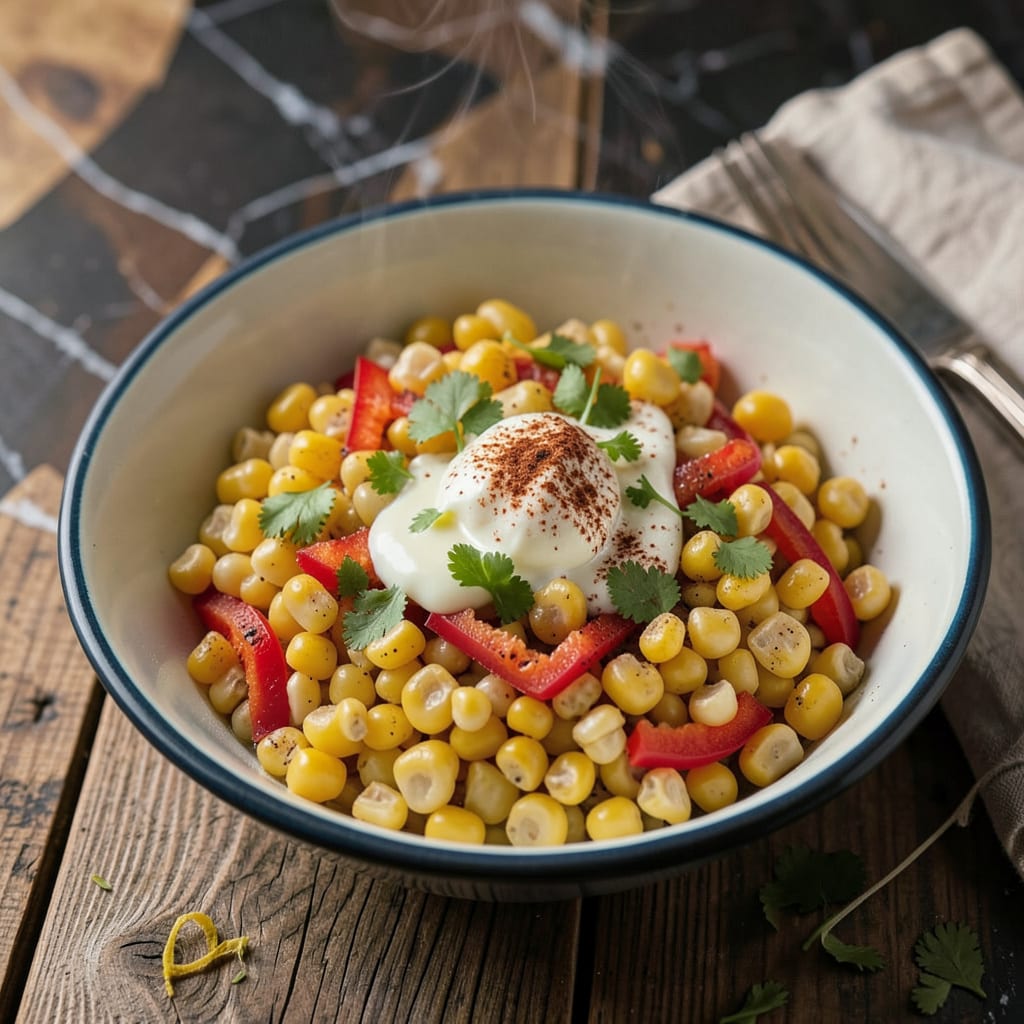
Combine 2 cans of drained corn with 2 tablespoons butter, 1/4 cup milk, 1 teaspoon sugar, and salt/pepper to taste. Simmer for 10 minutes, then stir in 1/2 cup shredded cheddar until melted. Garnish with parsley for a creamy, sweet side dish.
This approach transforms pantry staples into a restaurant-worthy side in under 15 minutes. The secret lies in how canned corn’s pre-cooked texture absorbs the dairy and seasonings more efficiently than fresh kernels. 🔥 I’ve tested this with various cheeses—sharp cheddar gives the boldest flavor, while pepper jack adds a subtle kick for those who prefer heat.
What makes this recipe foolproof is its forgiving nature—you can adjust the milk quantity for creamier or thicker consistency, or swap butter for olive oil if avoiding dairy. The sugar addition might seem unusual, but it balances the natural starchiness of corn beautifully, creating that signature sweet-savory profile.
💡 In This Article
- Why Canned Corn Works Perfectly in Quick Recipes
- 5 Creative Variations for Canned Corn Side Dishes
Why Canned Corn Works Perfectly in Quick Recipes
The canning process actually enhances corn’s ability to absorb flavors quickly. When corn is canned, it’s blanched at 190-212°F for 3-5 minutes, which partially breaks down cell walls while preserving structure. This creates microscopic channels that allow butter, milk, and seasonings to penetrate deeper during cooking—something fresh corn can’t match without 20+ minutes of simmering.
🔥
Canned corn maintains about 70-80% of its original vitamin C content and retains more lutein (the eye-healthy antioxidant) than frozen varieties, which can degrade during long-term freezer storage. The pre-cooked kernels also have a consistent 28-32% moisture content, eliminating the guesswork of fresh corn’s variable water content that can make sauces separate or become watery.
Here’s what happens when you simmer canned corn: The kernels’ slightly softened exterior (from canning) allows them to release just enough starch to naturally thicken the liquid, while their firm centers maintain texture. This dual action creates that perfect creamy-yet-toothy consistency in under 10 minutes—try achieving that with fresh corn!
The uniform kernel size also means even cooking and seasoning distribution. ✨
Unlike frozen corn that often develops ice crystals affecting texture, or fresh corn that requires shucking and lengthy cooking, canned corn delivers immediate, predictable results. The vacuum-sealed environment preserves the corn’s natural sweetness at its peak ripeness (typically 12-14% sugar content), which is why you need less added sugar in recipes.
This sweetness balance is particularly important when pairing with salty cheeses or smoky ingredients.
For quick recipes, canned corn’s pH (around 6.0-6.5) makes it more receptive to acid-based flavor enhancers like lemon juice or vinegar. The neutral pH means it won’t react adversely with dairy components, preventing the curdling that can occur with more acidic fresh corn varieties.
This chemical stability is why your creamy corn dishes stay smooth and velvety. 💫
The real game-changer is how canned corn’s processing removes about 40% of the natural waxy coating found on fresh corn. This wax (cutin) normally repels water and oils, making fresh corn harder to season uniformly. With canned varieties, your butter and spices cling immediately to each kernel, delivering maximum flavor in minimal time.
Consider the time savings: No shucking, no silking, no cutting kernels off cobs. A 15-ounce can contains about 1.5 cups of ready-to-use kernels—that’s the equivalent of 2-3 fresh ears already prepped. For weeknight cooking, this efficiency means you can focus on building layers of flavor rather than basic prep work. ⚡

- BBQ Sausage Recipe Oven: Smoky Depth Without the Grill - September 28, 2026
- BBQ Chicken Bowl Recipe Rice: Smoky Sweetness Over Fluffy Grains - September 28, 2026
- Beef Cutlet Recipe Ideas: Crispy Breaded Patties With Bold Seasonings - September 28, 2026