
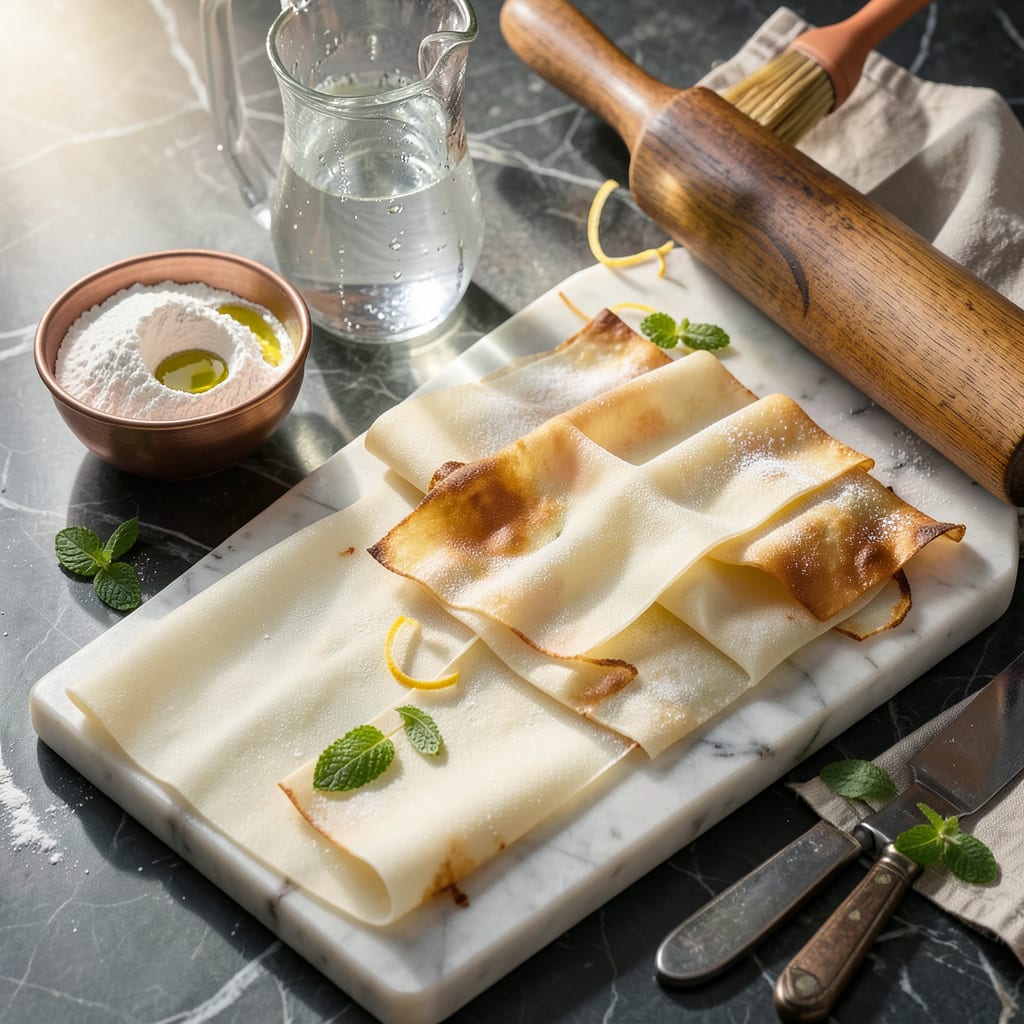
Filo dough requires just flour, water, a pinch of salt, and vinegar or lemon juice for elasticity. The key is rolling it paper-thin, resting the dough between rolls, and keeping everything covered to prevent drying. Expect about 1 hour of active work for 12-15 delicate sheets.
Creating homemade filo is all about mastering the balance between gluten development and moisture control. The acidity from vinegar or lemon juice doesn’t just add flavor—it relaxes the gluten strands, allowing the dough to stretch without snapping. I’ve found that maintaining consistent humidity during rolling prevents the edges from drying out too quickly. 🔥
What separates great filo from good is patience during the resting phases. Each pause lets the gluten relax, making the next roll-out smoother. Professional bakers often use a long, thin rolling pin and work on a lightly floured surface to achieve that signature translucency. The result is worth the effort: crisp, flaky layers that elevate any dish.
💡 In This Article
- Why Filo Dough Stretches Without Tearing
- Essential Tools and Techniques for Perfect Filo Dough
Why Filo Dough Stretches Without Tearing
The secret lies in the gluten network and how acidity transforms it. When flour mixes with water, glutenin and gliadin proteins form elastic strands. The vinegar or lemon juice (typically 1-2 tablespoons per cup of flour) lowers the pH, weakening some protein bonds.
This creates a dough that’s strong enough to hold together but flexible enough to stretch paper-thin without resisting. 🔥
Hydration ratios make or break the texture. Traditional recipes use about 1 part water to 2 parts flour by weight, creating a stiff but workable dough. The salt (½ teaspoon per cup of flour) strengthens the gluten just enough to prevent stickiness while allowing extreme thinness.
Professional bakers often measure water in grams for precision—120g water per 250g flour yields ideal pliability.
Resting periods between rolls are non-negotiable. Each 10-15 minute pause lets the gluten relax through a process called stress relaxation. The dough’s moisture redistributes, preventing resistance when you roll it thinner.
I’ve found that covering the dough with a damp towel during rests maintains surface humidity, which is critical—filo dries out in under 2 minutes when exposed to air.
The rolling technique matters as much as the recipe. Starting with ¼-inch thick pieces and gradually reducing to 1/16-inch (about the thickness of a dime) prevents tearing. The pressure should be firm but even—think of ironing rather than pressing. Greek bakers often use a 6-foot-long rolling pin to distribute pressure uniformly across large sheets.
Temperature plays a surprising role. Cool environments (65-70°F) make the dough more cooperative, while warmth causes stickiness. This is why many recipes call for chilling the dough 30 minutes before rolling. The cold slows enzyme activity, giving you more working time before the gluten tightens up again. ✨
What most home cooks overlook is the starch factor. The flour’s starch granules absorb moisture during resting, creating a smoother matrix. This is why bread flour (with higher protein) makes tougher filo, while all-purpose (10-12% protein) gives the perfect balance of strength and delicacy. The starch also caramelizes beautifully when baked, creating filo’s signature crispness.
For troubleshooting, remember: cracks mean too little rest time, while stickiness signals excess moisture or warmth. Adjust by either extending rest periods or working in a cooler space.
The translucency you’re aiming for comes when the dough is rolled so thin you can read newspaper print through it—this typically requires 6-8 progressive thinning passes with rests in between. 💫

- BBQ Chicken Bowl Recipe Rice: Smoky Sweetness Over Fluffy Grains - September 28, 2026
- Beef Cutlet Recipe Ideas: Crispy Breaded Patties With Bold Seasonings - September 28, 2026
- Bluefin Tuna Recipe Ideas: Sushi-Grade Seared and Sesame-Crusted - September 28, 2026