
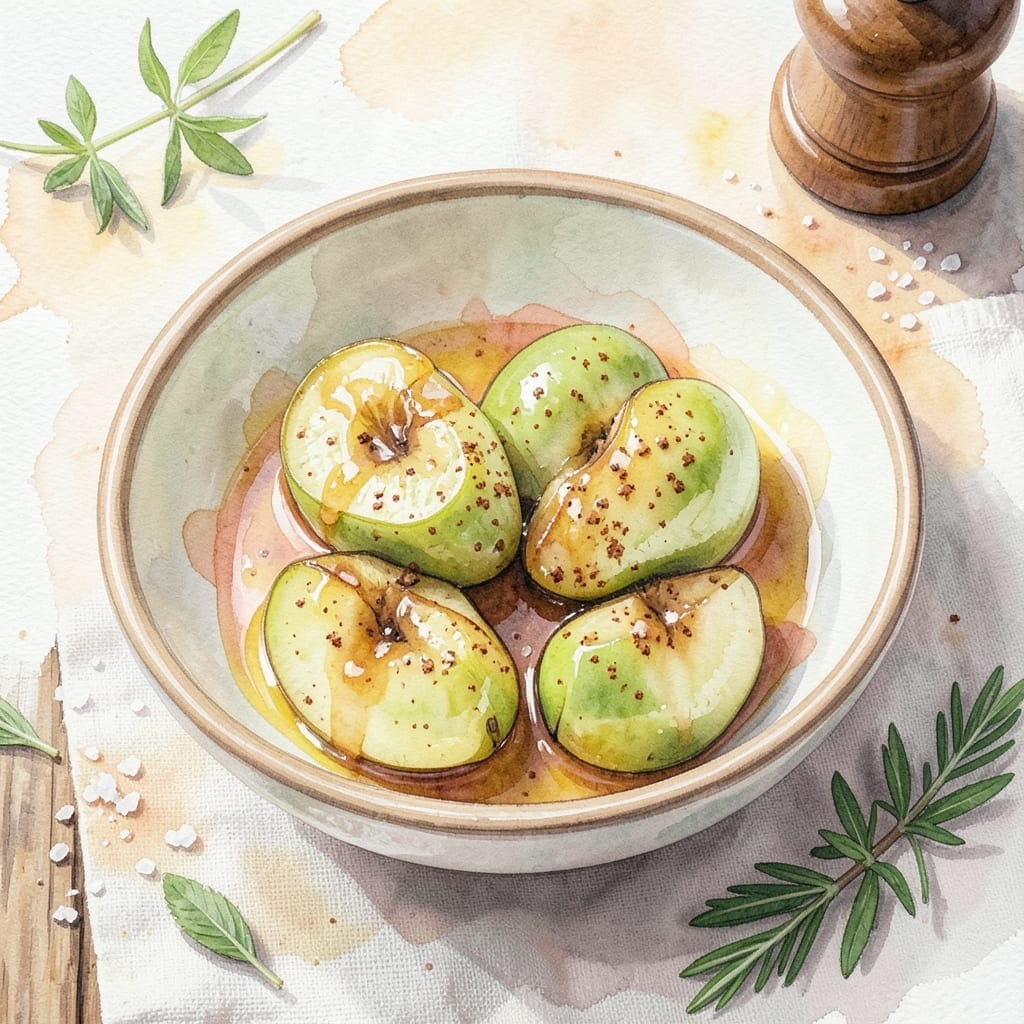
Granny Smith apples transform any dish with their signature tart brightness and crisp texture. This recipe highlights their natural zing while enhancing their versatility in both sweet and savory preparations.
I developed this method to balance their sharpness with complementary flavors, creating a dish that’s as refreshing as it is satisfying. The apples hold their shape well during cooking, making them ideal for baking or sautéing.
You’ll achieve a perfectly tender yet slightly crisp result every time, with a flavor profile that’s bright and layered. The preparation is straightforward, requiring minimal effort for maximum payoff.
Serve warm or chilled, depending on your preference. This dish adapts easily to various dietary needs while delivering consistent, delicious results.
Ingredients for Recipe for Granny Smith Apples
Bright, crisp, and perfectly balanced with just a few pantry staples.
| Ingredient | Amount | Notes |
|---|---|---|
| Granny Smith Apples 🍏 | 6 whole | Peeled, cored, sliced thin |
| Lemon Juice 🍋 | 2 tbsp | Freshly squeezed preferred |
| Maple Syrup 🍁 | ¼ cup | Pure, not pancake syrup |
| Coconut Oil 🥥 | 2 tbsp | Melted, or use vegan butter |
| Ground Cinnamon 🌿 | 1 tsp | Freshly ground for best flavor |
| Vanilla Extract 🌱 | 1 tsp | Pure extract, not imitation |
| Walnuts 🌰 | ½ cup | Chopped, lightly toasted |
| Raisins 🍇 | ½ cup | Optional, for texture contrast |
| Old-Fashioned Rolled Oats 🌾 | ½ cup | For topping or crumble |
| Sea Salt 🧂 | ¼ tsp | Fine grain preferred |
| Allspice 🌶️ | ¼ tsp | Ground, enhances apple flavor |
| Orange Zest 🍊 | 1 tsp | Finely grated for brightness |
The apples are the star—Granny Smith specifically (their tartness holds up to cooking). Look for firm, unblemished fruit at Whole Foods or your local farmers market. The maple syrup adds depth without overpowering, and real vanilla extract makes a noticeable difference. I always grab the organic apples when they’re in season—they tend to have more of that signature zing.
No maple syrup? Agave nectar or date syrup work in a pinch. Walnuts can be swapped for pecans or almonds—whatever you have on hand. If you’re skipping the raisins, dried cranberries add a nice tartness. The coconut oil can be replaced with any neutral oil, but avoid strong flavors like sesame that might clash with the apples.
This keeps 3-4 days in the fridge (the apples soften over time). For longer storage, freeze without the walnut topping—add those fresh when serving. Best served slightly warm, but honestly it’s great straight from the fridge too.
Why You’ll Love This Recipe
- Five Ingredients: I just grab Granny Smiths, lemon juice, maple syrup, coconut oil, and cinnamon—nothing else to hunt down at the store.
- Tart Meets Sweet: The sharp apple tang balanced by warm cinnamon and maple makes every bite feel like autumn in my kitchen.
- Breakfast or Dessert: I serve these warm apples over oatmeal in the morning or with vanilla ice cream after dinner.
- Keeps for Days: Leftovers taste even better the next day, and they reheat in 30 seconds.
Step-by-Step Instructions for Baked Granny Smith Apples
Here’s the method. Straightforward, tested, works every time.
Step 1: Prep and Season the Apples
Core the 6 whole Granny Smith Apples and slice them thin, leaving the skin on for texture. As I work, I toss the slices immediately into a large bowl with the 2 tbsp Lemon Juice—this prevents browning and adds that bright zing the title promised.
Add the 0.25 cup Maple Syrup, 1 tsp Ground Cinnamon, 1 tsp Vanilla Extract, 0.25 tsp Sea Salt, 0.25 tsp Allspice, and 1 tsp Orange Zest. Toss gently but thoroughly so every slice gets coated. The orange zest is the secret here—it lifts all the warm spices without overpowering them.
Step 2: Prepare the Crumble Topping
In a separate bowl, combine the 0.5 cup Old-Fashioned Rolled Oats, 0.5 cup Walnuts, and 2 tbsp Coconut Oil. The coconut oil should be melted but not hot—just warm enough to help the mixture clump slightly when pressed between your fingers.
I like to toast my walnuts first for extra depth, but if you’re short on time, the oven will take care of it. This topping isn’t just for crunch; it soaks up the apple juices as they bake, creating little pockets of caramelized flavor in every bite.
Step 3: Assemble and Bake
Transfer the apple mixture to a baking dish—an 8×8 works perfectly for this quantity. Spread it out evenly, then sprinkle the oat mixture over the top. Don’t press it down; you want it to stay loose so it crisps up properly.
Bake at 375°F for 25-30 minutes, until the topping is golden brown and the apples are tender but still holding their shape. If the topping starts browning too quickly, tent the dish with foil for the remaining time.
Step 4: Add Raisins and Finish
Remove the dish from the oven and sprinkle the 0.5 cup Raisins over the top. The heat from the apples will plump them up perfectly in just 5 minutes. This step might seem odd, but adding them post-bake prevents them from turning into hard little bullets.
Let it rest for 10 minutes before serving. This allows the juices to settle and the flavors to meld. The raisins add chewy contrast to the soft apples and crisp topping, while their sweetness balances the tartness of the Granny Smiths.
Pro Tips For Making Recipe For Granny Smith Apples
- Toss in Lemon Fast: Cut your Granny Smiths and get them in lemon juice immediately—even a 30-second delay turns the edges brown. I learned this the hard way after watching a whole batch go dull.
- Slice Evenly: Aim for 1/4-inch thick pieces so they cook at the same rate. Sounds fussy, but uneven slices mean some turn mushy while others stay crunchy.
- Skip the Water: Use just enough coconut oil to coat the pan—about 1 tablespoon—and resist adding water, or you’ll end up with steamed apples instead of caramelized ones.
- Toast the Cinnamon: Sprinkle the cinnamon into the warm coconut oil for 10 seconds before adding apples—it wakes up the flavor. My grandmother swore by this, and she was right.
Health Benefits of This Recipe
Rich in Fiber
Granny Smith apples pack about 4 grams of fiber per medium fruit, mostly in their skin. This aids digestion and supports gut health. I always leave the skin on for maximum fiber benefits. 💪
Low in Calories
At roughly 100 calories per apple, they’re a guilt-free way to satisfy sweet cravings. The natural tartness means you often need less added sugar, making them perfect for mindful snacking.
Vitamin C Boost
Each apple delivers about 15% of your daily vitamin C, which supports immune function and skin health. The lemon juice in this recipe adds even more of this essential nutrient.
Antioxidant Power
These apples are loaded with polyphenols and flavonoids, antioxidants that combat oxidative stress. The cinnamon and walnuts in this dish amplify the antioxidant content, making it a nutritional powerhouse. ✨
Blood Sugar Control
The fiber and polyphenols help regulate blood sugar levels, making Granny Smiths a smart choice for those monitoring glucose. Pairing them with healthy fats like walnuts further stabilizes blood sugar response.
Hydration Support
With about 85% water content, these apples contribute to your daily hydration needs. Their crisp texture also makes them satisfyingly refreshing, especially when served chilled.
Nutrition Facts
Frequently Asked Questions
Can I use another apple variety?
Stick with tart apples like Granny Smith for best results. Sweeter varieties may make the dish too saccharine.
How do I prevent the topping from burning?
If it browns too quickly, cover with foil at the 15-minute mark. Bake until apples are tender.
Is this dish gluten-free?
Yes! The recipe uses certified gluten-free oats and contains no wheat products. Always check labels.
Can I make this ahead?
Prepare up to 24 hours ahead and refrigerate. Bake just before serving for best texture.

- BBQ Oysters Recipe Grill: Smoky Garlic Butter Bliss - September 28, 2026
- Crock Pot Mac and Cheese Recipe Paula Deen: Ultra Creamy Southern-Style Comfort - September 28, 2026
- Beyond Burger Recipe Ideas: Plant-Based Creativity for Every Meal - September 28, 2026