
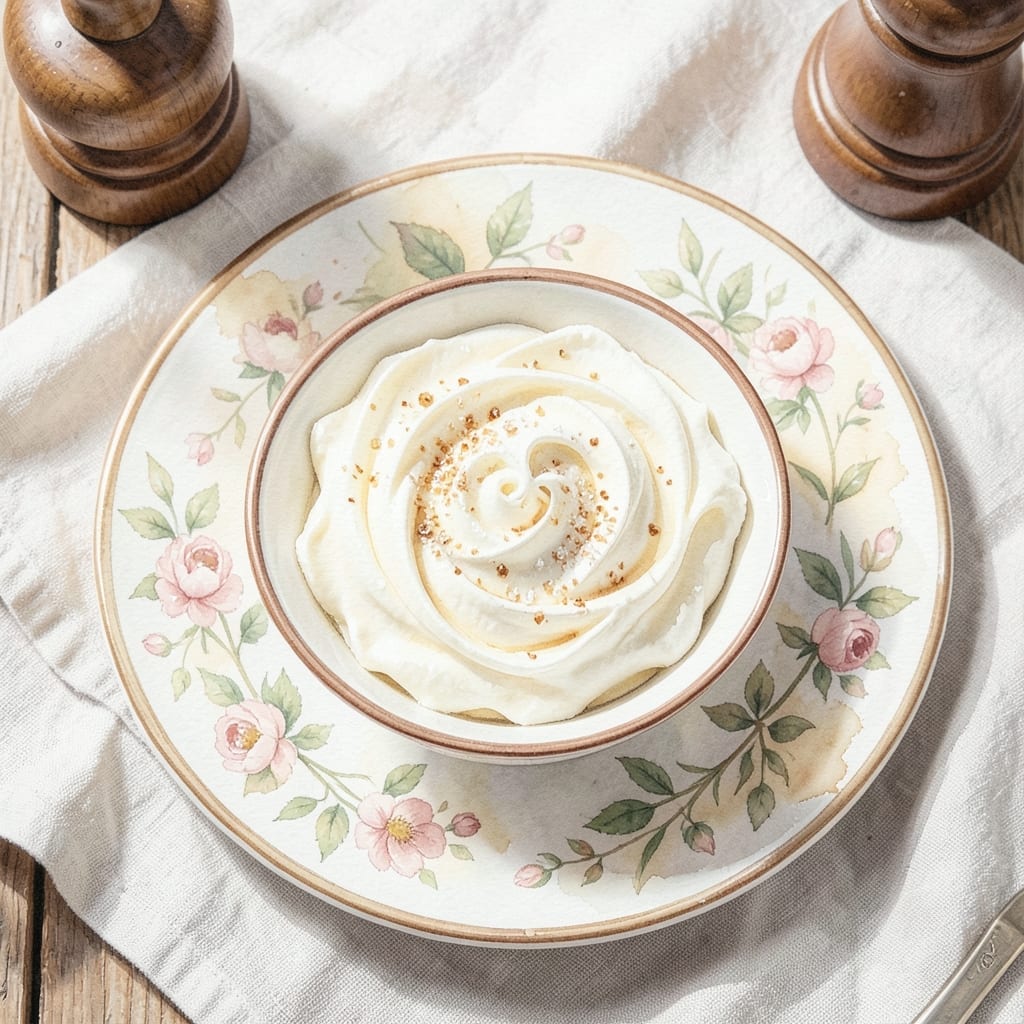
Making homemade whipped cream in your KitchenAid is a game-changer for desserts and beverages. This method delivers light, fluffy results with minimal effort and maximum control over sweetness and texture.
The stand mixer does all the work while you focus on achieving the perfect consistency. Cold heavy cream and a chilled bowl are essential for quick, stable peaks that hold their shape beautifully.
What you get is a smooth, airy topping that’s far superior to store-bought versions. The process takes just 5 minutes from start to finish, making it ideal for last-minute entertaining.
Use it to top pies, hot chocolate, fresh fruit, or enjoy it straight from the bowl. This technique ensures professional-quality results every time.
Ingredients for Whipped Cream Recipe Kitchenaid
Six ingredients transform into clouds of sweetness. Ready in minutes, not hours.
| Ingredient | Amount | Notes |
|---|---|---|
| Heavy Whipping Cream 🥛 | 2 cups | Very cold, at least 36°F |
| Powdered Sugar 🍚 | 3 tbsp | Adjust to taste preference |
| Vanilla Extract 🌿 | 1 tsp | Pure vanilla for best flavor |
| Granulated Sugar 🍚 | 1 tbsp | Optional for stability |
| Salt 🧂 | 0.125 tsp | Fine grain, balances sweetness |
| Cold Water 💧 | 1 tsp | For stabilizing peaks |
The cream is everything here. Look for Ultra-Pasteurized heavy whipping cream—it whips faster and holds peaks better. Organic Valley or Darigold are solid brands at most grocery stores. Chill your KitchenAid bowl and whisk attachment for 15 minutes beforehand (the metal one, not plastic). Don’t even think about using half-and-half. It just won’t cut it.
No powdered sugar? Granulated works in a pinch (dissolve it in the cream first). Want it boozy? Swap the vanilla for 1 tbsp bourbon or rum. Skip the sugar entirely if you’re going savory—great on soups or tacos. The vanilla can be vanilla bean paste for those pretty speckles, but extract is fine too (just use the good stuff).
Whipped cream deflates fast. Use it within 2 hours for best texture. Store leftover cream in the fridge for up to 3 days—whip again before serving. Freezing? Not ideal, but it’ll keep for 1 month if you must (thaw in the fridge, re-whip).
Why You’ll Love This Recipe
- One-Bowl Wonder: I just dump the cold heavy cream, powdered sugar, vanilla, and a pinch of salt into the KitchenAid and let the whisk do all the work.
- Vanilla Cloud: The real vanilla extract gives it that deep, warm sweetness that store-bought can’t touch.
- Crowd Pleaser: It’s my go-to for pies, hot cocoa, or just spooning straight from the bowl—no one complains.
- Keeps Well: I’ve stored leftovers in the fridge for up to three days, and they still hold their fluffy peak.
Step-by-Step Instructions for Whipped Cream Kitchenaid
Here’s the method that delivers perfect peaks every single time.
Step 1: Chill Everything for Maximum Volume
Place your stand mixer bowl and whisk attachment in the freezer for 10-15 minutes while you prep the ingredients. Cold equipment is just as important as cold cream for achieving maximum volume and stability. I’ve found this step prevents the cream from warming up too quickly during mixing.
Measure out the 2 cups Heavy Whipping Cream and ensure it’s very cold—at least 36°F. If it’s been sitting out, return it to the fridge for 10 minutes before beginning. The colder the cream, the faster it will whip and the better it will hold its shape.
Step 2: Begin Whipping on Low Speed
Pour the 2 cups Heavy Whipping Cream into the chilled bowl and attach it to your stand mixer with the whisk. Start mixing on low speed (setting 2-4 on most KitchenAid models) for 30-45 seconds until the cream begins to thicken slightly. You’ll see small bubbles forming on the surface.
This slow start incorporates air evenly without splattering. If you begin at high speed, you risk over-whipping the edges while the center remains liquid. The cream should look slightly frothy but still pourable at this stage.
Step 3: Add Sweetener and Flavorings Gradually
With the mixer still running on low speed, slowly sprinkle in the 3 tbsp Powdered Sugar, 1 tbsp Granulated Sugar, 0.125 tsp Salt, and 1 tsp Vanilla Extract. Let each addition incorporate for 10-15 seconds before adding the next.
Now add the 1 tsp Cold Water—this is the secret to stabilizing your peaks. The water helps the sugar dissolve more evenly, creating a smoother texture and preventing graininess. Increase the speed to medium (setting 6-8) and whip for another 30-45 seconds.
Step 4: Whip to Stiff Peaks
Increase the speed to medium-high (setting 8-10) and continue whipping. Watch closely as the cream transforms from frothy to soft peaks (about 2-3 minutes total). You’ll know it’s at soft peaks when you stop the mixer and lift the whisk—the cream will form peaks that flop over gently.
For stiff peaks, continue whipping for another 30-60 seconds until the peaks hold their shape firmly when the whisk is lifted. Stop the mixer immediately when you reach this stage—over-whipping will turn your beautiful cream into butter in seconds.
Step 5: Use or Store Immediately
Transfer the whipped cream to a serving bowl or piping bag and use immediately. For best texture, serve within 2 hours of making. If you need to store it, cover tightly and refrigerate for up to 4 hours.
If your cream starts to weep or deflate, don’t panic—simply rewhip it briefly on medium speed for 15-20 seconds to restore its structure. The 1 tsp Cold Water we added earlier makes this recovery much easier.
Pro Tips For Making Whipped Cream Recipe Kitchenaid
- Chill the Bowl: I learned this the hard way—place your Kitchenaid bowl and whisk attachment in the freezer for 10-15 minutes before starting. Cold equipment helps the cream whip faster and hold its shape longer.
- Use Powdered Sugar: Skip the granulated sugar; powdered sugar dissolves instantly and prevents that annoying grainy texture in your whipped cream.
- Stop Before Peaks: After burning three batches, I finally figured out to stop mixing just before you hit stiff peaks—the cream continues to thicken slightly as you fold in the vanilla and sugar.
- Add Vanilla Last: Sounds weird, but it works: fold in the vanilla extract after the cream has thickened to avoid weighing it down early in the process.
Creative Variations of whipped cream recipe kitchenaid
Chocolate Lover’s Dream
Fold in ¼ cup cocoa powder or melted 4 oz dark chocolate at soft peak stage. This creates a rich, mousse-like texture perfect for topping brownies or ice cream sundaes. I love using Ghirardelli 70% for intense chocolate flavor. 💫
Citrus Zing Variation
Replace vanilla with zest of 1 lemon or orange plus 1 tbsp fresh juice. The bright acidity cuts through richness beautifully. Add a pinch of poppy seeds for visual appeal and subtle crunch.
Coffee Infused Delight
Dissolve 2 tsp instant espresso powder in the 1 tsp Cold Water before adding to cream. This coffee version pairs wonderfully with chocolate desserts. For extra depth, add ½ tsp cinnamon with the sugar. ☕
Savory Herb Twist
Omit sweetener completely and add 1 tbsp chopped fresh dill or chives with ½ tsp garlic powder. This savory whipped cream transforms soups, baked potatoes, or grilled vegetables into gourmet dishes.
Boozy Adult Version
Swap vanilla for 2 tbsp bourbon or 1 tbsp Grand Marnier. The alcohol enhances the cream’s structure while adding sophisticated flavor. Add a sprinkle of cinnamon for warmth.
Stabilized for Piping
Add 1 tsp unflavored gelatin dissolved in the 1 tsp Cold Water for whipped cream that holds shape for hours. Perfect for cake decorating or dessert garnishes.
Nutrition Facts
Frequently Asked Questions
Can I use a hand mixer instead of a KitchenAid?
Yes, but it will take longer. A hand mixer requires 5-7 minutes of constant whipping and steady hands. Use the deepest bowl you have to minimize splashing.
Why does my whipped cream turn grainy?
Graininess usually means the sugar didn’t dissolve. Use powdered sugar instead of granulated, or dissolve granulated sugar in the cream first. Also ensure all equipment is cold.
How far in advance can I make it?
For best texture, make it within 2 hours of serving. Store covered in the fridge for up to 4 hours, then rewhip briefly before using.
Can I make it dairy-free?
Use canned full-fat coconut milk (chilled overnight) and whip the thick cream layer. Add 1 tsp vanilla and sweetener to taste.

- BBQ Sausage Recipe Oven: Smoky Depth Without the Grill - September 28, 2026
- BBQ Chicken Bowl Recipe Rice: Smoky Sweetness Over Fluffy Grains - September 28, 2026
- Beef Cutlet Recipe Ideas: Crispy Breaded Patties With Bold Seasonings - September 28, 2026