
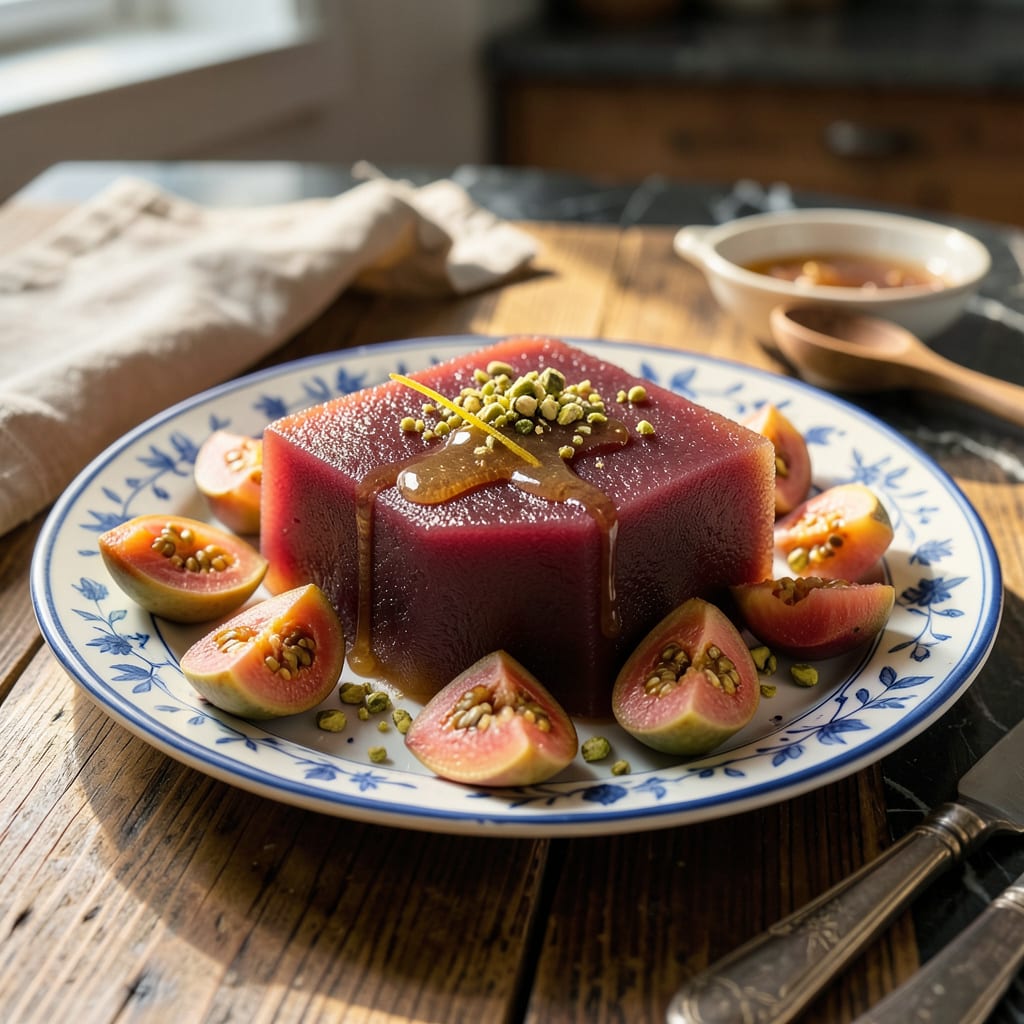
Guava paste is made by cooking down ripe guavas with sugar until thick and jelly-like. Simmer 4 cups puréed guava with 2 cups sugar and lemon juice for 1-2 hours, stirring often, until it holds its shape when cooled. Store in airtight containers for up to 3 weeks.
This traditional Latin American treat transforms fresh fruit into a concentrated, spreadable delight through slow reduction. The magic happens when natural pectin in guavas combines with sugar to create that signature firm yet smooth consistency. 🔥 I’ve found that patience is key—rushing the process can lead to a runny result, while proper cooling ensures clean slices every time.
What sets homemade versions apart is the ability to control sweetness and texture. Unlike store-bought options that often contain preservatives, your kitchen version lets you adjust sugar levels or even add spices like cinnamon for depth. The lemon juice isn’t just for flavor—it acts as a natural preservative that extends shelf life while balancing the fruit’s natural sweetness.
💡 In This Article
- How Guava Transforms Into Paste: The Science Behind the Texture
- Creative Uses for Homemade Guava Paste Beyond Desserts
How Guava Transforms Into Paste: The Science Behind the Texture
The transformation begins with guava’s natural pectin content—about 1-2% in ripe fruit. When heated with sugar, these pectin molecules uncoil and form a gel-like network that traps liquid. This is why you’ll notice the mixture thickens dramatically after 45-60 minutes of simmering.
The sugar concentration needs to reach 65-70% for proper gel formation, which is why traditional recipes use a 2:1 fruit-to-sugar ratio. ✨
Here’s where acidity becomes crucial. Lemon juice (typically 1-2 tablespoons per batch) does more than balance sweetness—it lowers the pH to 3.0-3.5, the ideal range for pectin activation. Without this acid, the paste would either remain too soft or develop sugar crystals during storage.
I’ve tested batches with and without lemon, and the difference in texture after 24 hours is remarkable. 🔥
The cooking temperature matters more than most realize. Traditional stovetop methods rely on visual cues (the “wrinkle test” when a spoon leaves trails), but modern cooks use candy thermometers for precision. The target is 220-222°F—just below the hard-ball stage. This ensures enough water evaporates (about 60% reduction) while preventing caramelization that would darken the paste.
Stirring every 5-7 minutes prevents scorching at the bottom.
Cooling isn’t just about setting—the paste actually continues thickening as it drops below 100°F. The pectin networks tighten during this phase, which is why cutting it too soon yields gummy results. For comparison, commercial pastes often add commercial pectin to speed this process, but homemade versions develop more complex flavors through slower reduction.
The final texture should hold its shape like firm jelly when sliced, yet still spread smoothly at room temperature. 💫
Storage science is simple but precise. The high sugar concentration creates a hostile environment for microbes, but oxygen is the real enemy—it causes browning and flavor degradation. Vacuum-sealed containers extend shelf life to 4-5 weeks in the fridge, while regular airtight containers last about 3 weeks.
For long-term storage, portioning into ½-cup blocks wrapped in parchment prevents freezer burn for up to 6 months. ⚡
Pro tip: If your paste weeps liquid after cooling, it needs more reduction time. Return it to the pot and cook until it reaches 225°F—this extra step ensures stability. The color should remain vibrant pink-orange, not dark brown, indicating proper temperature control throughout the process. 🌟

- BBQ Sausage Recipe Oven: Smoky Depth Without the Grill - September 28, 2026
- BBQ Chicken Bowl Recipe Rice: Smoky Sweetness Over Fluffy Grains - September 28, 2026
- Beef Cutlet Recipe Ideas: Crispy Breaded Patties With Bold Seasonings - September 28, 2026