
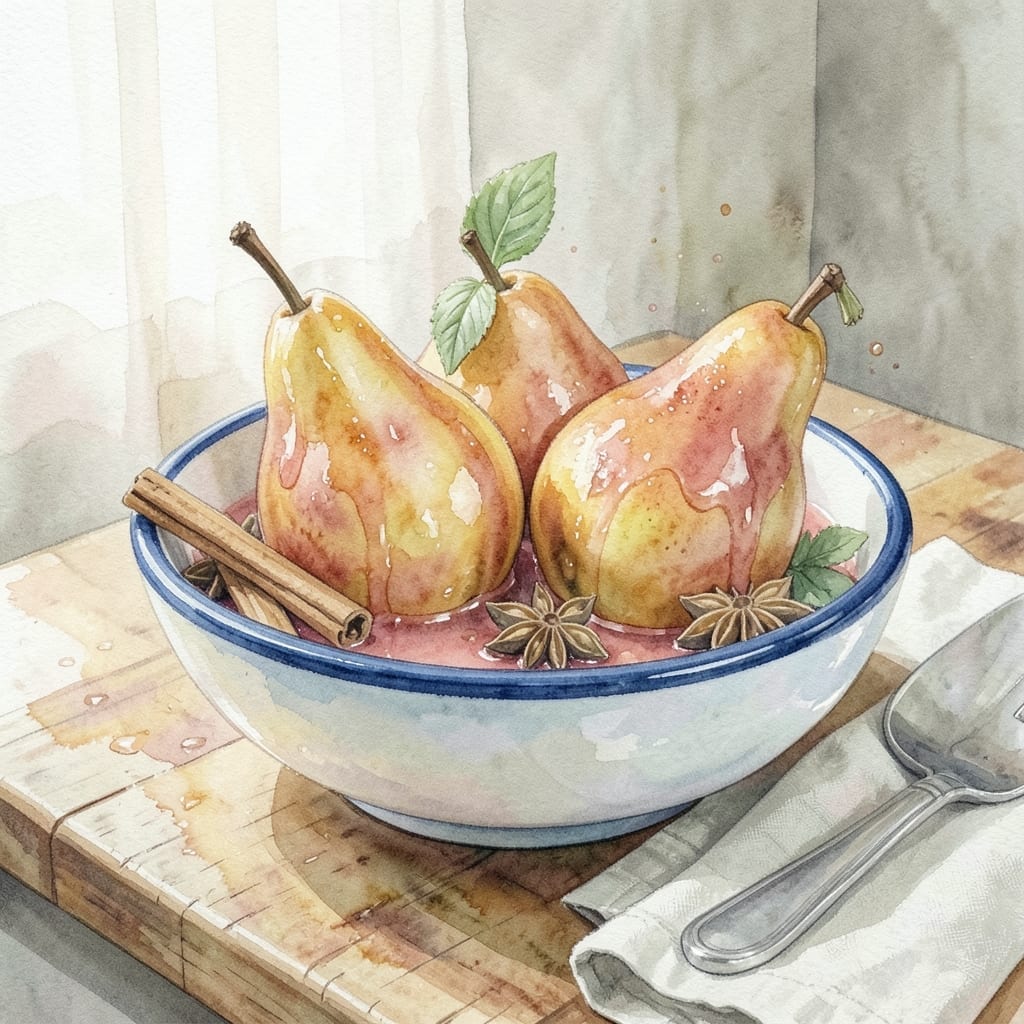
Don’t toss those soft, overripe pears—this recipe turns them into something extraordinary. A simple poaching liquid with warm spices transforms them into tender, perfectly sweet pear halves that hold their shape beautifully.
The method is straightforward: simmer the pears in a spiced syrup until they absorb the flavors and soften just enough. No special equipment is needed, and the process takes less than 30 minutes from start to finish.
What you get is a dessert that feels elegant but requires minimal effort. The pears emerge fragrant and glossy, ready to be served with a drizzle of the reduced syrup or a scoop of ice cream.
Ideal for using up fruit that’s past its prime, this dish proves that overripe pears can be the star of the show.
Ingredients for Recipe for Overripe Pears
Turn those soft pears into a stunning dessert with warm spices and a simple syrup.
| Ingredient | Amount | Notes |
|---|---|---|
| Overripe Pears 🍐 | 4 whole | Bosc or Anjou preferred |
| Granulated Sugar 🍚 | 2 cups | Organic or raw for depth |
| Water 💧 | 4 cups | Filtered if possible |
| Cinnamon Stick 🌿 | 1 whole | Or 1 tsp ground cinnamon |
| Star Anise Pods ⭐ | 2 whole | Optional but recommended |
| Vanilla Bean 🌿 | 1 whole | Split and scraped |
| Lemon Juice 🍋 | 2 tbsp | Freshly squeezed for brightness |
| Orange Zest 🍊 | 1 tbsp | From 1 large orange |
| Maple Syrup 🍁 | ¼ cup | For vegan sweetness |
| Ground Ginger 🌶️ | ½ tsp | Freshly ground preferred |
| Cloves 🌿 | 4 whole | For warm spice depth |
| Kosher Salt 🧂 | ¼ tsp | Diamond Crystal preferred |
The pears are the star here—Bosc or Anjou hold up best to poaching (Bartlett gets mushy). Look for fruit that’s soft but not bruised or fermenting. Whole Foods and Trader Joe’s often have organic varieties with better flavor. The vanilla bean is worth the splurge, but pure vanilla extract works in a pinch if you’re short on time or budget.
No cinnamon sticks? Ground cinnamon at one-fourth the amount works fine. Star anise missing? Cardamom pods or allspice berries add a similar warmth. Want to skip the maple syrup? Agave or date syrup keeps it vegan. The lemon juice is non-negotiable though—it balances the sweetness and keeps the pears from browning in the syrup.
Poached pears keep beautifully in their syrup—5 days in the fridge. The syrup thickens as it cools, making a perfect glaze for desserts. Serve warm or chilled, but don’t store them peeled or they’ll fall apart.
Why You’ll Love This Recipe
- Five Minute Simmer: I toss everything in a pot and let the pears, sugar, and spices do their thing while I set the table.
- Warm Spice Hug: The cinnamon and star anise turn those soft pears into a cozy, fragrant syrup that clings to every bite.
- Breakfast or Dessert: I’ve spooned this over yogurt for breakfast and drizzled it on ice cream for a last-minute dinner party finish.
- Pantry Rescuer: Honestly, it’s the best way to use up pears that are past their prime instead of tossing them out.
Instructions
Here’s the method. Simple, precise, and designed to transform overripe fruit into a stunning dessert.
Step 1: Prepare the Poaching Liquid
In a large saucepan, combine the 4 cups water, 2 cups granulated sugar, 0.25 cup maple syrup, 1 whole cinnamon stick, 2 whole star anise pods, 4 whole cloves, 0.5 tsp ground ginger, and 0.25 tsp kosher salt.
Bring to a gentle boil over medium-high heat, stirring until the sugars fully dissolve. This creates a fragrant base that infuses the pears with warm, spiced sweetness. The aroma of the spices will intensify as the liquid heats—this is your cue that the flavors are melding.
Step 2: Infuse with Vanilla and Citrus
Once the sugar dissolves, reduce the heat to medium-low. Split the 1 whole vanilla bean lengthwise, scrape the seeds into the liquid, and add the pod. Stir in the 2 tbsp lemon juice and 1 tbsp orange zest.
Let the mixture simmer uncovered for 5 minutes to allow the vanilla and citrus to infuse. The liquid should turn a light amber color and smell richly aromatic. This step ensures every pear absorbs the full depth of flavor.
Step 3: Poach the Pears
Peel the 4 whole overripe pears, leaving the stems intact for presentation. Carefully lower them into the simmering liquid, ensuring they’re fully submerged. If needed, place a small heatproof plate on top to keep them under the surface.
Poach for 15-20 minutes at a gentle simmer, turning the pears halfway through for even cooking. They’re done when a knife slides in easily but they still hold their shape. The pears will soften significantly but retain a slight firmness.
Step 4: Cool and Serve
Remove the saucepan from heat and let the pears cool in the liquid for 15 minutes. This resting time allows them to absorb more of the spiced syrup, enhancing their flavor and tenderness.
Serve the pears warm or chilled, spooning some of the poaching liquid over the top. The syrup will have reduced slightly, creating a glossy, lightly spiced sauce that complements the soft, fragrant pears perfectly. Discard the whole spices before serving for a smooth finish.
Pro Tips For Making Recipe For Overripe Pears
- Simmer Low and Slow: Keep the heat at a gentle simmer—boiling hard will turn your pears to mush. I learned this the hard way after my first batch dissolved into applesauce-like consistency.
- Peel and Core First: Remove the skin and seeds before cooking, even if the pears are soft. Sounds obvious, but I’ve seen people try to fish out star anise pods from a pot of unpeeled, collapsing fruit.
- Skip the Extra Spices: Stick to just the cinnamon and star anise—adding more can overpower the delicate pear flavor. After ruining a batch with cloves, I now keep it simple.
- Use a Wide Pot: A broad, shallow pot lets the pears cook evenly and reduces the risk of sticking. My grandmother swore by her old wide saucepan, and she was right.
Essential Equipment for Perfect Results
Essential Saucepan
I always reach for my 5-6 quart stainless steel saucepan for poaching—it’s deep enough to fully submerge the pears while allowing room for the liquid to circulate. I recommend All-Clad D3 for even heat distribution, but any heavy-bottomed pan works. Avoid nonstick as the sugar can cause discoloration over time. 💡
Peeling Tool
A Y-peeler is my go-to for removing pear skins quickly and safely. The OXO Good Grips model has a comfortable handle and sharp blade that glides through soft fruit. A paring knife works too, but the peeler gives you more control around the curves.
Heatproof Plate
To keep pears submerged, I use a small heatproof plate or a saucer that fits inside my saucepan. A 7-inch diameter works for most pans. This ensures even poaching without having to babysit the pot.
Fine Mesh Strainer
For straining the syrup, a fine mesh strainer catches all the whole spices. I use a 10-inch one from Cuisinox—it fits over most saucepans and has a sturdy handle. This makes the final syrup smooth and ready for drizzling.
Slotted Spoon
To remove the pears from the liquid, a wide slotted spoon prevents them from breaking apart. The 12-inch version from Zyliss gives you the reach you need. Gently cradle each pear to maintain its shape.
Serving Dish
I love serving these in a shallow glass dish so the syrup pools attractively around the pears. A 9×13-inch baking dish works perfectly for 4 servings. The glass shows off the beautiful amber color of the syrup. 💛
Nutrition Facts
Frequently Asked Questions
Can I use underripe pears instead?
Underripe pears won’t soften properly during poaching. They’ll stay hard and won’t absorb the syrup’s flavors. Stick with fruit that’s soft to the touch but not mushy for best results.
Why leave the stems on?
Leaving stems intact makes for an elegant presentation. It also helps maintain the pear’s shape during cooking and makes serving easier. Just ensure they’re clean before poaching.
Can I make this ahead of time?
The pears keep beautifully in their syrup for up to 5 days in the fridge. The flavors actually deepen over time. Serve cold or gently rewarm before serving.

- BBQ Sausage Recipe Oven: Smoky Depth Without the Grill - September 28, 2026
- BBQ Chicken Bowl Recipe Rice: Smoky Sweetness Over Fluffy Grains - September 28, 2026
- Beef Cutlet Recipe Ideas: Crispy Breaded Patties With Bold Seasonings - September 28, 2026