
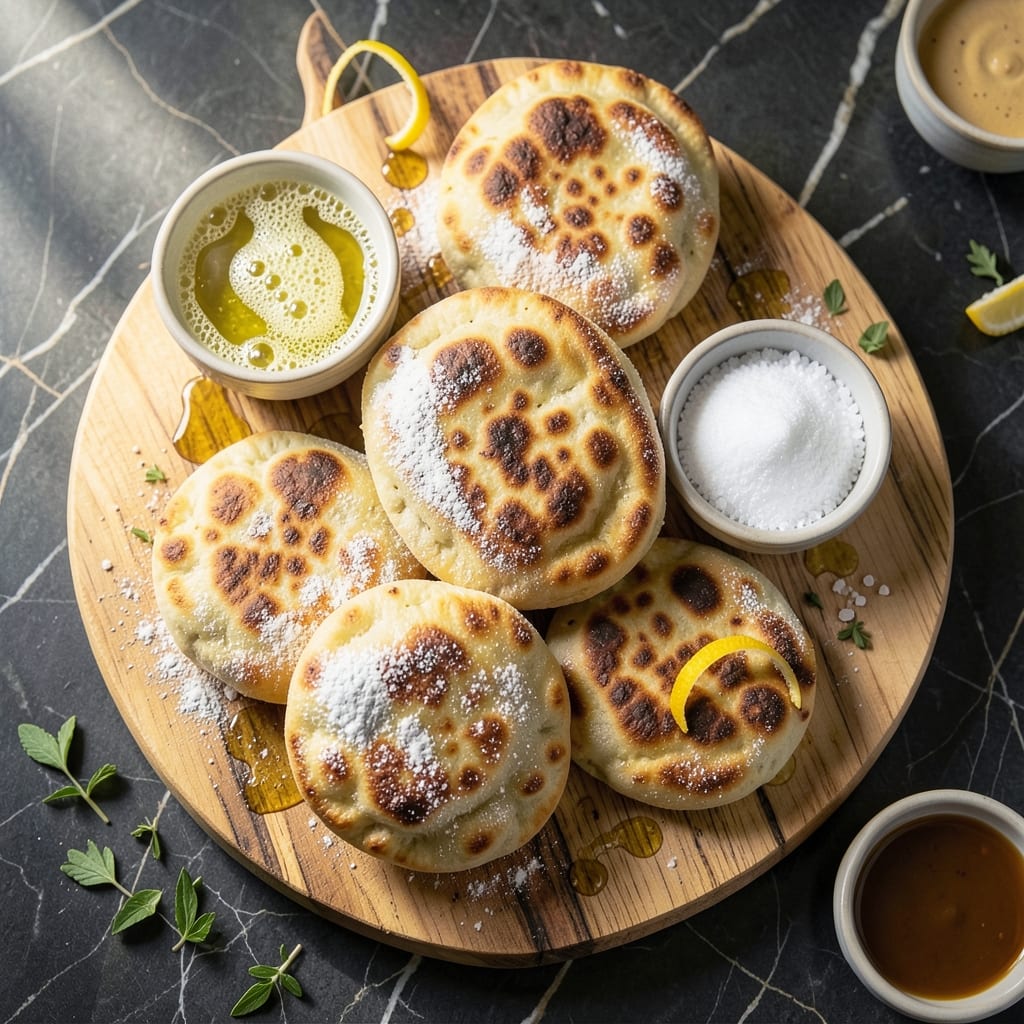
There’s nothing quite like the satisfaction of pulling warm, homemade pita bread pockets from your oven. This recipe delivers soft, pillowy results with a simple dough and straightforward method.
I developed this technique after testing numerous variations, focusing on achieving the perfect balance of chewiness and airiness. The dough comes together quickly with basic pantry staples and requires just 1 hour of rising time.
The beauty of these pockets lies in their versatility. Fill them with your favorite ingredients—from classic falafel to grilled chicken and fresh vegetables. They’re perfect for meal prep or serving at gatherings.
Each bite offers a tender, slightly chewy texture that’s far superior to store-bought versions. Let’s begin with the dough preparation.
Ingredients for Recipe for Pita Bread Pockets
Basic pantry staples transform into warm, pillowy pockets with this straightforward dough.
| Ingredient | Amount | Notes |
|---|---|---|
| All-Purpose Flour 🌾 | 3 cups | Plus extra for dusting |
| Active Dry Yeast 🍞 | 2 ¼ tsp | One packet, proofed in warm water |
| Warm Water 💧 | 1 ¼ cups | 110-115°F for proofing yeast |
| Granulated Sugar 🍚 | 1 tsp | Feeds the yeast activation |
| Sea Salt 🧂 | 1 ½ tsp | Fine grain for even distribution |
| Extra-Virgin Olive Oil 🫒 | 2 tbsp | For dough softness and flavor |
| Plain Greek Yogurt 🥛 | ½ cup | Full-fat for tenderness |
| Honey 🍯 | 1 tbsp | Optional, for slight sweetness |
| Cornmeal 🌽 | ¼ cup | For dusting baking surface |
The flour quality is paramount for achieving the right texture. King Arthur or Bob’s Red Mill all-purpose flours are professional-grade choices. Active dry yeast from Fleischmann’s or Red Star ensures reliable rise. Ensure your water temperature is precise—too hot kills the yeast, too cold prevents activation. A kitchen thermometer is worth the $10 investment for consistent results.
No Greek yogurt? Substitute with plain whole-milk yogurt or sour cream for similar tenderness. Honey can be replaced with agave nectar or maple syrup. If you’re avoiding animal products, use unsweetened almond yogurt. The cornmeal prevents sticking; semolina flour works equally well. For a richer flavor, replace 1 tbsp olive oil with melted butter.
Dough rises best in a warm, draft-free spot. Covered tightly, it keeps in the fridge for 24 hours—ideal for overnight prep. Baked pitas stay fresh for 2-3 days in an airtight container or freeze for 1 month. Reheat in a dry skillet to restore that just-baked texture.
Why You’ll Love This Recipe
- One Bowl Wonder: Honestly, I love that I just dump flour, yeast, warm water, sugar, and salt into one bowl and let the dough do its thing.
- Warm and Toasty: That first bite of soft, pillowy pita fresh from the pan with its slightly chewy texture? Pure comfort.
- Endless Fillings: I’ve stuffed these with everything from falafel to scrambled eggs—perfect for lunchboxes or last-minute dinners.
- Pennywise Pitas: Five basic pantry staples and a little time yield a stack of homemade bread that costs pennies compared to store-bought.
Step-by-Step Instructions for Pita Bread Pockets
Here is the method for creating consistently soft, pillowy pockets with a perfect rise.
Step 1: Activate the Yeast Mixture
In a small bowl, combine the 1.25 cups Warm Water, 1 tsp Granulated Sugar, and 2.25 tsp Active Dry Yeast. Let this mixture sit for 5-7 minutes until it becomes frothy and bubbly. This visual confirmation indicates the yeast is active and ready to work.
I always verify the water temperature first—it should feel warm but not hot to the touch, around 110-115°F. If the yeast doesn’t foam within the timeframe, your water might have been too hot or too cold, and you’ll need to start over.
Step 2: Mix and Knead the Dough
In a large mixing bowl, combine the 3 cups All-Purpose Flour and 1.5 tsp Sea Salt. Create a well in the center and add the yeast mixture, 2 tbsp Extra-Virgin Olive Oil, 0.5 cup Plain Greek Yogurt, and 1 tbsp Honey. Mix with a wooden spoon until a shaggy dough forms.
Turn the dough onto a lightly floured surface and knead for 8-10 minutes until smooth and elastic. The dough should spring back when pressed lightly with a finger. This gluten development ensures the pitas will puff beautifully during baking.
Step 3: First Rise Until Doubled
Place the dough in a lightly oiled bowl, turning to coat all sides. Cover with a damp towel and let rise in a warm, draft-free place for 1-1.5 hours or until doubled in volume. I find the oven with the light turned on creates the perfect environment.
The dough is ready when it holds a slight indentation when pressed gently with a finger. Don’t rush this step—proper rising is essential for achieving those characteristic pockets in your finished pitas.
Step 4: Shape and Second Rise
Punch down the risen dough and divide it into 8 equal portions. Roll each into a ball, then flatten into ¼-inch thick rounds on a surface dusted with 0.25 cup Cornmeal. The cornmeal prevents sticking and adds a subtle texture to the bottom of each pita.
Cover the shaped dough with a clean towel and let rest for 20-30 minutes. During this second rise, you’ll notice the rounds begin to puff slightly—this is the yeast working its final magic before baking.
Step 5: Bake to Puffy Perfection
Preheat your oven to 475°F with a baking stone or inverted baking sheet inside. When ready to bake, carefully transfer 2-3 pitas at a time onto the hot surface. Bake for 3-4 minutes until they puff dramatically and develop light golden spots.
Resist the urge to open the oven door during baking—the sudden temperature change can cause the pitas to deflate. Remove them when they’re fully puffed and just beginning to brown. Let cool on a wire rack before splitting open to create pockets.
Pro Tips For Making Recipe For Pita Bread Pockets
- Test Your Yeast: I learned this the hard way—always proof your active dry yeast in the warm water with sugar for 5-10 minutes first. If it doesn’t get foamy, your pitas won’t rise, no matter how long you wait.
- Use Bread Flour: Sounds weird, but swapping all-purpose for bread flour actually changes the outcome—higher protein means chewier, more elastic pockets that hold fillings better.
- Skip Over-Kneading: Resist the urge to knead beyond 5-7 minutes; overworked dough gets tough, and your pitas will be dense instead of light and airy.
- Roll Evenly Thin: Aim for ¼-inch thickness when rolling out the dough—any thicker and they won’t puff properly, any thinner and they’ll burn before they’re done.
Wine and Beer Pairings for This Recipe
Crisp White Wines
A dry Sauvignon Blanc from New Zealand offers bright citrus notes that cleanse your palate between bites. I love Kim Crawford or Oyster Bay—both available at Central Market here in Austin. The acidity cuts through the richness of any fillings. 🍷
Light Beer Options
A crisp pilsner like Stella Artois or Heineken pairs beautifully, with its light body and subtle bitterness complementing the soft pita. For craft beer lovers, try Austin Eastciders dry cider for a local touch. 🍺
Mediterranean Reds
A light-bodied Pinot Noir works surprisingly well, especially if your pockets include lamb or beef. I recommend Meiomi or La Crema—both have the fruit-forward profile that won’t overpower the dish.
Non-Alcoholic Pairings
For a refreshing option, try sparkling water with a squeeze of lemon or lime. David swears by Topo Chico from Mexico—its mineral notes add complexity. Iced mint tea also complements the Mediterranean flavors perfectly.
Sweet Ending
If serving dessert-style pitas with honey and nuts, pair with a Moscato d’Asti from Italy. Its light fizz and sweetness mirror the filling beautifully. I like Saracco for its balance of fruit and effervescence.
Nutrition Facts
Frequently Asked Questions
Why didn’t my pitas puff up?
This usually means the yeast wasn’t active or the oven wasn’t hot enough. Make sure your water is 110-115°F and the yeast foams before mixing. Bake at 475°F for proper puffing.
Can I use whole wheat flour?
Yes, but replace only 50% of the all-purpose flour with whole wheat for best texture. The dough may be denser, so add 1-2 tbsp extra water if needed.
How do I store leftover pitas?
Cool completely, then place in an airtight container for 2-3 days at room temperature. For longer storage, freeze for up to 1 month and reheat in a dry skillet.
Can I make these without yogurt?
Substitute with sour cream or plain whole-milk yogurt. For a dairy-free version, use unsweetened almond yogurt. The texture will remain soft.

- BBQ Sausage Recipe Oven: Smoky Depth Without the Grill - September 28, 2026
- BBQ Chicken Bowl Recipe Rice: Smoky Sweetness Over Fluffy Grains - September 28, 2026
- Beef Cutlet Recipe Ideas: Crispy Breaded Patties With Bold Seasonings - September 28, 2026