
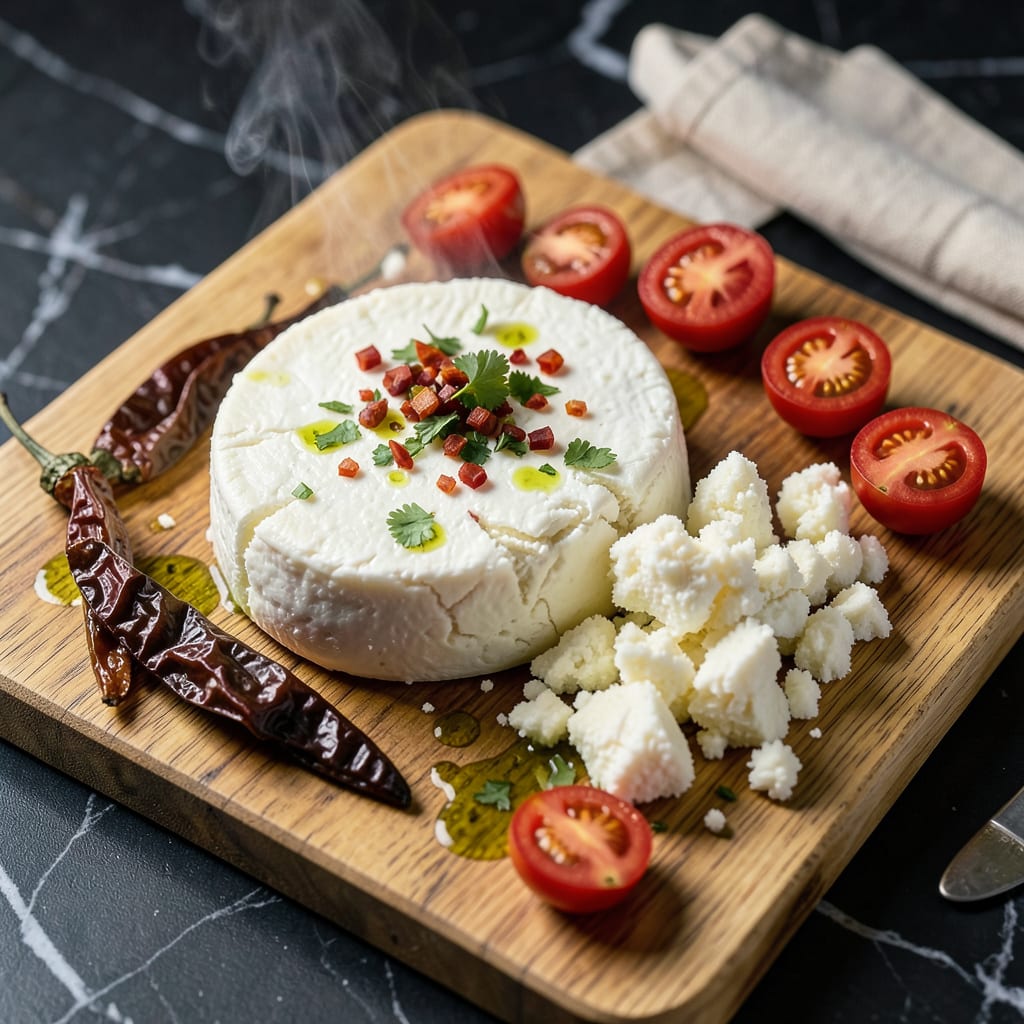
Queso fresco is made by heating whole milk with vinegar or lemon juice until curds form, then draining and pressing for 1-2 hours. The result is a mild, crumbly white cheese perfect for Mexican dishes.
This simple acid-coagulated cheese works because the acid disrupts milk proteins, causing them to clump into delicate curds. 🔥 What I love about this process is how forgiving it is—unlike aged cheeses, you don’t need special cultures or long aging periods. The pressing time determines moisture content: 1 hour yields a softer cheese, while 2 hours creates a firmer texture ideal for crumbling over tacos or enchiladas.
Many home cooks are surprised to learn that queso fresco contains no rennet, making it naturally vegetarian. The secret to perfect texture lies in maintaining gentle heat (around 185°F) and using full-fat milk for richness. I’ve found that raw apple cider vinegar gives the cleanest flavor, though lemon juice works in a pinch. ✨
💡 In This Article
- How Milk Transforms Into Queso Fresco Cheese
- Essential Tools and Ingredients for Perfect Queso Fresco
How Milk Transforms Into Queso Fresco Cheese
The magic happens when acid meets milk proteins at just the right temperature. Whole milk contains casein proteins that normally repel each other, but when you introduce vinegar or lemon juice (with pH around 2-3), it neutralizes their negative charges. This causes the proteins to clump together into what we call curds.
The ideal temperature range of 180-190°F creates perfect curd formation without making them rubbery. 🔥
Fat content plays a crucial role in texture. Whole milk with 3.5-4% fat yields the creamiest results, while lower-fat versions produce drier, crumblier cheese. The acid doesn’t just coagulate proteins—it also breaks down fat globules, releasing buttery flavors.
I’ve tested this with different milk types and found raw milk creates the most complex flavor profile, though pasteurized works perfectly fine for beginners. ✨
What most people don’t realize is that salt isn’t traditional in queso fresco. The mild, slightly tangy flavor comes purely from the lactic acid produced during coagulation. Pressing time determines moisture content: 1 hour gives a spreadable texture, while 2 hours creates the classic crumbly consistency.
The science here involves whey expulsion—longer pressing means more whey drains out, resulting in a firmer cheese. 🌟
Temperature control during draining affects the final product dramatically. Cooling the curds too quickly can trap excess moisture, while keeping them too warm may cause over-fermentation. The sweet spot is draining at room temperature (70-75°F) for 10-15 minutes before pressing. This allows the curds to settle naturally while maintaining their delicate structure. ⚡
For those wondering about yield, expect about 1 pound of cheese from each gallon of milk. The remaining whey isn’t waste—it’s packed with proteins and can be used in bread-making or smoothies. The entire process demonstrates how simple chemistry can transform basic ingredients into something extraordinary with just heat, acid, and patience. 💫

- BBQ Sausage Recipe Oven: Smoky Depth Without the Grill - September 28, 2026
- BBQ Chicken Bowl Recipe Rice: Smoky Sweetness Over Fluffy Grains - September 28, 2026
- Beef Cutlet Recipe Ideas: Crispy Breaded Patties With Bold Seasonings - September 28, 2026