
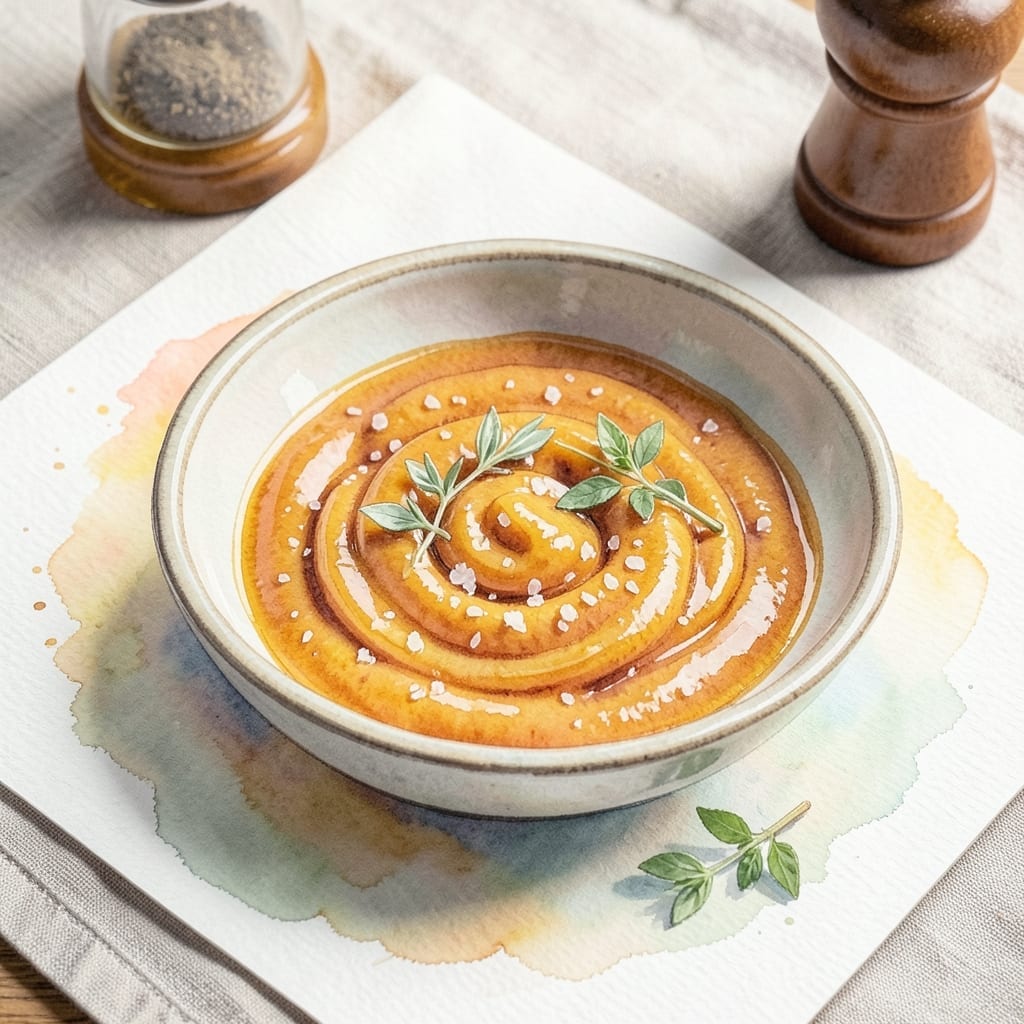
This vibrant citrus sauce transforms ordinary dishes with its perfect balance of sweet and tangy notes.
Made with fresh orange juice, a touch of honey, and a hint of zest, it captures the essence of bright, sunny flavor in every spoonful. The simple ingredients come together quickly on the stovetop, creating a glossy, versatile sauce ready in minutes.
Use it to glaze chicken, drizzle over desserts, or elevate seafood. Its smooth texture and bold citrus profile make it a standout addition to countless recipes.
Store in the fridge for up to a week, or freeze for longer enjoyment. This sauce delivers consistent, restaurant-quality taste with minimal effort.
Ingredients for Recipe Orange Sauce
Bright citrus meets pantry staples for a glossy, versatile sauce ready in minutes.
| Ingredient | Amount | Notes |
|---|---|---|
| Fresh Orange Juice 🍊 | 1 cup | Newly squeezed for brightness |
| Honey 🍯 | 3 tbsp | Raw or pure preferred |
| Orange Zest 🍊 | 1 tbsp | Finely grated from fresh oranges |
| Rice Vinegar 💧 | 1 tbsp | For tangy balance |
| Soy Sauce 🫙 | 1 tbsp | Low-sodium preferred |
| Fresh Ginger 🌿 | 1 tsp | Peeled and minced |
| Garlic Cloves 🧄 | 2 cloves | Minced for depth |
| Cornstarch 🌾 | 1 tsp | Dissolved in water for thickening |
| Water 💧 | 1 tbsp | For cornstarch slurry |
The orange juice is non-negotiable here. Freshly squeezed from navels or Valencia oranges gives the best flavor—bottled just doesn’t compare. Look for heavy, firm fruit at the store (the skin should be vibrant, not dull). Zest your oranges before juicing—organic oranges are ideal since you’ll be using the peel. Most grocery stores carry decent oranges year-round, but farmers markets often have peak-season picks with more juice.
No fresh oranges? Bottled orange juice in a pinch, but reduce the honey slightly since it’s often sweeter. Swap honey for maple syrup or agave if vegan. Rice vinegar can be apple cider vinegar at the same amount. For gluten-free, use tamari instead of soy sauce. The ginger and garlic are flexible—ground ginger at one-fourth the amount or garlic powder at half works if fresh isn’t available.
This sauce keeps beautifully in the fridge for 5-7 days. Freeze in ice cube trays for up to 3 months—perfect for portioning. Always give it a good stir before using, as the cornstarch may settle. Worth making a double batch since it’s so versatile.
Why You’ll Love This Recipe
- 5-Minute Whisk: I just dump everything in a saucepan and stir—no chopping, no fuss. Honestly, it’s ready before the rice finishes cooking.
- Sweet-Tangy Magic: The honey and orange zest balance the soy and vinegar so well it’s ridiculous. I’ll be real: I’ve caught myself licking the spoon more than once.
- Dinner’s Secret Weapon: This sauce turns plain chicken, tofu, or even roasted veggies into something special. Between us, it’s my shortcut to looking like a pro.
Step-by-Step Instructions for Orange Sauce
This straightforward method delivers a glossy, well-balanced citrus sauce with minimal effort.
Step 1: Combine the Base Ingredients
In a medium saucepan, whisk together the 1 cup Fresh Orange Juice, 3 tbsp Honey, 1 tbsp Orange Zest, 1 tbsp Rice Vinegar, and 1 tbsp Soy Sauce. Use a saucepan with a heavy bottom to prevent scorching.
Bring the mixture to a gentle simmer over medium heat. You’ll see small bubbles form around the edges first, then across the surface. This should take about 3-4 minutes. Stir occasionally to help the honey dissolve completely into the liquid.
Step 2: Add Aromatics and Simmer
Once simmering, add the 1 tsp Fresh Ginger and 2 cloves Garlic Cloves. These aromatics will infuse the sauce with depth as it reduces. Stir to distribute them evenly through the liquid.
Reduce the heat to medium-low and let the mixture simmer for 8-10 minutes. The sauce should reduce by about one-third, becoming slightly syrupy. You’ll notice the color deepen slightly and the aroma become more concentrated.
Step 3: Create and Add the Slurry
In a small bowl, whisk together the 1 tsp Cornstarch and 1 tbsp Water until completely smooth. This slurry will thicken the sauce without creating lumps. Make sure there are no visible streaks of cornstarch in the water.
Slowly pour the slurry into the simmering sauce while whisking constantly. This prevents the cornstarch from clumping. Continue to cook for an additional 2-3 minutes until the sauce thickens enough to coat the back of a spoon.
Step 4: Finish and Check Consistency
The sauce is ready when it has a glossy appearance and a consistency similar to light syrup. If it’s too thin, simmer for another 1-2 minutes. If it’s too thick, whisk in a teaspoon of water to reach your desired texture.
Remove from heat and let it cool for 2-3 minutes. The sauce will thicken slightly more as it cools. Taste and adjust seasoning if needed, though the balance of sweet, tangy, and umami should be perfect as is.
Pro Tips For Making Recipe Orange Sauce
- Reduce Low and Slow: Simmer the sauce on medium-low heat for 10-12 minutes—any higher and the honey will caramelize too fast, making the sauce bitter instead of balanced.
- Zest First: Remove the orange zest before juicing the fruit. I learned this the hard way—it’s nearly impossible to zest a halved orange without getting pith in your sauce.
- Skip the Pre-Mix: Don’t combine all ingredients at once. Add the rice vinegar and soy sauce first, then whisk in the honey to prevent clumping.
- Strain the Pulp: After reducing, strain out the pulp for a smoother texture. Sounds fussy, but it makes the sauce cling better to food.
Dietary Considerations for This Recipe
Vegan Adaptation
This sauce can easily be made vegan by swapping the honey for maple syrup or agave nectar at the same 3 tbsp measurement. The flavor profile remains nearly identical, with just a slight difference in aftertaste. I often use Grade A amber maple syrup for its balanced sweetness.
Gluten-Free Version
For those avoiding gluten, simply replace the 1 tbsp soy sauce with tamari or a certified gluten-free soy sauce alternative. The umami depth stays the same, and the sauce maintains its perfect consistency. I always keep San-J Tamari in my pantry for this purpose.
Reduced Sugar Option
Cut the sweetener in half to 1.5 tbsp if you prefer a more tangy profile. You can also use coconut sugar for a lower glycemic index option. The sauce will be slightly less glossy but still packed with citrus flavor. 💡
Allium-Free Adjustment
Omit the 2 cloves garlic entirely for those with sensitivities. The ginger and orange zest will still provide plenty of aromatic complexity. I’ve made this version for friends with garlic allergies, and they never miss it.
Low-Sodium Choice
Use low-sodium soy sauce or reduce the amount to ½ tbsp to lower the sodium content. The other ingredients provide enough flavor that you won’t miss the salt. I often do this when serving the sauce with already-salty dishes.
Paleo-Friendly
For a paleo approach, replace the honey with raw, unfiltered honey and ensure your soy sauce is coconut aminos. The cornstarch can be swapped for arrowroot powder at the same 1 tsp measurement. The result is just as glossy and delicious.
Nutrition Facts
Frequently Asked Questions
Can I use bottled orange juice instead of fresh?
Yes, but reduce the honey to 2 tbsp since bottled juice is often sweeter. Fresh is preferred for the brightest flavor.
How long does this sauce keep in the fridge?
Store in an airtight container for up to 5-7 days. Stir before using as it may thicken slightly when chilled.
Can I make this sauce ahead of time?
Prepare up to 2 days in advance. Reheat gently on the stove, adding a splash of water if needed.
What if my sauce is too thin?
Mix ½ tsp cornstarch with ½ tbsp water, then whisk into simmering sauce. Cook for 1-2 minutes until thickened.

- BBQ Sausage Recipe Oven: Smoky Depth Without the Grill - September 28, 2026
- BBQ Chicken Bowl Recipe Rice: Smoky Sweetness Over Fluffy Grains - September 28, 2026
- Beef Cutlet Recipe Ideas: Crispy Breaded Patties With Bold Seasonings - September 28, 2026