
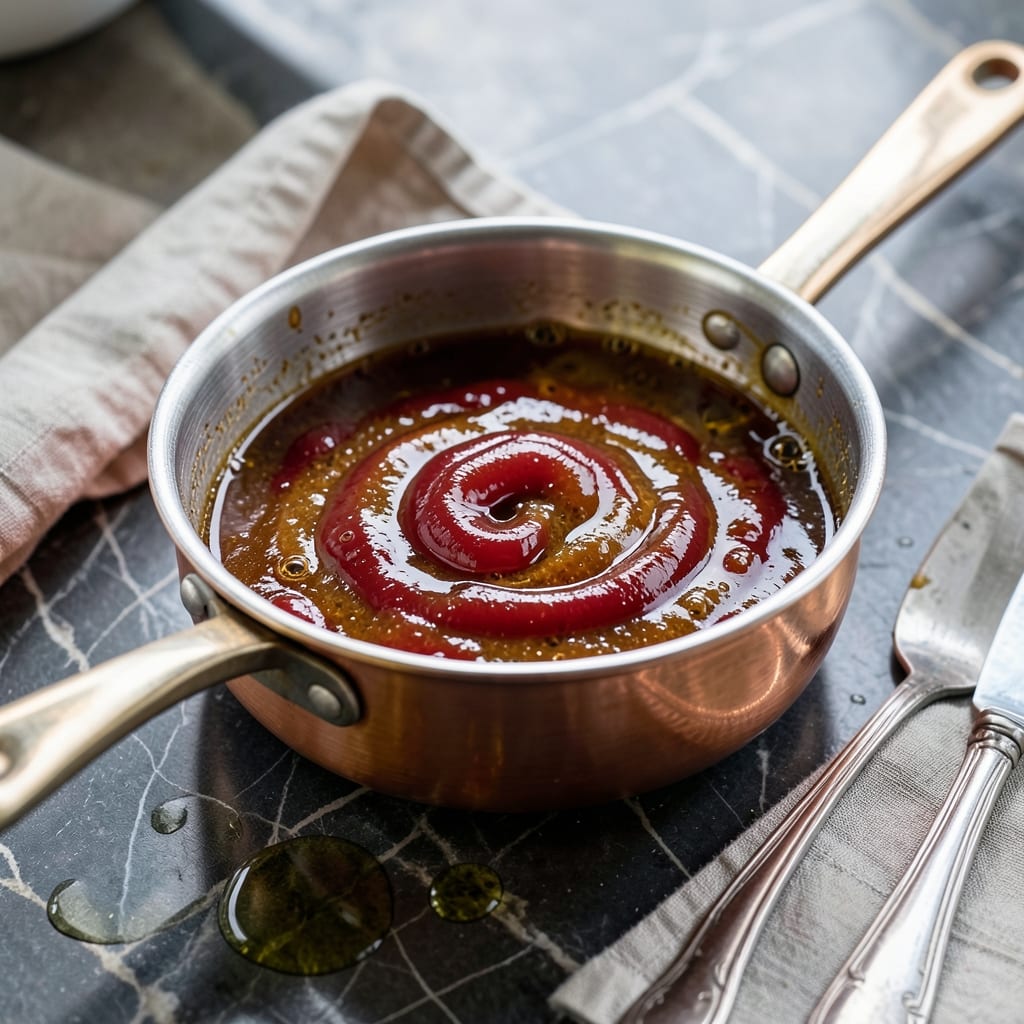
This versatile sweet and sour sauce brings the perfect balance of tangy and sweet flavors to your favorite dishes. I developed this recipe to create a restaurant-quality dip that works beautifully with spring rolls, dumplings, or as a glaze for meats.
The secret lies in the precise combination of vinegar, sugar, and fruit juice that creates that signature bright flavor. This sauce comes together in 10 minutes on the stovetop with minimal effort and maximum payoff.
What you’ll end up with is a glossy, vibrant sauce that’s thick enough to cling to foods but still pourable. The flavors meld together into a complex blend that’s both tangy and subtly sweet, with just the right amount of depth.
Store in an airtight container in the refrigerator for up to two weeks. The sauce actually improves as the flavors continue to develop over time.
Ingredients for Recipe Sweet and Sour Sauce
Nine simple ingredients for that classic tangy-sweet dip you love on everything.
| Ingredient | Amount | Notes |
|---|---|---|
| Rice Vinegar 💧 | ½ cup | Unseasoned for clean flavor |
| Apple Cider Vinegar 🍏 | ¼ cup | Adds depth to tang |
| Granulated Sugar 🍚 | ¾ cup | White or raw cane works |
| Brown Sugar 🟤 | ¼ cup | Packed, for caramel notes |
| Pineapple Juice 🍍 | ¾ cup | 100% juice, no added sugar |
| Tomato Ketchup 🍅 | ¼ cup | For classic red hue |
| Soy Sauce 🫙 | 1 tbsp | Low-sodium for balance |
| Garlic Cloves 🧄 | 2 cloves | Minced for aroma |
| Fresh Ginger 🌿 | 1 tsp | Grated, adds warmth |
| Cornstarch 🌾 | 1 tbsp | Slurry with water to thicken |
The pineapple juice is key here—canned 100% juice (like Dole) works perfectly, no need for fresh. Vinegar balance matters: rice for brightness, apple cider for depth. I grab both at Whole Foods in the Asian foods aisle. For ketchup, Organic Heinz or any no-high-fructose-corn-syrup brand keeps it clean. The ginger and garlic? Fresh only (the jarred stuff loses its punch).
Out of pineapple juice? Orange juice with 1 tsp lemon gets you close. No brown sugar? Coconut sugar at equal amount. Need it gluten-free? Swap soy sauce for tamari. Short on time? Pre-minced garlic and ginger in tubes work fine (just use half the amount). The cornstarch can be swapped for arrowroot at a 1:1 ratio if that’s your thickener of choice.
Sauce keeps for 10-14 days in a sealed jar in the fridge—flavors deepen over time. Freeze in ice cube trays for up to 3 months. Thaw overnight in the fridge before using (it’ll separate, just stir).
Why You’ll Love This Recipe
- 5-Minute Mix: I just dump everything in a saucepan and stir—no chopping, no fuss.
- Tangy Sweetness: The rice vinegar and pineapple juice give it that bright, balanced zing I crave.
- Dinner or Dip: I slather it on chicken one night, use it as a dipping sauce for spring rolls the next.
- Pantry Staples: Honestly, I always have these ingredients on hand, so it’s a no-brainer anytime.
Step-by-Step Instructions for Sweet and Sour Sauce
Here’s the method I use to make this sauce perfectly balanced every time.
Step 1: Combine the Base Ingredients
In a medium saucepan, whisk together the 0.5 cup rice vinegar, 0.25 cup apple cider vinegar, 0.75 cup granulated sugar, and 0.25 cup brown sugar until the sugars begin to dissolve. I like to do this off the heat first to prevent any sugar from sticking to the bottom.
Then add the 0.75 cup pineapple juice and 0.25 cup tomato ketchup, stirring until everything is fully incorporated. The mixture will look thin at this stage, but that’s exactly what we want before cooking. Place the saucepan over medium heat and bring to a gentle simmer.
Step 2: Add Aromatics and Seasonings
Once the mixture is simmering, stir in the 1 tbsp soy sauce, 2 cloves minced garlic, and 1 tsp grated fresh ginger. The garlic and ginger will release their fragrance almost immediately—you’ll smell that warm, spicy aroma filling your kitchen.
Let this simmer for 3-4 minutes, stirring occasionally. This step allows the flavors to meld together and the sugars to fully dissolve. Watch for small bubbles around the edges of the pan—that’s your sign it’s at the right temperature.
Step 3: Create and Add the Slurry
In a small bowl, mix the 1 tbsp cornstarch with 2 tbsp cold water to create a smooth slurry. This is crucial for thickening the sauce without creating lumps. I always use cold water—hot water can start cooking the cornstarch before you even add it to the sauce.
Slowly pour the slurry into the simmering sauce while whisking constantly. The sauce will start to thicken within 30-60 seconds. Keep whisking until it reaches your desired consistency—it should coat the back of a spoon but still be pourable.
Step 4: Simmer to Perfection
Reduce the heat to low and let the sauce simmer for an additional 2-3 minutes. This final cooking time ensures the cornstarch is fully activated and the flavors have developed completely. You’ll notice the sauce becomes glossy and slightly translucent as it thickens.
Taste and adjust if needed—I rarely find this necessary with these proportions, but if you prefer a tangier sauce, a splash more vinegar can be added. Remove from heat and let it cool slightly before using. The sauce will thicken a bit more as it cools, which is perfect for dipping or drizzling.
Pro Tips For Making Recipe Sweet And Sour Sauce
- Simmer Low and Slow: I learned this the hard way—boiling the vinegars and sugars too hot makes the sauce thin and bitter. Keep it at a gentle simmer for 8-10 minutes to let the flavors meld properly.
- Balance the Vinegars: Rice vinegar is milder, so use a 2:1 ratio with apple cider vinegar for that perfect tang. My grandmother swore by this, and she was right: it keeps the sauce from tasting harsh.
- Dissolve Sugars First: Sounds obvious, but stir the granulated and brown sugar into the pineapple juice before adding vinegars. This prevents clumping and guarantees a smooth sauce every time.
- Reduce to Thicken: If your sauce is too runny, don’t add cornstarch—just let it reduce for another 3-4 minutes. This isn’t the fastest method, but it’s the tastiest.
Creative Variations of This Recipe
Fruity Variations
Swap the pineapple juice for 100% orange juice to create a citrusy version that pairs wonderfully with chicken or shrimp. I also like using passion fruit juice for a tropical twist—just reduce it to ½ cup and add ¼ cup water to balance the intensity. 🌟
Spicy Kick
Add 1 tsp sriracha or ½ tsp red pepper flakes while simmering for a spicy-sweet combination. For a smokier heat, stir in ½ tsp smoked paprika or a dash of chipotle powder. The warmth complements the tang beautifully.
Umami Depth
Boost the savory notes by adding 1 tbsp hoisin sauce or 1 tsp fish sauce with the soy sauce. I’ve also had great results with 1 tbsp oyster sauce for a richer, more complex flavor profile.
Low-Sugar Option
Replace ½ cup granulated sugar with ¼ cup honey or maple syrup for a natural sweetener. You can also use erythritol at a 1:1 ratio for a sugar-free version. The sauce will be slightly thinner but just as flavorful.
Herb-Infused
Stir in 1 tbsp fresh cilantro or mint leaves at the end for a bright, herbaceous note. I love adding 1 tsp lime zest for a zesty finish. These additions work especially well with seafood dishes. 💡
Thicker Glaze
Double the cornstarch slurry to 2 tbsp cornstarch + 4 tbsp water for a thicker, glaze-like consistency. This version is perfect for brushing on meats or drizzling over roasted veggies. Simmer for an extra 1-2 minutes to reach the desired thickness.
Nutrition Facts
Frequently Asked Questions
Can I make this sauce ahead of time?
It actually tastes better after 24 hours as flavors meld. Store in an airtight container in the fridge for up to 2 weeks.
What can I use instead of pineapple juice?
Orange juice works well, or try ½ cup passion fruit juice with ¼ cup water. Each adds a unique fruity twist.
How do I fix a sauce that’s too thin?
Mix 1 tsp cornstarch with 2 tsp cold water, then whisk into simmering sauce. It’ll thicken in under 1 minute.
Is this sauce gluten-free?
Swap regular soy sauce for tamari to make it gluten-free. All other ingredients are naturally gluten-free.

- Pav Bhaji Recipe Food Lab: Mumbai Street Food Magic at Home - October 6, 2026
- Peach Jelly Recipe Without Pectin: Naturally Set Sweet Spread - October 6, 2026
- Pasta Salad Recipe With Zesty Italian Dressing: Bright Herb-Kissed Medley for Picnics - October 6, 2026