
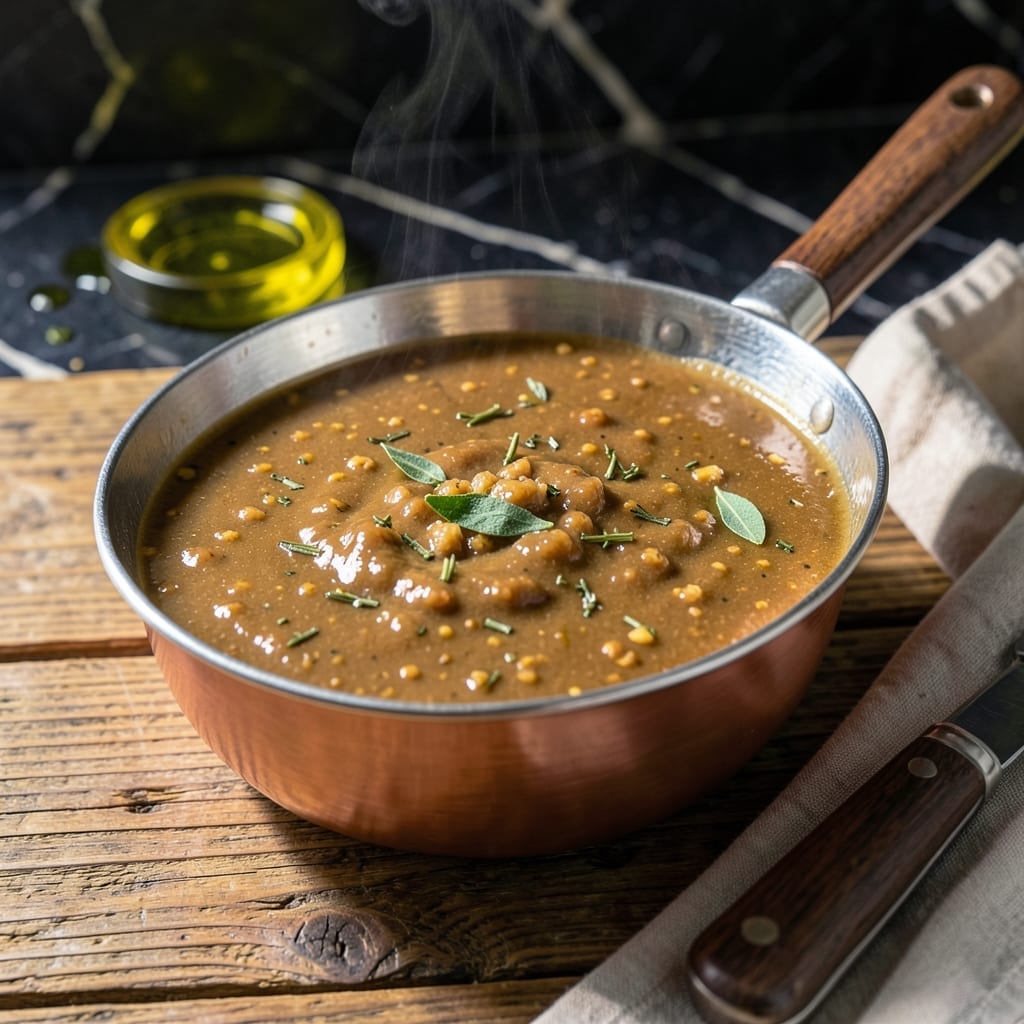
Homemade turkey gravy elevates any meal with its rich, savory depth that store-bought versions can’t match.
This recipe transforms pan drippings into a velvety sauce using a simple roux and quality broth. The process takes just 15 minutes and requires minimal ingredients, making it accessible for any home cook.
What sets this apart is the balance of flavors—herbs from the roasting process infuse the gravy, while a splash of cream adds luxurious texture. It’s the perfect finishing touch for turkey, mashed potatoes, or stuffing.
Make extra and store in the fridge for up to 4 days, or freeze for longer use. The flavor only improves with time.
Ingredients for Recipe Turkey Gravy
Rich, savory depth from pan drippings and a simple roux transforms into velvety perfection.
| Ingredient | Amount | Notes |
|---|---|---|
| Turkey Pan Drippings 🍗 | 2 cups | Skimmed of excess fat |
| All-Purpose Flour 🌾 | ¼ cup | For thickening the roux |
| Turkey Broth 🥣 | 2 cups | Low-sodium preferred for control |
| Heavy Cream 🥛 | ¼ cup | Full-fat for luxurious texture |
| Unsalted Butter 🧈 | 2 tbsp | For roux base |
| Fresh Sage Leaves 🌿 | 4 whole | Chopped, from roasting herbs |
| Fresh Thyme Sprigs 🌿 | 4 whole | Leaves stripped for infusion |
| Kosher Salt 🧂 | ½ tsp | Adjust to taste preference |
| Black Pepper 🌶️ | ½ tsp | Freshly ground for best flavor |
The turkey drippings are non-negotiable for authentic flavor. Use the rendered fat from your roasted bird—it carries the essence of the herbs and seasoning. If you’re short, chicken broth works in a pinch, but turkey is ideal. For the roux, all-purpose flour is standard, but a gluten-free 1:1 blend works if needed. I always keep Better Than Bouillon turkey base on hand for emergencies.
No pan drippings? Substitute with chicken broth plus 1 tbsp butter for richness. Heavy cream can be swapped for half-and-half or whole milk (though the texture won’t be as velvety). Fresh herbs are best, but dried sage and thyme at half the amount works. For a deeper umami flavor, add 1 tsp soy sauce to the broth. The flour can be replaced with cornstarch (mix with cold water first).
Gravy thickens as it cools, so thin with extra broth if needed. Stores in the fridge for 4 days in an airtight container, or freeze for 3 months. Reheat gently, stirring constantly to prevent separation. The flavor deepens beautifully overnight.
Why You’ll Love This Recipe
- One Pan Magic: I just use the turkey drippings and one saucepan—no extra dishes, no fuss.
- Rich and Velvety: The heavy cream and butter blend into this luxurious, deep flavor that’s way better than store-bought.
- Holiday Hero: It’s my go-to for Thanksgiving, but honestly, I make it for Sunday roasts too.
- Stretches the Meal: I pour it over mashed potatoes, stuffing, even leftovers—nothing goes to waste.
Step-by-Step Instructions for Turkey Gravy
Here’s the method to create a silky, lump-free gravy with deep savory flavor every time.
Step 1: Prepare the Infused Drippings
Pour the 2 cups Turkey Pan Drippings through a fine-mesh strainer into a measuring cup, leaving behind any solids. Skim off excess fat from the surface, reserving exactly 2 tablespoons of the rendered fat in your saucepan.
Return the saucepan to medium heat and add the 4 whole Fresh Sage Leaves and 4 whole Fresh Thyme Sprigs. Heat for 2-3 minutes until the herbs become fragrant and the drippings take on a deeper color. This infusion step builds complexity before thickening.
Step 2: Create the Roux Base
Add the 2 tbsp Unsalted Butter to the infused drippings and allow it to melt completely. Immediately whisk in the 0.25 cup All-Purpose Flour to form a smooth paste. This equal fat-to-flour ratio creates the perfect thickening power without a raw flour taste.
Cook the roux over medium heat for 3-4 minutes, stirring constantly with a wooden spoon, until it reaches a light golden color. You want to develop a nutty aroma but not let it darken too much, which would make the gravy bitter.
Step 3: Build the Gravy Foundation
Gradually whisk in the 2 cups Turkey Broth, adding it in a slow, steady stream to prevent lumps. The mixture will thicken immediately as the liquid hits the hot roux. Continue whisking vigorously until the sauce is completely smooth.
Bring the mixture to a gentle simmer, then reduce the heat to medium-low. Cook for 5-7 minutes, stirring frequently, until the gravy has thickened enough to coat the back of a spoon. The color should deepen to a rich amber.
Step 4: Finish with Cream and Seasoning
Remove the saucepan from heat and discard the thyme sprigs. Stir in the 0.25 cup Heavy Cream until fully incorporated. The cream adds a velvety texture and balances the deep turkey flavor.
Return to low heat and add the 0.5 tsp Kosher Salt and 0.5 tsp Black Pepper. Taste and adjust seasoning as needed, remembering that the turkey drippings already contain some salt. The gravy should be rich and savory with a peppery finish.
Step 5: Strain and Serve
For the silkiest texture, pour the gravy through a fine-mesh strainer into a serving vessel, pressing gently on the sage leaves to extract their flavor. This final step removes any remaining bits and ensures a perfectly smooth consistency.
Serve immediately while hot. The gravy should have a glossy sheen and a consistency that drizzles easily but still clings to mashed potatoes or turkey. If it thickens too much while standing, whisk in a splash of warm turkey broth to loosen.
Pro Tips For Making Recipe Turkey Gravy
- Deglaze While Hot: Pour your turkey broth into the pan while it’s still on the burner—those browned bits stuck to the bottom dissolve faster when the heat’s high, and you’ll get way more flavor in your gravy.
- Skim the Fat: After separating the drippings, spoon off the clear fat that rises to the top before making the roux; leaving it in can make your gravy greasy instead of rich.
- Whisk Constantly: When adding flour to the drippings, keep whisking over medium heat for a full 2 minutes—this cooks out the raw flour taste and prevents lumps from forming later.
- Finish with Cream: Stir in the heavy cream at the very end, just before serving; it adds a velvety texture without risking curdling from prolonged heat.
Essential Equipment for This Recipe
Saucepan Selection
I always use a heavy-bottomed stainless steel saucepan—3-quart capacity is ideal. This prevents hot spots that can burn your roux. My go-to is All-Clad for even heat distribution. Avoid nonstick for gravy; the fond needs to develop properly. 🔥
Whisk Matters
A flat-bottomed whisk is essential for getting into the corners of your pan. I prefer a 12-inch silicone-coated whisk from OXO—it won’t scratch your pot and handles thick gravy beautifully. The flat edges help incorporate air for a lighter texture.
Fine-Mesh Strainer
Don’t skip the straining step! A fine-mesh sieve with a 10-inch diameter catches all the bits. I use Cuisinox—it’s sturdy and the mesh is tight enough to create silky-smooth gravy every time.
Measuring Tools
Precision matters with roux ratios. Use liquid measuring cups for broth and dry measuring cups for flour. I keep a 1-cup Pyrex for liquids and a ¼-cup stainless steel set for dry ingredients. This ensures your thickening power is spot-on.
Fat Skimmer
A stainless steel fat skimmer with a long handle is perfect for removing excess grease from drippings. I like Winco’s version—it’s durable and the shallow bowl shape skims efficiently without disturbing the flavorful juices below. 💡
Storage Containers
For leftovers, glass containers with airtight lids preserve freshness best. I use 16-ounce mason jars or Sistema containers. They’re freezer-safe and let you see the gravy’s beautiful color. Always leave ½-inch headspace for expansion.
Nutrition Facts
Frequently Asked Questions
What if I don’t have turkey drippings?
Use 2 cups chicken broth plus 1 tbsp butter for richness. For extra depth, add 1 tsp soy sauce or 1 tbsp turkey base. The flavor won’t be identical but will still be delicious.
How do I fix lumpy gravy?
Whisk vigorously to break up lumps, or strain through a fine-mesh sieve. For stubborn lumps, blend briefly with an immersion blender. Prevention is key—add broth slowly while whisking constantly.
Can I make this ahead of time?
Prepare up to 2 days ahead and refrigerate. Reheat gently on low heat, stirring often. Add a splash of broth if it thickens too much. Flavor improves overnight.
How long will it keep in the freezer?
Store in airtight containers for up to 3 months. Leave ½-inch headspace for expansion. Thaw overnight in the fridge before reheating.

- BBQ Sausage Recipe Oven: Smoky Depth Without the Grill - September 28, 2026
- BBQ Chicken Bowl Recipe Rice: Smoky Sweetness Over Fluffy Grains - September 28, 2026
- Beef Cutlet Recipe Ideas: Crispy Breaded Patties With Bold Seasonings - September 28, 2026