
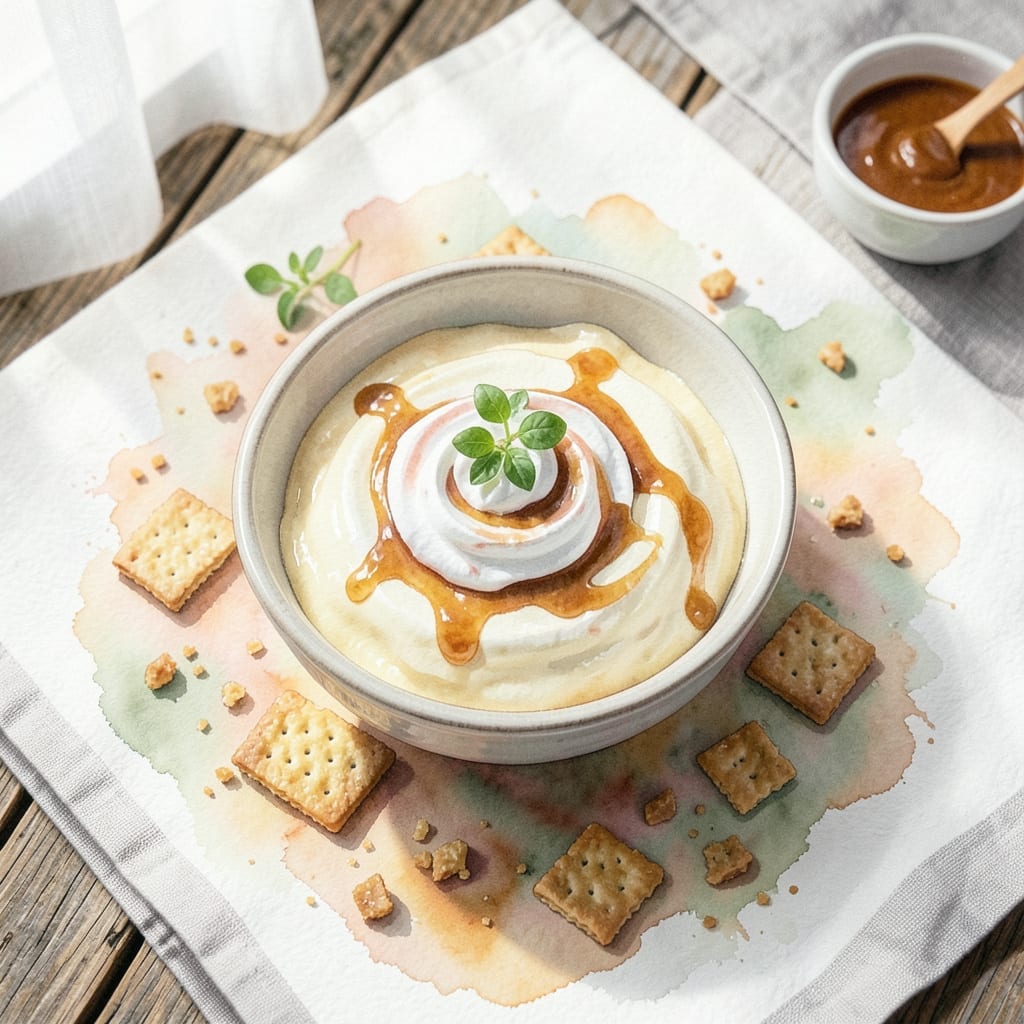
This no-bake dessert proves that vanilla pudding can be the star of your next treat. With just a few simple ingredients, you can create something extraordinary without turning on the oven.
The secret lies in letting the pudding set properly, transforming it into a creamy base that holds layers of flavor together. This method ensures a smooth texture every time, with no baking required.
What you get is a dessert that’s as easy as it is impressive—perfect for last-minute gatherings or when you need a cool, satisfying sweet. The pudding base pairs beautifully with fruits, cookies, or chocolate for endless variations.
Ready in minutes, this dish delivers professional results with minimal effort. Here’s how to make it.
Ingredients for Recipe Using Vanilla Pudding
Pantry staples and a few fresh touches create this no-oven masterpiece.
| Ingredient | Amount | Notes |
|---|---|---|
| Vanilla Instant Pudding Mix 🥣 | 2 boxes | 3.4 oz size each |
| Whole Milk 🥛 | 3 cups | Cold for best setting |
| Heavy Whipping Cream 🥛 | 1 cup | Chilled for whipping |
| Graham Crackers 🍪 | 2 ½ cups | Crushed into fine crumbs |
| Unsalted Butter 🧈 | ½ cup | Melted for crust |
| Granulated Sugar 🍚 | ¼ cup | Optional for sweeter crust |
| Fresh Strawberries 🍓 | 1 lb | Hulled and sliced |
| Semi-Sweet Chocolate Chips 🍫 | 1 cup | For topping or layers |
| Vanilla Extract 💧 | 1 tsp | Pure for best flavor |
| Powdered Sugar 🍚 | 2 tbsp | For dusting finished dessert |
The pudding mix is non-negotiable for that effortless set—Jell-O brand is reliable, but any instant vanilla works. Use whole milk for the creamiest texture; skim just won’t cut it here. For the graham crackers, Honey Maid or store brand both crush up fine (the food processor makes quick work, but a rolling pin and ziplock bag does the trick too). Butter should be unsalted so you control the sweetness.
No graham crackers? Vanilla wafers or digestive biscuits make a fine swap—just pulse them finer. Out of fresh berries? Bananas, raspberries, or even canned pineapple add color and freshness. For a chocolate-free version, crushed cookies or caramel work beautifully. The whipped cream can be homemade or from a can (I won’t tell)—just make sure it’s cold before folding.
Assemble the day ahead if you like—it actually improves overnight. Keeps in the fridge for 3-4 days (though good luck making it last that long). Freezing isn’t recommended; the texture gets grainy. Store any leftovers covered tightly with plastic wrap directly on the surface.
Why You’ll Love This Recipe
- 5-Minute Magic: I mix the pudding, milk, and cream, then let it set—no baking, no fuss.
- Silky Vanilla Dream: The combo of pudding and whipped cream is so smooth, it melts in your mouth.
- Potluck Hero: I bring this layered dessert to gatherings, and the graham cracker crust always disappears first.
- Budget-Friendly Treat: A box of pudding mix and a few pantry staples make a dessert that feeds six for pennies.
Step-by-Step Instructions for No-Bake Vanilla Pudding Dessert
Here’s the no-bake method that comes together in minutes with zero oven time.
Step 1: Create the Graham Cracker Crust Base
Combine the 2.5 cups Graham Crackers (crushed into fine crumbs) with the 0.5 cup Unsalted Butter (melted) and 0.25 cup Granulated Sugar in a bowl. Stir until the mixture resembles wet sand and holds together when pressed.
Press this firmly into the bottom of a 9×13-inch dish using the back of a spoon or a flat-bottomed glass. The crust should be compact and even—this prevents it from crumbling when you serve slices later. Chill in the refrigerator while you prepare the filling.
Step 2: Whip Up the Vanilla Pudding Filling
In a large mixing bowl, whisk together the 2 boxes Vanilla Instant Pudding Mix with the 3 cups Whole Milk for 2 minutes until thickened. I’ve found that using cold milk helps it set faster and creates a smoother texture.
In a separate bowl, whip the 1 cup Heavy Whipping Cream and 1 tsp Vanilla Extract to stiff peaks. Gently fold this into the pudding mixture until fully incorporated. The filling should be light, airy, and able to hold its shape when spooned.
Step 3: Assemble the Layers with Fresh Toppings
Spread the pudding mixture evenly over the chilled graham cracker crust. Now comes the fun part: arrange the 1 lb Fresh Strawberries (hulled and sliced) on top in a single, even layer. I like to slightly overlap the slices for a pretty, professional look.
Sprinkle the 1 cup Semi-Sweet Chocolate Chips evenly over the strawberries, pressing them gently into the filling so they stick. This layering technique ensures every bite has a bit of each component—creamy, fruity, and chocolatey.
Step 4: Chill and Finish with Powdered Sugar
Cover the dish with plastic wrap and refrigerate for at least 2 hours (or up to 4 hours for best results). This chilling time allows the crust to firm up and the filling to set completely. Don’t skip this—it’s what transforms the layers into a cohesive dessert.
Just before serving, dust the top with 2 tbsp Powdered Sugar using a fine-mesh sieve for an even, snow-like coating. Slice into squares and serve immediately. The contrast of the crisp crust, creamy filling, juicy strawberries, and chocolate crunch makes this a standout no-bake treat.
Pro Tips For Making Recipe Using Vanilla Pudding
- Chill the Pudding: Let the vanilla pudding set in the fridge for at least 2 hours—rushing this step leaves it runny, and nobody wants a soggy graham cracker base.
- Use Cold Cream: Whip the heavy cream straight from the fridge; it holds peaks better and gives your layers that fluffy texture I struggled to achieve with room-temp cream.
- Crush Crackers Fine: Pulse the graham crackers into fine crumbs for a smooth crust, or you’ll end up with uneven layers that crack when you slice it.
- Melt Butter Slow: Melt the unsalted butter over low heat to avoid browning it—burnt butter changes the flavor, and I learned this the hard way after a batch tasted bitter.
Serving Suggestions for Leftovers
Plated Elegance
Use a sharp knife dipped in hot water to slice clean squares. Wipe the blade between cuts for perfect edges. I serve on chilled plates to keep the dessert firm longer during summer gatherings. 💡
Garnish Like a Pro
Add a dollop of extra whipped cream and a fresh strawberry on top of each slice. A mint leaf or a drizzle of melted chocolate can add restaurant-style flair. The contrast of colors makes it visually stunning.
Portion Control
For individual servings, use 4-ounce mason jars or clear plastic cups. Layer crust, pudding, strawberries, and chocolate chips in each, repeating for a parfait effect. This is great for picnics or lunchboxes.
Temperature Matters
Serve directly from the fridge for the best texture. If you’re transporting, use an insulated cooler bag with ice packs. Avoid leaving it out for more than 2 hours to prevent the crust from softening.
Pairing Perfection
A cold glass of milk or a cup of coffee cuts through the sweetness beautifully. For adults, a Moscato wine complements the vanilla and strawberry flavors perfectly. 🍷
Make It Interactive
Set up a topping bar with extra chocolate chips, crushed cookies, or fresh berries. Let guests customize their own servings—it’s a fun way to engage everyone at the table.
Nutrition Facts
Frequently Asked Questions
Can I use cooked pudding instead of instant?
No, instant pudding is essential for this no-bake recipe. Cooked pudding won’t set properly at room temperature and can make the layers too runny. Stick with instant vanilla pudding mix for best results.
How long will this keep in the fridge?
Your dessert will stay fresh for 3-4 days when covered tightly. For best texture, store with plastic wrap pressed directly on the surface to prevent a skin from forming.
Can I make this with sugar-free pudding?
Yes! Sugar-free instant vanilla pudding works perfectly. Just ensure all other ingredients (like graham crackers and chocolate) align with your dietary needs. The texture and setting time remain the same.
What if my crust is crumbling?
Press the crust mixture more firmly into the pan and chill for 15 minutes before adding layers. If it’s still crumbly, add 1 tbsp more melted butter to help bind it.

- Bluefin Tuna Recipe Ideas: Sushi-Grade Seared and Sesame-Crusted - September 28, 2026
- Blue Zone Recipe Ideas: Longevity-Boosting Meals for Vibrant Living - September 28, 2026
- Beefaroni Recipe With Tomato Soup: One-Pot Nostalgic Comfort - September 28, 2026