
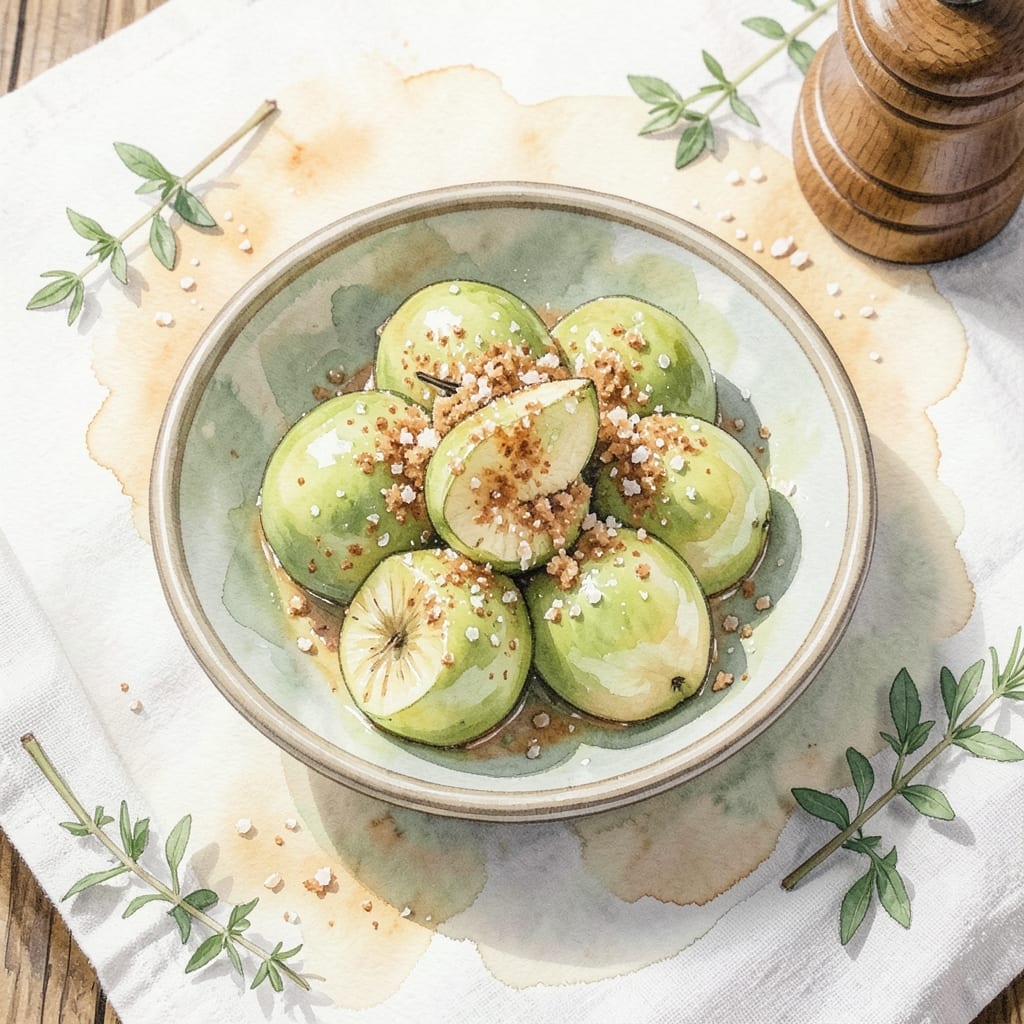
Green apples bring a unique tartness that transforms any dish with their crisp texture and bright flavor.
This creation balances their natural sharpness with complementary ingredients, creating layers of taste that surprise and satisfy. The method ensures the apples maintain their signature bite while developing depth.
You’ll achieve a dish where the tartness plays perfectly against sweet or savory elements, making every bite memorable. The process is straightforward yet delivers impressive results.
Serve warm for maximum comfort or chilled for a refreshing twist. The versatility makes it ideal for any occasion.
Ingredients for Recipe with Green Apples
Bright tart green apples meet warm spices and buttery richness in this layered dish.
| Ingredient | Amount | Notes |
|---|---|---|
| Green Apples 🍏 | 4 whole | Granny Smith preferred for tartness |
| Unsalted Butter 🧈 | 4 tbsp | Divided for cooking and finishing |
| Brown Sugar 🍚 | ½ cup | Light or dark, packed |
| Ground Cinnamon 🌿 | 1 tsp | Freshly ground preferred |
| Vanilla Extract 💧 | 1 tsp | Pure extract for best flavor |
| All-Purpose Flour 🌾 | ½ cup | For light structure |
| Old-Fashioned Oats 🌾 | ¾ cup | Certified gluten-free if needed |
| Chopped Walnuts 🥜 | ½ cup | Toasted for extra crunch |
| Fresh Lemon Juice 🍋 | 1 tbsp | Brightens the dish |
| Salt 🧂 | ¼ tsp | Diamond Crystal kosher preferred |
| Ground Nutmeg 🌰 | 0.125 tsp | Freshly grated ideal |
| Pure Maple Syrup 🍁 | 2 tbsp | Optional for sweetness adjustment |
The apples are non-negotiable here. Granny Smith offers the sharp tartness the dish demands, while Honeycrisp or Braeburn lack the punch. Seek out firm, unbruised fruit—slightly underripe is ideal for maintaining structure. For the butter, Plugrá or Kerrygold deliver superior flavor. The oats should be old-fashioned, not quick or steel-cut, for proper texture.
Need a swap? Pecans or almonds replace walnuts seamlessly. Brown sugar can be swapped for coconut sugar at a 1:1 ratio, though the flavor profile shifts slightly. No cinnamon? Apple pie spice at the same quantity works. For a gluten-free version, certified gluten-free oats and a 1:1 gluten-free flour blend maintain the integrity.
The assembled dish keeps at room temperature for 2 hours—perfect for serving. Refrigerate leftovers in an airtight container for up to 5 days. Reheat briefly in the microwave to restore the buttery notes. The apples soften slightly over time but retain their signature bite.
Why You’ll Love This Recipe
- One Pan Magic: I melt the butter, toss in sliced green apples, and let the brown sugar do its thing—hardly any cleanup.
- Warm Spice Hug: The cinnamon and vanilla make the tart apples taste like autumn in a skillet.
- Breakfast or Dessert: I’ve served this over yogurt for brunch and à la mode for a late-night treat.
Step-by-Step Instructions for Recipe With Green Apples
This method ensures the apples retain their tartness while developing a caramelized depth of flavor.
Step 1: Prepare and Caramelize the Apples
Peel, core, and slice the 4 whole Green Apples into ¼-inch wedges. Toss them immediately with the 1 tbsp Fresh Lemon Juice to prevent browning. This preserves their vibrant color and bright flavor.
In a large skillet, melt 2 tbsp Unsalted Butter over medium heat. Add the apples and cook for 8-10 minutes, stirring occasionally, until they begin to soften and develop a light golden color. The lemon juice will create a subtle glaze as it reduces.
Step 2: Build the Spiced Filling
Sprinkle the 0.5 cup Brown Sugar, 1 tsp Ground Cinnamon, 0.125 tsp Ground Nutmeg, and 0.25 tsp Salt over the apples. Stir gently to coat evenly. The sugar will begin to melt, creating a syrupy base for the filling.
Add the remaining 2 tbsp Unsalted Butter and the 1 tsp Vanilla Extract. Cook for another 3-4 minutes until the mixture thickens slightly and the apples are tender but still hold their shape. The spices should release their aroma, signaling they’ve bloomed fully.
Step 3: Combine the Crumble Topping
In a separate bowl, mix the 0.5 cup All-Purpose Flour, 0.75 cup Old-Fashioned Oats, and 0.5 cup Chopped Walnuts. The texture should resemble coarse crumbs, with the nuts providing a satisfying crunch.
Drizzle in the 2 tbsp Pure Maple Syrup and stir until the mixture is evenly moistened and clumps together when pressed. This ensures the topping will crisp up beautifully in the oven without becoming dry.
Step 4: Assemble and Bake
Transfer the caramelized apples to a baking dish, spreading them in an even layer. Sprinkle the crumble topping evenly over the apples, pressing down lightly to adhere. Place the dish in a preheated 375°F oven.
Bake for 25-30 minutes until the topping is deep golden brown and the filling bubbles at the edges. The apples should be fork-tender, and the crumble will have developed a crisp, buttery crust.
Let it rest for 10 minutes before serving to allow the juices to thicken slightly. This prevents a runny consistency when plated.
Pro Tips For Making Recipe With Green Apples
- Precook the Apples: Toss the sliced green apples with a pinch of salt and let them sit for 10 minutes before cooking—this draws out excess moisture so they caramelize instead of steam.
- Brown the Butter: Melt the unsalted butter over medium heat until it turns golden brown and nutty, about 3-4 minutes, then add the brown sugar for deeper flavor.
- Skip the Water: I learned this the hard way—adding liquid to the pan turns the apples mushy; just let the butter and sugar do the work for tender but intact slices.
- Bloom the Cinnamon: Stir the ground cinnamon into the warm butter for 30 seconds before adding anything else—this wakes up its aroma and makes a real difference in the final dish.
Essential Equipment for This Recipe
Essential Skillet
For caramelizing apples, a heavy-bottomed stainless steel skillet is ideal—I use All-Clad 12-inch. It distributes heat evenly, preventing hot spots that can burn the fruit. The wide base gives apples room to brown properly without steaming. 🔥
Mixing Tools
A medium mixing bowl from Pyrex works perfectly for combining the crumble topping. The clear glass lets me see when the butter and syrup are fully incorporated. I prefer wooden spoons for stirring to avoid scratching my cookware.
Baking Dish
An 8×8-inch baking dish is the right size for this quantity. I recommend Le Creuset stoneware for its even heating and attractive presentation. The depth allows the topping to crisp while keeping the apples juicy underneath.
Measuring Accuracy
Precise measurements matter, so I rely on OXO Good Grips measuring cups and spoons. The magnetic set stays organized, and the clear markings make it easy to level off brown sugar and flour accurately.
Peeling and Slicing
A Y-peeler and sharp chef’s knife make quick work of the apples. I use Wüsthof 8-inch for consistent ¼-inch slices. The peeler’s swivel blade handles the curves of the fruit efficiently.
Resting Surface
After baking, transfer the dish to a wire cooling rack to prevent the bottom from becoming soggy. This allows air circulation underneath while the topping firms up during the 10-minute rest. I find this step crucial for the perfect texture.
Nutrition Facts
Frequently Asked Questions
Can I use a different apple variety?
Granny Smith works best for tartness, but Braeburn or Pink Lady can substitute. Avoid sweeter types like Fuji as they lack the sharp contrast the dish needs.
How do I prevent a soggy topping?
Press the crumble mixture lightly before baking and let it rest for 10 minutes after. This helps the juices thicken. A wire cooling rack also prevents steam buildup underneath.
Can I make this gluten-free?
Yes! Swap the all-purpose flour for a 1:1 gluten-free blend and use certified gluten-free oats. The texture remains crisp and the flavor unchanged.
How long will leftovers keep?
Store in an airtight container in the fridge for up to 5 days. Reheat briefly in the microwave to restore the buttery notes and crispness.

- BBQ Sausage Recipe Oven: Smoky Depth Without the Grill - September 28, 2026
- BBQ Chicken Bowl Recipe Rice: Smoky Sweetness Over Fluffy Grains - September 28, 2026
- Beef Cutlet Recipe Ideas: Crispy Breaded Patties With Bold Seasonings - September 28, 2026