
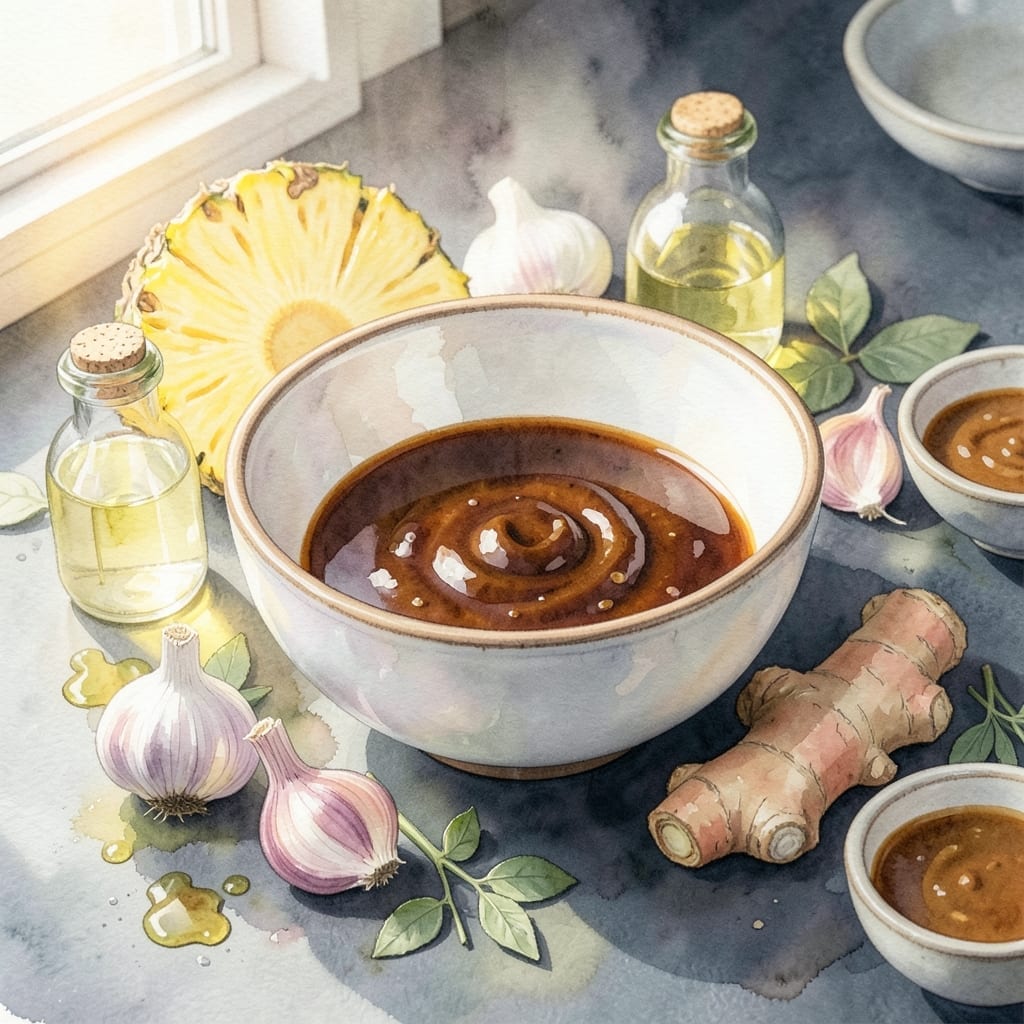
This teriyaki sauce with pineapple juice delivers the perfect balance of sweet and savory with a tropical twist. 🌟 The addition of pineapple juice enhances the natural sweetness while adding a subtle fruity depth that elevates every dish.
I developed this version after years of experimenting with traditional recipes, seeking that ideal glaze consistency. The sauce thickens beautifully as it simmer, creating a glossy finish that clings to proteins and vegetables alike.
What sets this apart is its versatility—use it as a marinade, dipping sauce, or finishing glaze. The pineapple juice not only sweetens but also tenderizes, making it ideal for meats, tofu, or grilled vegetables.
Store extras in the fridge for up to a week, or freeze for longer use. The flavor intensifies over time, making leftovers even more delicious.
Ingredients for Teriyaki Sauce Recipe Pineapple Juice
Nine ingredients transform into this glossy, sweet-savory tropical glaze in minutes.
| Ingredient | Amount | Notes |
|---|---|---|
| Pineapple Juice 🍍 | 1 cup | 100% pure, no added sugar |
| Low-Sodium Soy Sauce 🫒 | ½ cup | Tamari for gluten-free option |
| Rice Vinegar 🧂 | ¼ cup | Unseasoned variety preferred |
| Agave Nectar 🍯 | ⅓ cup | Maple syrup works too |
| Fresh Garlic Cloves 🧄 | 3 cloves | Minced finely for even flavor |
| Fresh Ginger Root 🌿 | 1 tbsp | Peeled and grated |
| Sesame Oil 🫒 | 1 tbsp | Toasted for deeper aroma |
| Cornstarch 🌾 | 1 ½ tbsp | For thickening the glaze |
| Cold Water 💧 | 2 tbsp | To dissolve cornstarch |
The pineapple juice is key—100% pure with no added sugar keeps the flavor clean and bright. I grab mine from Trader Joe’s or Whole Foods since their cold-pressed options have the best flavor. For the soy sauce, low-sodium gives you more control over the saltiness. Fresh ginger and garlic make all the difference (the jarred stuff just doesn’t compare).
No pineapple juice? Orange juice plus a splash of lime gets you close. Out of agave? Brown sugar dissolved in warm water works in a pinch. For a gluten-free version, tamari swaps in perfectly for soy sauce. The sesame oil adds that signature nutty depth—toasted is better than untoasted. If you skip the cornstarch, just simmer longer for a thicker consistency.
This keeps beautifully in the fridge for up to 1 week, and the flavors actually deepen over time. For longer storage, freeze in ice cube trays—3 months max. Just thaw and give it a good stir before using (it separates a bit, normal thing).
Why You’ll Love This Recipe
- Five-Minute Mix: I just dump everything in a saucepan—pineapple juice, soy sauce, the works—and it’s ready before the rice finishes cooking.
- Sweet-Tangy Balance: The agave and pineapple juice give it this bright, fruity sweetness that cuts through the garlic’s bite.
- Marinade or Glaze: I use it on chicken skewers one night, then drizzle it over stir-fried veggies the next.
- Pantry Staples: Between us, I already had all five ingredients on hand, so it costs me nothing but five minutes and a spoon to taste-test.
Step-by-Step Instructions for Teriyaki Sauce With Pineapple Juice
Here’s the method to create a glossy, restaurant-quality glaze with tropical depth.
👨🍳 Step 1: Sauté Aromatics in Toasted Sesame Oil
Heat a medium saucepan over medium-low heat and add the 1 tbsp Sesame Oil. Once it shimmers—that’s your cue—add the 3 cloves Fresh Garlic Cloves and 1 tbsp Fresh Ginger Root. Sauté for 1-2 minutes, stirring constantly, until the garlic turns light golden and releases its fragrance.
Watch closely—garlic burns quickly, especially at higher temperatures. You want it fragrant, not brown. The sesame oil will infuse with the garlic and ginger, building the aromatic base for your sauce. This step takes advantage of how fat-soluble flavors develop deeper complexity.
🍳 Step 2: Combine Liquid Ingredients and Simmer
Pour in the 1 cup Pineapple Juice, 0.5 cup Low-Sodium Soy Sauce, 0.25 cup Rice Vinegar, and 0.33 cup Agave Nectar. Stir well to combine. Increase heat to medium-high and bring the mixture to a gentle boil.
Once boiling, reduce heat to maintain a steady simmer. You’ll notice the liquid reduce slightly as the pineapple juice begins to concentrate—its natural sweetness will intensify beautifully. Let it simmer for 5-7 minutes to let the flavors meld completely.
🥘 Step 3: Create and Add Cornstarch Slurry
In a small bowl, whisk together the 1.5 tbsp Cornstarch and 2 tbsp Cold Water until completely smooth. This slurry is crucial for achieving that signature glossy finish. The cold water prevents the cornstarch from clumping when it meets the hot liquid.
Slowly pour the slurry into the simmering sauce while whisking constantly. The mixture will immediately begin to thicken. Continue cooking for 1-2 minutes until it reaches your desired consistency—it should coat the back of a spoon with a glossy sheen.
⏰ Step 4: Finish and Cool Slightly
Remove the saucepan from heat. The teriyaki sauce will thicken slightly more as it cools. Give it a final taste and adjust if needed—though with these proportions, you’ve likely hit the perfect sweet-savory balance.
Let it cool for 5-10 minutes before using. The sauce should be thick enough to cling to foods but still pourable. As it cools, it will develop a beautiful, deep amber color with a glossy finish that makes any dish look professionally prepared.
Pro Tips For Making Teriyaki Sauce Recipe Pineapple Juice
- Simmer Low and Slow: I learned this the hard way—boiling teriyaki sauce makes it too thick and bitter. Keep it at a gentle simmer for 8-10 minutes to let the pineapple juice and agave meld without scorching.
- Mince Garlic Fine: Fresh garlic cloves can overpower if left too chunky. Mince them to the size of rice grains so they distribute evenly and infuse the sauce without harsh bites.
- Reduce Before Sweetening: Skip adding agave nectar until after the pineapple juice and soy sauce have reduced by a third. This prevents the sauce from being watery or overly sweet.
- Use Fresh Pineapple Juice: Bottled juice works in a pinch, but fresh pineapple juice—strained to remove pulp—actually changes the outcome with brighter, more vibrant flavor.
Common Mistakes When Making Perfect Results
Overcooking the Garlic
Garlic burns in seconds at high heat, turning bitter and ruining the sauce. Keep your heat at medium-low and stir constantly once it hits the pan. I pull mine off just as it turns light golden—about 1-2 minutes max. 🌡️
Skipping the Slurry
Dumping dry cornstarch directly into hot liquid creates lumps. Always mix 1.5 tbsp cornstarch with 2 tbsp cold water first for a smooth slurry. This ensures even thickening without clumps.
Boiling Too Vigorously
A rolling boil can cause the sauce to separate or burn. Maintain a gentle simmer after adding all liquids. The pineapple juice needs time to concentrate its sweetness without reducing too fast.
Not Tasting Before Serving
Pineapple juice sweetness varies by brand. I always taste after simmering and adjust with a touch more agave nectar or soy sauce if needed. The balance should be sweet with a savory backbone.
Using Wrong Soy Sauce
Regular soy sauce can make your glaze too salty. Stick with low-sodium for better control. For gluten-free, tamari works perfectly without changing the flavor profile.
Rushing the Cooling
The sauce thickens as it cools. Let it rest for 5-10 minutes before using. This ensures it will cling properly to your proteins or veggies rather than running off. 💡
Nutrition Facts
Frequently Asked Questions
Can I substitute another juice for pineapple?
Yes! Orange juice with a splash of lime works well. The acidity helps balance the sweetness, similar to pineapple. Just taste and adjust sweetness as needed.
How long does this sauce keep in the fridge?
It stays fresh for up to 1 week in an airtight container. The flavors actually deepen over time, making leftovers taste even better.
Why use cornstarch instead of flour?
Cornstarch creates a glossier, clearer finish and thickens at lower temperatures. Flour can make the sauce cloudy and requires longer cooking.
Can I make this gluten-free?
Just swap the soy sauce for tamari. It has a similar flavor profile and works perfectly in this recipe.

- BBQ Sausage Recipe Oven: Smoky Depth Without the Grill - September 28, 2026
- BBQ Chicken Bowl Recipe Rice: Smoky Sweetness Over Fluffy Grains - September 28, 2026
- Beef Cutlet Recipe Ideas: Crispy Breaded Patties With Bold Seasonings - September 28, 2026