
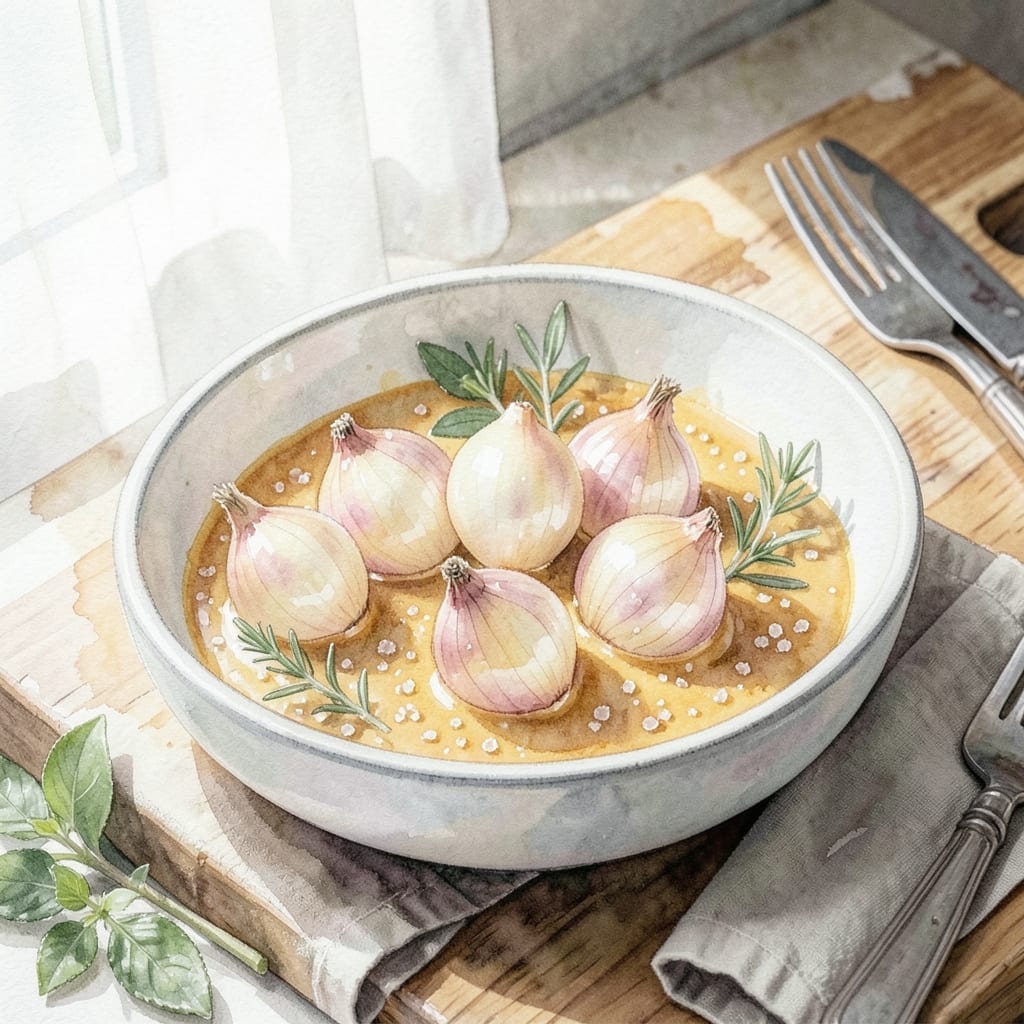
Pearl onions bring a touch of sophistication to any meal, and this preparation elevates them to new heights. The natural sweetness of these tiny onions pairs perfectly with a rich, buttery glaze that develops as they cook.
I’ve found that the key to achieving that ideal balance of tenderness and caramelization lies in patient cooking over medium heat. This method ensures the onions soften evenly while allowing their sugars to transform into a glossy, golden finish.
What results is a side dish that’s both elegant and effortless, with each bite delivering a delicate, melt-in-your-mouth texture. The glaze coats the onions beautifully, making them as visually appealing as they are delicious.
The versatility of this dish makes it a standout addition to any menu, complementing everything from roasted meats to simple weeknight dinners.
Ingredients for Recipe with Pearl Onions
Elevate your meal with pearl onions, butter, and a few pantry staples for sophisticated flavor.
| Ingredient | Amount | Notes |
|---|---|---|
| Pearl Onions 🧅 | 1 ½ lb | Peeled, whole and fresh |
| Unsalted Butter 🧈 | 4 tbsp | High-quality for best flavor |
| Granulated Sugar 🍚 | 1 tbsp | For caramelization balance |
| Kosher Salt 🧂 | ½ tsp | Diamond Crystal preferred |
| Freshly Ground Black Pepper 🌶️ | ¼ tsp | Coarse grind for texture |
| Fresh Thyme Sprigs 🌿 | 4 sprigs | Leaves stripped for garnish |
| Dry White Wine 🍷 | ¼ cup | Sauvignon Blanc or Pinot Grigio |
| Beef Stock 🥩 | ½ cup | Low-sodium for control |
| Balsamic Vinegar 🍯 | 1 tbsp | Aged for depth of flavor |
| Olive Oil 🫒 | 1 tbsp | For sautéing onions |
| Garlic Cloves 🧄 | 2 cloves | Minced for aromatic base |
| Heavy Cream 🥛 | ¼ cup | For rich, velvety finish |
Pearl onions are the star here. Look for firm, unblemished bulbs with dry skins—Whole Foods or Trader Joe’s usually have the best selection. The butter should be high-fat European-style (like Plugrá) for that luxurious glaze. Fresh thyme makes a difference, but dried works in a pinch (use one-third the amount). If peeling seems tedious, frozen pearl onions are a solid shortcut.
No white wine? Chicken or vegetable stock with a splash of lemon juice gets you close. Swap beef stock for mushroom stock if you want it vegetarian. Heavy cream can be whole milk in a pinch, but the glaze won’t be as glossy. Balsamic vinegar is non-negotiable—it’s what gives the glaze that deep, caramelized color. If you’re out, red wine vinegar works (but add a pinch of sugar).
These onions reheat like a dream—actually taste better the next day. Store in an airtight container for up to 4 days in the fridge. Freeze for 3 months if you’re meal prepping. The glaze thickens as it cools, so warm gently with a splash of water.
Why You’ll Love This Recipe
- One-Pan Wonder: I toss the pearl onions in with butter and sugar, let them caramelize, and cleanup’s just a quick scrape.
- Sweet & Savory Magic: The sugar turns those onions golden and tender while the butter adds this rich, melt-in-your-mouth depth.
- Holiday Lifesaver: I make a big batch for Thanksgiving and reheat them with the turkey—no last-minute stress.
- Budget Stretch: A pound of pearl onions costs pennies, and with butter and sugar, it feels like a luxury side.
Step-by-Step Instructions for Buttery Glazed Pearl Onions
Here is the method that turns humble onions into a restaurant-worthy side dish.
Step 1: Prep and Sear the Pearl Onions
Heat 1 tbsp olive oil in a large skillet over medium-high heat. Add the 1.5 lb pearl onions and cook, stirring occasionally, for 8-10 minutes until they develop golden-brown edges and begin to soften.
You want good color on the onions—don’t rush this step. The caramelization that happens here builds the deep, sweet flavor base. If the pan looks dry, add a splash of water to deglaze and keep things moving.
Step 2: Build the Flavor Base with Aromatics
Reduce heat to medium and add the 4 tbsp unsalted butter, 1 tbsp granulated sugar, 0.5 tsp kosher salt, 0.25 tsp freshly ground black pepper, and 2 cloves minced garlic cloves. Stir until the butter melts and the garlic becomes fragrant, about 1-2 minutes.
The sugar will help the onions caramelize further, while the butter adds richness. Watch closely—garlic burns easily, and burnt garlic will make the dish bitter. Toss in the 4 sprigs fresh thyme sprigs to infuse the butter with herbal notes as it melts.
Step 3: Deglaze and Simmer for Tenderness
Pour in the 0.25 cup dry white wine and 1 tbsp balsamic vinegar, scraping up any browned bits from the bottom of the pan. Let the liquid simmer for 2-3 minutes until it reduces by half.
Add the 0.5 cup beef stock and bring to a gentle simmer. Cover the pan and let the onions cook for 10-12 minutes until they’re tender when pierced with a knife. The liquid should reduce slightly but still coat the onions.
Step 4: Finish with Cream for a Velvety Glaze
Uncover the pan and stir in the 0.25 cup heavy cream. Simmer uncovered for 3-5 minutes until the sauce thickens enough to coat the back of a spoon and the onions are glossy and rich.
Taste and adjust seasoning if needed—the sauce should be balanced between sweet, tangy, and savory. If it’s too thick, add a splash of water or stock to loosen it. Discard the thyme sprigs before serving.
Pro Tips For Making Recipe With Pearl Onions
- Blanch First: Drop pearl onions in boiling water for 30 seconds, then shock in ice water—this makes peeling them a breeze and saves you 20 minutes of frustration.
- Brown the Butter: Let the butter cook until it turns golden and nutty before adding onions; it adds depth that plain melted butter just can’t match.
- Skip the Overcrowding: I learned this the hard way—if you dump all the onions in at once, they’ll steam instead of caramelize. Do it in batches if needed.
- Salt the Onions: Hit the onions with a pinch of kosher salt as soon as they hit the pan; it draws out moisture faster and gets the caramelization started right.
Essential Equipment for Perfect Results
Skillet Selection
I always reach for my 12-inch stainless steel skillet for this recipe. The wide surface area lets you spread the onions in a single layer for even browning. All-Clad is my go-to brand—their tri-ply construction distributes heat beautifully and prevents hot spots that can burn the butter. 🔥
Wooden Spoon Essentials
A good wooden spoon is non-negotiable here. It won’t scratch your skillet and lets you scrape up all those flavorful browned bits. I prefer a solid beechwood spoon with a flat edge—it’s sturdy enough to stir the onions without breaking.
Lid for Simmering
You’ll need a tight-fitting lid for the simmering phase. If your skillet didn’t come with one, any 12-inch glass lid will work. I love glass because it lets me monitor the onions without lifting the lid and releasing steam. Pyrex makes a great universal option.
Fine-Mesh Strainer
If you’re peeling fresh pearl onions, a fine-mesh strainer is a game-changer. Blanch the onions in boiling water for 30 seconds, then shock them in ice water. The strainer makes draining and transferring them a breeze.
Instant-Read Thermometer
While not strictly necessary, I use my ThermoWorks ThermoPop to check the sauce temperature. You want it to reach about 180°F when adding the cream to prevent curdling. It’s a small detail that ensures a silky-smooth glaze every time.
Serving Dish
These onions deserve a beautiful presentation. I use a white ceramic serving bowl from Le Creuset—the contrast with the golden onions is stunning. Plus, the wide rim makes it easy to serve with a spoon. 💛
Nutrition Facts
Frequently Asked Questions
Can I use frozen pearl onions instead of fresh?
Thaw them first and pat dry. They work well in this recipe and save peeling time. Just reduce initial cooking time by 2-3 minutes since they’re pre-blanched.
Why does the recipe call for both butter and olive oil?
The olive oil prevents butter from burning at high heat, while butter adds rich flavor. This combo ensures perfect browning without bitterness.
What can I substitute for white wine?
Use chicken stock with 1 tbsp lemon juice for acidity. Apple cider vinegar diluted with water also works in a pinch.
How do I keep the glaze from breaking when adding cream?
Temper the cream by stirring in a spoonful of hot liquid first. Also, keep heat at medium (not high) when adding it.

- BBQ Sausage Recipe Oven: Smoky Depth Without the Grill - September 28, 2026
- BBQ Chicken Bowl Recipe Rice: Smoky Sweetness Over Fluffy Grains - September 28, 2026
- Beef Cutlet Recipe Ideas: Crispy Breaded Patties With Bold Seasonings - September 28, 2026