
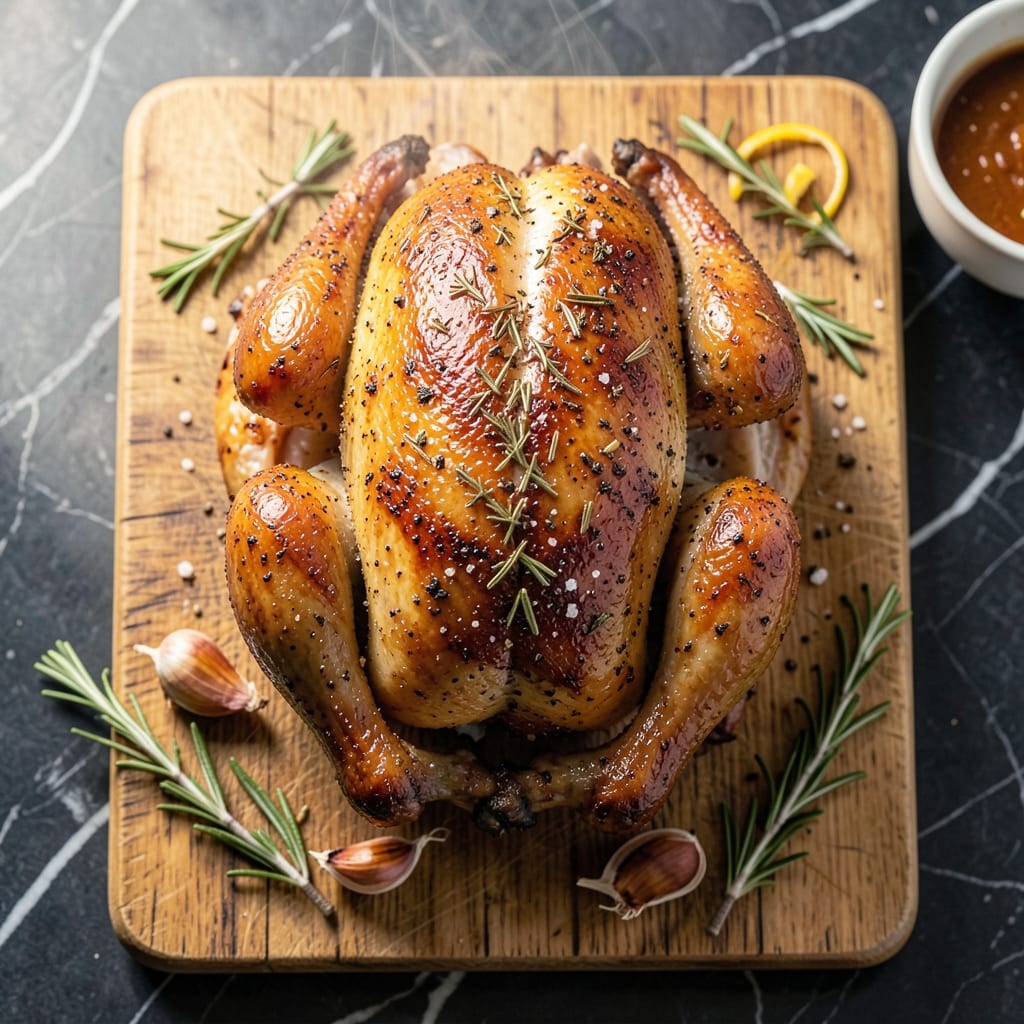
Achieving juicy rotisserie-style chicken at home with perfectly golden crisp skin is absolutely possible in your oven. My method delivers the same tender meat and flavorful seasoning you love from the store.
This approach uses simple ingredients and a standard oven to recreate that signature rotisserie taste. The key is proper seasoning, even heat distribution, and a cooking technique that locks in moisture while crisping the skin.
You’ll end up with meat that falls off the bone and skin that crackles with every bite. The aroma alone will have everyone gathering in the kitchen before it’s even done.
Serve it hot for dinner or use the leftovers in sandwiches, salads, and soups all week long.
Ingredients for Rotisserie Chicken Recipe Oven
Simple pantry staples and a whole bird are all you need for this golden, crisp-skinned masterpiece.
| Ingredient | Amount | Notes |
|---|---|---|
| Whole Chicken 🍗 | 4 lb | Giblets removed, patted dry |
| Kosher Salt 🧂 | 1 ½ tbsp | Diamond Crystal preferred for even coating |
| Black Pepper 🌶️ | 1 tsp | Freshly ground for best flavor |
| Garlic Powder 🧄 | 1 tsp | Not garlic salt |
| Onion Powder 🧅 | 1 tsp | Fine powder for even distribution |
| Dried Thyme 🍃 | 1 tsp | Rubbed between fingers to release oils |
| Dried Rosemary 🌿 | 1 tsp | Crushed to enhance aroma |
| Paprika 🌶️ | 1 tsp | Sweet or smoked variety |
| Unsalted Butter 🧈 | 4 tbsp | Melted for basting |
| Olive Oil 🫒 | 2 tbsp | Extra-virgin for richness |
| Lemon 🍋 | 1 whole | Halved for cavity and basting |
| Fresh Thyme Sprigs 🌿 | 4 pieces | Optional for additional aroma |
| Fresh Rosemary Sprigs 🌿 | 2 pieces | Optional for garnish |
The chicken is the star, so start with a 4-pound bird—any smaller and it dries out, any larger and it won’t cook through evenly. I grab mine from Whole Foods (their birds are consistently plump and flavorful), but Costco works great for a budget-friendly option. Look for skin that’s smooth and pale, not wrinkled or gray. Pat it very dry before seasoning (this ensures that crackling skin).
No garlic powder? Fresh garlic at double the amount, minced and mixed with the other dry spices. Out of thyme or rosemary? Poultry seasoning at half the amount covers both. The butter can be swapped for olive oil if you’re avoiding dairy, but you’ll lose some richness. For extra flavor, add a few crushed juniper berries to the cavity with the lemon.
Leftovers keep for 4 days in the fridge—shred the meat and store it separately from the skin to keep it moist. The carcass makes killer stock. Freezes beautifully for 3 months if you wrap it tightly. I always make two at once (the second one’s for sandwiches).
Why You’ll Love This Recipe
- Set It and Forget: I rub the chicken with salt, pepper, and those powders, pop it in the oven, and walk away—no basting, no flipping.
- Crispy, Juicy Magic: The skin comes out golden and crackly while the meat stays tender, all thanks to that simple dry rub.
- Meal Prep MVP: One chicken becomes tacos, soup, or sandwiches for days. Honestly, it’s my weekly shortcut.
- Budget Hero: A whole bird plus pantry staples feeds my family for less than takeout, with leftovers to spare.
Step-by-Step Instructions for Rotisserie Chicken Oven
Here’s my foolproof method for achieving that signature rotisserie taste with crispy skin and tender meat.
Step 1: Season the Chicken Inside and Out
Pat the 4 lb Whole Chicken completely dry with paper towels, paying special attention to the cavity. This is crucial for crispy skin. In a small bowl, combine the 1.5 tbsp Kosher Salt, 1 tsp Black Pepper, 1 tsp Garlic Powder, 1 tsp Onion Powder, 1 tsp Dried Thyme, 1 tsp Dried Rosemary, and 1 tsp Paprika.
Rub this spice mixture all over the chicken, including inside the cavity. I like to work it under the skin of the breast and thighs too. Place the 1 whole Lemon halves and 4 pieces Fresh Thyme Sprigs inside the cavity for extra aroma. Let it sit at room temperature for 30 minutes.
Step 2: Truss and Prepare for Roasting
Position a rack in the lower third of your oven and preheat to 425°F. Meanwhile, truss the chicken by tying the legs together with kitchen twine. Tuck the wings under the body. This compact shape ensures even cooking and prevents drying.
In a small saucepan, melt the 4 tbsp Unsalted Butter with the 2 tbsp Olive Oil. Brush this mixture all over the chicken’s skin. The butter adds richness while the olive oil helps achieve that perfect golden brown color. Place the chicken breast-side up on a roasting rack set in a rimmed baking sheet.
Step 3: Roast and Baste for Even Cooking
Roast the chicken for 20 minutes at 425°F, then reduce the temperature to 375°F. Baste the chicken with the pan juices and continue roasting. I recommend basting every 15-20 minutes for the next 40-50 minutes.
You’ll know it’s done when an instant-read thermometer inserted into the thickest part of the thigh (not touching bone) reads 165°F. The skin should be deep golden brown and crispy, and the juices should run clear when you pierce the thigh.
Step 4: Rest and Serve
Transfer the chicken to a cutting board and tent loosely with foil. Let it rest for 15-20 minutes before carving. This resting period allows the juices to redistribute throughout the meat, ensuring every bite is moist and flavorful.
Garnish with the 2 pieces Fresh Rosemary Sprigs if desired. Carve and serve immediately. The result should be tender, juicy meat with crispy, flavorful skin that rivals any store-bought rotisserie chicken.
Pro Tips For Making Rotisserie Chicken Recipe Oven
- Start Hot, Finish Slow: I learned this the hard way—blast the oven at 450°F for the first 20 minutes to crisp the skin, then drop to 350°F to cook the chicken through without drying it out.
- Dry the Skin: Pat the whole chicken very dry with paper towels before seasoning. Sounds tedious, but it’s the only way to get that rotisserie-style golden crust.
- Season Under Skin: Don’t just rub spices on the outside—gently loosen the skin and work some of that kosher salt, garlic powder, and onion powder underneath. It actually changes the outcome.
- Rest Before Carving: Give it a solid 10-15 minutes under foil after baking. I skip this when I’m lazy, but the juices redistribute and the meat stays moist every time I wait.
Serving Suggestions for This Recipe
Family-Style Platter
Place the whole chicken on a large wooden board or platter surrounded by roasted potatoes and carrots. I love the rustic presentation for Sunday dinners. The juices soak into the veggies beautifully.
Herb Garnish Touch
Scatter fresh parsley or chives over the chicken right before serving. The green pops against the golden skin. A squeeze of lemon wedges adds a bright finish that cuts through the richness. 💛
Sauce Pairings
Offer gravy and chicken stock on the side for dipping. For a lighter option, mix 2 tbsp Greek yogurt with 1 tsp honey and ½ tsp Dijon mustard. This creamy dip balances the savory flavors perfectly.
Bread Basket
Warm crusty bread or dinner rolls are essential for soaking up the pan juices. I bake mine with garlic butter for extra flavor. Serve in a linen-lined basket for that cozy touch.
Simple Salad
A crisp green salad with balsamic vinaigrette lightens the meal. Toss 5 oz mixed greens with ¼ cup dressing. The acidity refreshes your palate between bites of rich, tender meat. 🥗
Leftover Prep
Set out small bowls for shredded chicken to use in tacos or salads later. I always make extra for quick meals. The crispy skin stays perfect for 2 days if stored separately from the meat.
Nutrition Facts
Frequently Asked Questions
What temperature should my oven be set to?
Start with 425°F for the first 20 minutes, then reduce to 375°F for the remainder. This high-to-low method ensures crispy skin and even cooking throughout.
How do I know when it’s fully cooked?
Use an instant-read thermometer—the thickest part of the thigh should reach 165°F. The juices should run clear, and the skin should be deep golden brown and crispy.
Can I use a smaller or larger chicken?
A 4 lb bird works best for even cooking. Smaller ones may dry out, while larger ones might not cook through properly. Adjust cooking time by about 10-15 minutes per pound.
Do I need to truss the chicken?
Yes! Trussing keeps the chicken compact for even cooking and prevents drying. Simply tie the legs together with kitchen twine and tuck the wings under the body.

- BBQ Sausage Recipe Oven: Smoky Depth Without the Grill - September 28, 2026
- BBQ Chicken Bowl Recipe Rice: Smoky Sweetness Over Fluffy Grains - September 28, 2026
- Beef Cutlet Recipe Ideas: Crispy Breaded Patties With Bold Seasonings - September 28, 2026