
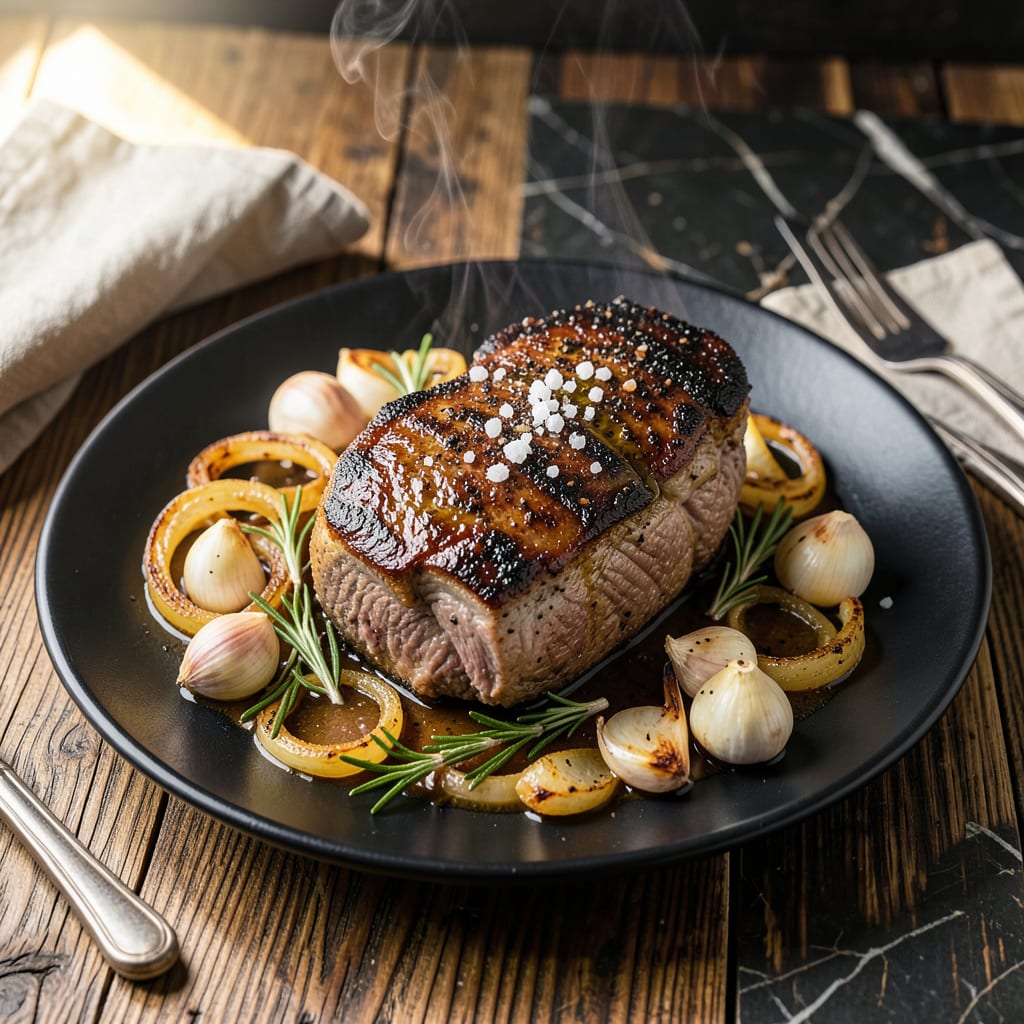
I used to avoid chuck roast until I discovered the magic of slow braising. 8 hours in the oven transforms this tough cut into melt-in-your-mouth perfection.
The secret is low heat and liquid that barely simmers. By the time it’s done, the meat falls apart at the touch of a fork, and the sauce is rich enough to spoon over mashed potatoes.
Ingredients for Shoulder Chuck Roast
Slow braising turns this budget cut into something extraordinary with just a few ingredients.
| Ingredient | Amount | Notes |
|---|---|---|
| Chuck Roast 🥩 | 3 lb | Well-marbled, boneless preferred |
| Kosher Salt 🧂 | 2 tsp | Diamond Crystal preferred |
| Black Pepper 🌶️ | 1 tsp | Freshly ground |
| Olive Oil 🫒 | 2 tbsp | Extra-virgin for richness |
| Yellow Onion 🧅 | 1 whole | Large, diced |
| Garlic Cloves 🧄 | 6 cloves | Minced for depth |
| Carrots 🥕 | 3 whole | Peeled, chopped into chunks |
| Celery Stalks 🌿 | 2 whole | Chopped for aroma |
| Red Wine 🍷 | 2 cups | Dry, bold variety |
| Beef Broth 🥣 | 2 cups | Low-sodium preferred |
| Tomato Paste 🍅 | 2 tbsp | For umami depth |
| Dried Thyme 🌿 | 1 tsp | Crushed between fingers |
| Dried Rosemary 🌿 | 1 tsp | Crushed for fragrance |
| Bay Leaf 🍃 | 1 whole | Removed before serving |
The chuck roast is non-negotiable here. Look for good marbling—that fat transforms into tenderness during the long cook. Costco has great options at a solid price, but any supermarket with a decent butcher counter will work. Avoid anything labeled ‘chuck shoulder’ with the bone in (harder to carve). I always grab a 3-pound piece—enough for leftovers without being overwhelming.
No red wine? Beef broth with 1 tbsp balsamic vinegar mimics the depth. Out of fresh garlic? Garlic powder at one-third the amount works, but fresh is better. Want more veggies? Add potatoes the last 2 hours (they soak up that sauce). The tomato paste can be swapped for 2 tbsp ketchup in a pinch—not traditional, but it works.
This actually tastes better the next day. Store leftovers in an airtight container for up to 4 days in the fridge or freeze for 3 months. The sauce thickens as it cools—reheat gently with a splash of water if needed.
Why You’ll Love This Recipe
- I’ll be real: this recipe stretches easily for Sunday dinner or meal prep—leftovers taste even better.
- One Pan Wonder: Honestly, I just sear the chuck roast in olive oil, toss in the onion, salt, and pepper, and let the oven do the rest.
- Feeds a Crowd: I’ll be real: this recipe stretches easily for Sunday dinner or meal prep—leftovers taste even better.
- Budget Hero: A cheap cut like chuck roast turns into something extraordinary with just salt, pepper, and time.
Step-by-Step Instructions for Slow-Braised Chuck Roast
Here’s the method I use to transform this cut into fall-apart tender perfection every time.
Step 1: Sear the Chuck Roast for Deep Flavor
Pat the 3 lb Chuck Roast completely dry with paper towels. This ensures a proper sear. Season both sides aggressively with the 2 tsp Kosher Salt and 1 tsp Black Pepper. I like to press the seasoning into the meat so it adheres well.
Heat the 2 tbsp Olive Oil in a Dutch oven over medium-high heat until shimmering. Add the roast and sear for 4-5 minutes per side until deeply browned. You’ll know it’s ready to flip when it releases easily from the pot. This creates a flavorful crust that will enrich the entire dish.
Step 2: Sauté the Aromatics to Build the Base
Remove the roast and set aside. In the same pot, add the diced 1 whole Yellow Onion, 3 whole Carrots, and 2 whole Celery Stalks. Cook for 5-6 minutes until the onions soften and begin to brown.
Add the minced 6 cloves Garlic Cloves and cook for 1 minute until fragrant. Stir in the 2 tbsp Tomato Paste and cook for another 2 minutes to deepen its flavor. This step develops the foundation for your braising liquid.
Step 3: Deglaze and Add Braising Liquid
Pour in the 2 cups Red Wine and scrape up all the browned bits from the bottom of the pot with a wooden spoon. Let this simmer for 3-4 minutes until reduced by about half. The alcohol will cook off, leaving behind concentrated flavor.
Add the 2 cups Beef Broth, 1 tsp Dried Thyme, 1 tsp Dried Rosemary, and 1 whole Bay Leaf. Return the roast to the pot, spooning some liquid over the top. The liquid should come about halfway up the meat.
Step 4: Braise Low and Slow Until Tender
Cover the pot and transfer to a 325°F oven. Braise for 2.5-3 hours, turning the roast once halfway through. You’ll know it’s done when a fork slides in with no resistance and the meat begins to pull apart easily.
Real talk: the low, steady heat is what transforms this tough cut into something melt-in-your-mouth tender. Don’t rush this step—patience is what makes this dish special. The house will smell incredible as it cooks.
Remove the Bay Leaf before serving. The carrots and celery will be so tender they nearly dissolve into the rich, wine-infused sauce.
Pro Tips For Making Shoulder Chuck Roast
- Dry the Roast: Pat the chuck roast completely dry with paper towels before seasoning—I learned this the hard way after my first few batches steamed instead of seared.
- Salt Generously: Use more kosher salt than you think, especially on a 3-4 pound roast. The coarse grains stick better and actually change the outcome.
- Hot Pan First: Get your pan screaming hot before adding the olive oil, then sear the meat undisturbed for 3-4 minutes per side to get that crust.
- Rest Before Slicing: After cooking, tent the roast with foil and give it a solid 15 minutes to rest—my grandmother swore by this, and she was right.
Storing and Reheating This Dish
Refrigerator Storage
Let your braised roast cool for no more than 2 hours before transferring to airtight containers. I use glass Pyrex with snap-on lids. Store at 40°F or below for up to 4 days. The flavors deepen overnight as the spices meld together. ❄️
Freezer Storage
This dish freezes beautifully for up to 3 months without quality loss. I recommend quart-size freezer bags—they stack efficiently and thaw faster. Leave 1 inch of headspace for expansion and squeeze out excess air to prevent freezer burn.
Stovetop Reheating
This is my preferred method because it maintains the best texture. Pour chili into a heavy-bottomed pot, add ¼ cup water or beef broth to prevent sticking, and heat over medium-low heat for 10-15 minutes. Taste and adjust seasonings as the sauce warms.
Microwave Reheating
For quick meals, microwave individual portions covered with a damp paper towel. Heat on 70% power for 2-3 minutes, stir, then continue in 1-minute intervals until reaching 165°F. Add a splash of water if it looks dry. 🔥
Oven Reheating
For larger portions, preheat oven to 300°F. Place roast and sauce in an oven-safe dish, cover with foil, and heat for 20-30 minutes. This method works best for maintaining that fall-apart tenderness.
Nutrition Facts
Frequently Asked Questions
What’s the ideal cooking temperature?
Braise in the oven at 325°F for the best results. This low, steady heat ensures the meat becomes fork-tender without drying out.
How long does it take to cook?
Plan for 2.5-3 hours of braising time. Turn the roast halfway through for even cooking and maximum tenderness.
Can I use a slow cooker instead?
Yes! Sear the meat first, then cook on low for 7-8 hours or high for 4-5 hours. The results will be just as flavorful.
Why is my roast tough?
It likely didn’t cook long enough. Chuck roast needs time to break down the collagen. Ensure the liquid barely simmers and cook until fork-tender.

- BBQ Sausage Recipe Oven: Smoky Depth Without the Grill - September 28, 2026
- BBQ Chicken Bowl Recipe Rice: Smoky Sweetness Over Fluffy Grains - September 28, 2026
- Beef Cutlet Recipe Ideas: Crispy Breaded Patties With Bold Seasonings - September 28, 2026