
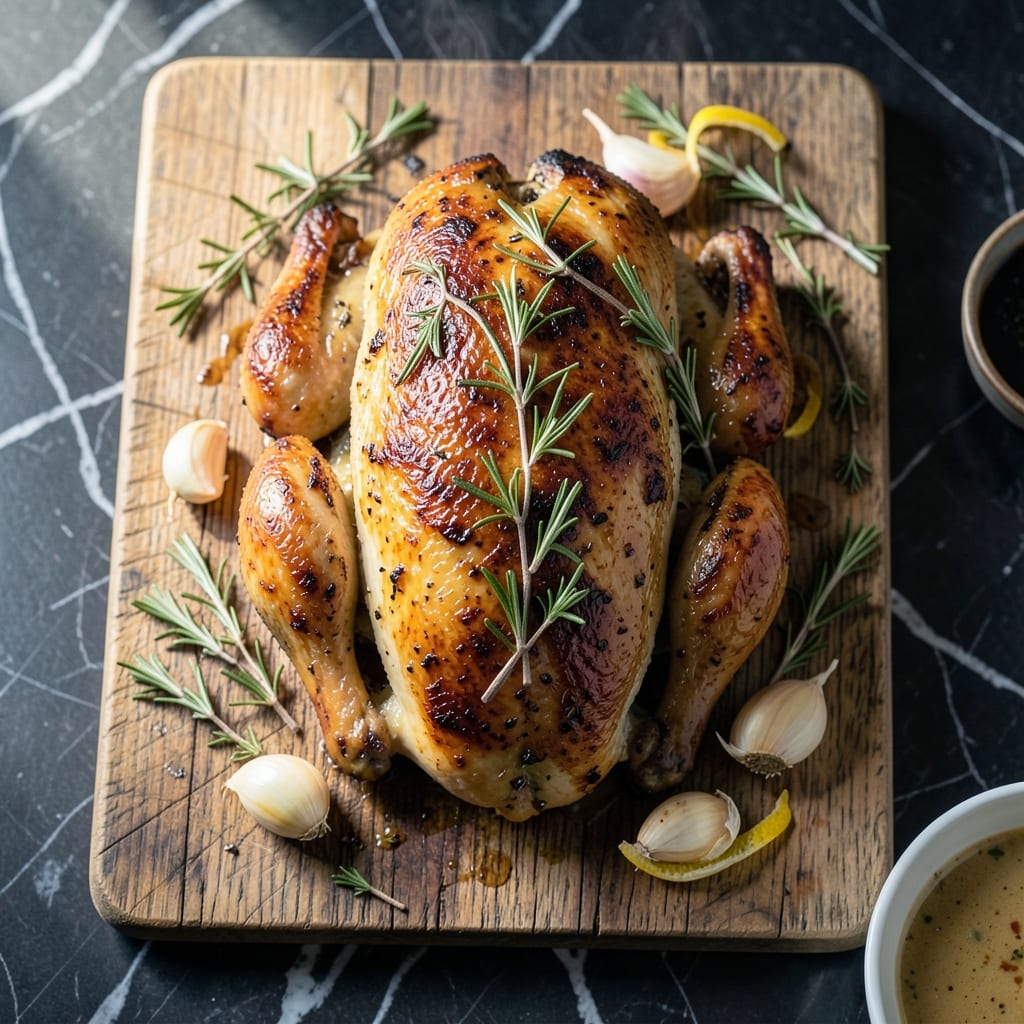
This spatchcock method transforms how chicken cooks at home, delivering crispy skin and juicy meat every time. The technique involves removing the backbone to flatten the bird, allowing for even heat distribution and faster cooking.
By butterflying the chicken, you create more surface area for browning while ensuring the meat stays tender. This approach cuts cooking time significantly compared to traditional roasting methods, without sacrificing flavor or texture.
What results is a perfectly cooked bird with golden, crispy skin and moist flesh throughout. The method works with any whole chicken and requires no special equipment beyond kitchen shears.
The best part is the consistent results—no more dry breast meat or undercooked thighs. This technique delivers restaurant-quality chicken with minimal effort.
Ingredients for Spatchcock Chicken Recipe Jamie Oliver
One whole bird, fresh herbs, and a few pantry staples create this crispy masterpiece.
| Ingredient | Amount | Notes |
|---|---|---|
| Whole Chicken 🍗 | 1 whole | 3.5 to 4 lbs, backbone removed |
| Kosher Salt 🧂 | 1 ½ tbsp | Diamond Crystal preferred for texture |
| Freshly Ground Black Pepper 🌶️ | 1 tsp | Coarse grind recommended |
| Garlic Cloves 🧄 | 4 cloves | Minced for maximum flavor |
| Fresh Rosemary 🌿 | 2 tbsp | Chopped, stems discarded |
| Fresh Thyme 🍃 | 2 tbsp | Chopped, stems discarded |
| Lemon 🍋 | 1 whole | Zested and juiced |
| Extra-Virgin Olive Oil 🫒 | 2 tbsp | High-quality, for basting |
| Unsalted Butter 🧈 | 4 tbsp | Melted for crispy skin finish |
| Onion 🧅 | 1 whole | Cut into quarters for cavity |
| Carrots 🥕 | 2 whole | Chopped into large pieces |
| Celery Stalks 🥬 | 2 pieces | Chopped into large pieces |
The chicken is the foundation—source a high-quality bird (around 3.5-4 lbs) from a trusted butcher or Whole Foods. Look for plump, moist skin with no tears, and ensure the bird feels heavy for its size. For the herbs, fresh rosemary and thyme are non-negotiable; their aromatic oils elevate the flavor profile significantly. Avoid pre-ground black pepper—freshly ground makes a noticeable difference in the final crust.
No fresh herbs? Dried at one-third the amount works, though fresh is ideal. Out of lemon? Lime zest and juice offers a bright alternative. For a deeper flavor, smoked paprika or a pinch of cayenne can be added to the salt rub. If butter isn’t on hand, extra olive oil ensures the skin still crispens beautifully. The onion, carrots, and celery can be swapped for any aromatic vegetables you prefer.
This cooks best immediately after prep, but the chicken (unbuttered) can rest in the fridge for up to 24 hours before cooking. Leftovers keep for 3-4 days refrigerated or freeze for 3 months. Reheat gently to preserve the crispy skin—350°F oven for 10-15 minutes works perfectly.
Why You’ll Love This Recipe
- One Pan Magic: I love that I can just flatten the chicken, season it with salt, pepper, garlic, and rosemary, then roast everything on a single tray—minimal mess, maximum flavor.
- Crispy & Aromatic: The garlic and rosemary weave into every bite, and spatchcocking ensures the skin gets ridiculously crispy while the meat stays juicy.
- Feeds Everyone: Honestly, it’s my go-to for Sunday dinner or meal prep—one bird serves the family, with leftovers for sandwiches or salads.
- Budget Winner: A whole chicken is so affordable, and with just a few pantry staples, I get a meal that feels fancy without the price tag.
Step-by-Step Instructions for Spatchcock Chicken
This method guarantees even cooking and perfectly crispy skin every time you prepare it.
Step 1: Prepare and Season the Chicken
Pat the whole chicken completely dry with paper towels—this is critical for achieving crispy skin. Place it breast-side up on a cutting board and season generously inside and out with the 1.5 tbsp kosher salt and 1 tsp freshly ground black pepper.
Rub the seasoning evenly over every surface, including the cavity. This ensures the flavor penetrates the meat while the salt helps draw out moisture for that coveted crispy exterior. Let the chicken sit at room temperature for 30 minutes to allow the seasoning to work its magic.
Step 2: Create the Aromatic Butter and Vegetable Base
In a small bowl, combine the 4 tbsp unsalted butter with the 4 cloves garlic cloves (minced), 2 tbsp fresh rosemary, and 2 tbsp fresh thyme. Melt this mixture gently in the microwave for 20-30 seconds to infuse the butter with herbs and garlic.
Meanwhile, place the 1 whole onion (cut into quarters), 2 whole carrots (chopped into large pieces), and 2 pieces celery stalks (chopped into large pieces) in the center of a roasting pan. These vegetables will act as a natural roasting rack and add flavor to the pan juices.
Step 3: Spatchcock and Position the Chicken
Place the whole chicken breast-side down on the cutting board. Using kitchen shears, cut along both sides of the backbone and remove it completely. Flip the chicken over and press down firmly on the breastbone until you hear it crack—this flattens the bird for even cooking.
Position the spatchcocked chicken breast-side up on top of the prepared vegetables in the roasting pan. Brush the entire surface with the 2 tbsp extra-virgin olive oil, then pour half of the melted herb butter over the chicken. Use your hands to ensure every inch is coated.
Step 4: Roast to Crispy Perfection
Preheat your oven to 425°F. Roast the chicken on the middle rack for 45-50 minutes, basting with the remaining herb butter and pan juices every 15 minutes. The skin should turn a deep golden brown and become crisp to the touch.
For an extra boost of flavor and color, zest the 1 whole lemon over the chicken during the last 10 minutes of roasting. The chicken is done when an instant-read thermometer inserted into the thickest part of the thigh reads 165°F.
Step 5: Rest and Serve with Pan Juices
Transfer the chicken to a cutting board and let it rest for 10-15 minutes before carving. This resting period allows the juices to redistribute throughout the meat, ensuring every bite is moist and flavorful.
While the chicken rests, squeeze the juice from the zested lemon into the pan juices. Skim off any excess fat and serve the flavorful pan juices alongside the carved chicken. The result will be evenly cooked meat with skin so crispy it shatters at the touch.
Pro Tips For Making Spatchcock Chicken Recipe Jamie Oliver
- Cut Deep Enough: I learned this the hard way—when spatchcocking, slice all the way through the backbone and breastbone so the chicken lays flat. Partial cuts mean uneven cooking and a wonky roast.
- Salt Under Skin: After spatchcocking, loosen the skin and rub kosher salt directly on the meat underneath. This guarantees crispy skin and seasoned flesh, not just a salty exterior.
- Don’t Crowd the Pan: Give the chicken space in the roasting tray—crowding steams the skin instead of crispening it. Use a rimmed baking sheet big enough to hold it flat without overlapping.
- Rest Before Carving: Let it rest 10 minutes under foil after roasting. I used to slice right away and lost all those juices—now I wait, and the meat stays moist every time.
Pro Cooking Tips for Perfect Results
Shear Selection
Invest in heavy-duty kitchen shears—I swear by OXO Good Grips for their durability. Dull shears will tear the skin instead of cutting cleanly through bone. Keep them sharp to make spatchcocking effortless. 💡
Drying is Key
Pat the chicken completely dry with paper towels before seasoning. Any moisture on the skin prevents crisping. I use 3-4 paper towels to ensure every surface is bone-dry, including the cavity.
Even Flattening
After removing the backbone, press down firmly on the breastbone until it audibly cracks. This ensures even thickness for consistent cooking. Don’t be shy—flatten it aggressively for best results.
Basting Technique
Baste with pan juices every 15 minutes using a heatproof pastry brush. This keeps the skin moist while building layers of flavor. I also spoon juices over the chicken for extra coverage. 🔥
Thermometer Placement
Check internal temperature in the thickest part of the thigh, avoiding bone. Use a ThermoWorks instant-read for accuracy. 165°F is your target, but I pull mine at 160°F to account for carryover cooking.
Resting Surface
Always rest on a warm cutting board or plate, not the roasting pan. This prevents the crispy skin from steaming and becoming soggy. Tent loosely with foil if resting longer than 10 minutes.
Nutrition Facts
Frequently Asked Questions
What tools do I need to spatchcock a chicken?
You only need sharp kitchen shears and a sturdy cutting board. Heavy-duty shears work best for cutting through bone cleanly without tearing the skin.
How do I know when it’s fully cooked?
Use an instant-read thermometer in the thickest part of the thigh. It’s done at 165°F, though many pull it at 160°F for carryover cooking. The juices should run clear, not pink.
Can I use this method with a turkey?
Yes, the same technique works beautifully for turkey. Adjust cooking time to about 2-2.5 hours at 375°F for a 12-14 lb bird. The flattened shape ensures even cooking.
What if my skin isn’t crispy?
Pat the chicken completely dry before seasoning and roast at 425°F. Baste frequently with pan juices. If still not crispy, broil for 2-3 minutes at the end while watching closely.

- BBQ Sausage Recipe Oven: Smoky Depth Without the Grill - September 28, 2026
- BBQ Chicken Bowl Recipe Rice: Smoky Sweetness Over Fluffy Grains - September 28, 2026
- Beef Cutlet Recipe Ideas: Crispy Breaded Patties With Bold Seasonings - September 28, 2026