
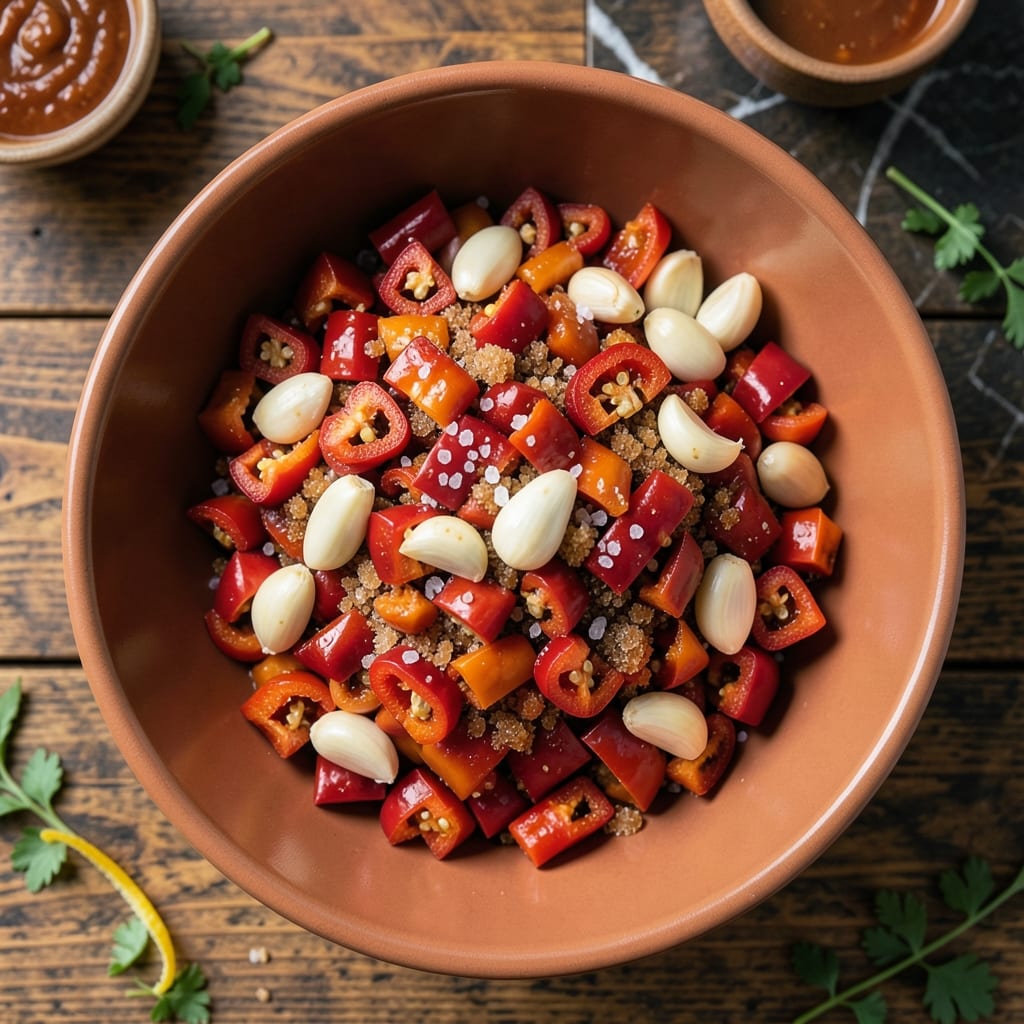
Making your own sriracha allows complete control over heat, sweetness, and texture. This version transforms classic chili sauce into a personalized condiment that suits any palate.
The process begins with fresh chili peppers, which ferment to develop complex flavors before blending. A touch of garlic and vinegar balance the heat while preserving the sauce.
Adjust the ingredients to create a milder or spicier profile without sacrificing the signature tangy kick. The result is a smooth, vibrant sauce that elevates any dish.
Experiment with different pepper varieties to discover your ideal flavor combination. This recipe puts you in charge of every detail.
Ingredients for Sriracha Recipe Change
Eight ingredients to craft a tangy, spicy sauce with your perfect heat level.
| Ingredient | Amount | Notes |
|---|---|---|
| Red Jalapeño Peppers 🌶️ | 2 lb | Stems removed, roughly chopped |
| Garlic Cloves 🧄 | 8 cloves | Peeled, smashed |
| White Vinegar 💧 | 1 cup | 5% acidity preferred |
| Brown Sugar 🍚 | ½ cup | Light or dark variety |
| Sea Salt 🧂 | 1 tbsp | Fine grain for dissolution |
| Granulated Sugar 🍚 | ¼ cup | Balances vinegar acidity |
| Water 💧 | ½ cup | For fermentation adjustment |
| Paprika 🌶️ | 1 tsp | Smoked or sweet variety |
The peppers are everything here. Red jalapeños give you classic sriracha flavor—look for firm, glossy ones without blemishes. Most Asian markets carry them in bulk, or Trader Joe’s sells them in bags during peak season. If you want more heat, add a few red serranos (they look similar but pack more punch). The garlic should be fresh—old cloves turn bitter and lose their aromatic kick.
No jalapeños? Red fresno peppers are a great swap—slightly sweeter, similar heat. Out of brown sugar? Coconut sugar at a 1:1 ratio works in a pinch. If you’re avoiding sugar entirely, try agave nectar at 75% the amount, but it’ll change the texture slightly. The vinegar is non-negotiable though—it’s what gives sriracha that signature tang and preserves the sauce.
Fermented sauce keeps in the fridge for 6 months (the vinegar preserves it). Store in a clean glass jar. If you notice any mold or off smells, toss it—better safe than sorry. The flavor actually gets better after a few weeks as it continues to ferment in the fridge.
Why You’ll Love This Recipe
- Blender Friendly: I toss everything in at once—no fancy steps, just jalapeños, garlic, vinegar, and a quick blend.
- Sweet Heat Balance: The brown sugar tempers the jalapeños’ fire while garlic adds depth that lingers.
- Jar of Endless Meals: I drizzle it on eggs, stir into soups, or gift it in cute bottles—lasts weeks in the fridge.
- Pantry Staples Only: Between us, I always have vinegar and sugar, so this costs pennies and saves a grocery run.
Step-by-Step Instructions for Sriracha Recipe Change
Here’s the method to transform your pepper blend into a customizable hot sauce masterpiece.
Step 1: Prepare and Ferment the Pepper Base
Start by roughly chopping all 2 lb Red Jalapeño Peppers and combining them with the 8 cloves Garlic Cloves in a large, clean bowl. I always wear gloves for this step—the capsaicin in jalapeños can be surprisingly potent even before fermentation.
Add the 1 tbsp Sea Salt and mix thoroughly to distribute the salt evenly across the peppers. This salt not only seasons but begins the fermentation process that develops the sauce’s complex flavor. Cover the bowl with a clean kitchen towel and let it sit at room temperature for 24-48 hours, stirring once daily.
You’ll notice the peppers begin to soften and release liquid after the first day. This is the fermentation starting to work its magic, creating that signature funky, tangy base that makes sriracha so addictive.
Step 2: Blend with Liquid Components
After fermentation, transfer the pepper mixture to a blender along with all its accumulated liquid. Add the 1 cup White Vinegar, 0.5 cup Brown Sugar, 0.25 cup Granulated Sugar, 0.5 cup Water, and 1 tsp Paprika.
Blend on high until completely smooth, which usually takes 2-3 minutes. Scrape down the sides as needed to ensure everything incorporates evenly. The vinegar provides the necessary acidity for preservation and that characteristic tang, while the sugars balance the heat and acidity.
The paprika adds a subtle depth and color enhancement, especially if you’re using the smoked variety. The mixture should look vibrant and slightly frothy when properly blended.
Step 3: Initial Fermentation Phase
Pour the blended mixture into a clean fermentation vessel, leaving at least 2 inches of headspace. Cover with a fermentation lock or a loose lid to allow gases to escape while keeping contaminants out.
Store at room temperature, away from direct sunlight, for 5-7 days. You’ll see active fermentation beginning within 24 hours, with bubbles forming and the mixture rising slightly. Stir daily to prevent mold growth on the surface.
This primary fermentation develops the foundational flavors. The length of this stage affects the final heat level—longer fermentation builds more complexity but also intensifies the spiciness as capsaicin becomes more bioavailable.
Step 4: Strain and Secondary Fermentation
After the initial fermentation, strain the mixture through a fine-mesh sieve, pressing firmly with a spoon to extract as much liquid as possible. Discard the solids—they’ve given all their flavor to the liquid.
Transfer the strained liquid to a clean bottle with an airlock. For this secondary fermentation, I prefer a 2-week period at room temperature. This phase mellows the harsh edges while deepening the umami notes.
You’ll notice the color darkening and the aroma becoming more complex during this time. The sauce should develop a balanced heat that lingers rather than overwhelming, with the sweetness from the sugars rounding out the vinegar’s sharpness.
Step 5: Adjust and Bottle the Final Product
After secondary fermentation, taste your creation. If it needs more sweetness, dissolve additional brown sugar in a small amount of warm water before mixing in. For more heat, a pinch of cayenne can be added, though the jalapeños should provide sufficient fire.
Transfer to sterilized bottles and store in the refrigerator, where it will keep for 6 months or more. The flavors will continue to develop and mellow over time, becoming more harmonious with each passing week.
Shake well before each use, as the natural ingredients may settle. The final product should have a vibrant red color, a smooth consistency, and that perfect balance of heat, sweetness, and tang that makes sriracha so versatile.
Pro Tips For Making Sriracha Recipe Change
- Roast the Peppers: Char the red jalapeños under a broiler for 8-10 minutes until blistered—I learned this the hard way, raw peppers make the sauce bitter and thin.
- Balance the Vinegar: Use 1 cup vinegar to 1.5 lbs peppers, and taste before adding more. After ruining a batch with too much tang, I now measure religiously.
- Seed the Peppers: Remove all seeds and white pith if you want mild heat, leave some in for extra fire. Sounds obvious, but I skipped this once and regretted it for a week.
- Blend While Warm: Puree the peppers and garlic right after roasting while they’re still hot—it blends smoother and saves you from scraping a cold, sticky mess off the blades.
Make-Ahead Tips for This Recipe
Prep Pepper Base Early
Chop your 2 lb Red Jalapeño Peppers and 8 Garlic Cloves up to 12 hours ahead. Store the mixture in an airtight container in the fridge. This head start softens the peppers slightly, making blending easier. 💡
Pre-Mix Dry Ingredients
Combine your 1 tbsp Sea Salt, 0.5 cup Brown Sugar, and 0.25 cup Granulated Sugar in a small bowl. This blend can sit at room temperature indefinitely, ready to add when you begin fermentation.
Ferment in Stages
If short on time, split fermentation into two 24-hour sessions. Ferment the pepper-garlic-salt mix first, then blend with vinegar and sugars before the second fermentation. This maintains flavor development.
Bottle in Advance
Sterilize your bottles while the sauce undergoes secondary fermentation. I use Mason jars for easy storage. Fill them just before the 2-week mark to streamline the final step.
Refrigerate for Maturity
Once bottled, refrigerate for at least 24 hours before using. This resting period allows flavors to meld. The sauce keeps for 6 months, but tastes best after 1 month. ❄️
Portion for Gifts
Divide the finished sauce into smaller 4 oz bottles for sharing. Label with the date and a
Nutrition Facts
Frequently Asked Questions
How can I reduce the heat level?
Remove the seeds and membranes from your peppers before blending. This cuts most of the capsaicin. You can also swap in half red bell peppers for a milder version.
What if my sauce is too thin?
Simmer the strained sauce for 5-10 minutes to evaporate excess liquid. Avoid boiling to preserve the fresh flavor. A pinch of xanthan gum can thicken without cooking.
Can I use apple cider vinegar?
Yes, but it will alter the flavor profile slightly. Stick to 5% acidity and use the same amount. The fruit notes may make your sauce taste sweeter.
Why did my sauce develop mold?
This happens if the mixture wasn’t fully submerged during fermentation. Always use an airlock and ensure peppers stay under liquid. Discard any batch with mold.

- BBQ Sausage Recipe Oven: Smoky Depth Without the Grill - September 28, 2026
- BBQ Chicken Bowl Recipe Rice: Smoky Sweetness Over Fluffy Grains - September 28, 2026
- Beef Cutlet Recipe Ideas: Crispy Breaded Patties With Bold Seasonings - September 28, 2026