
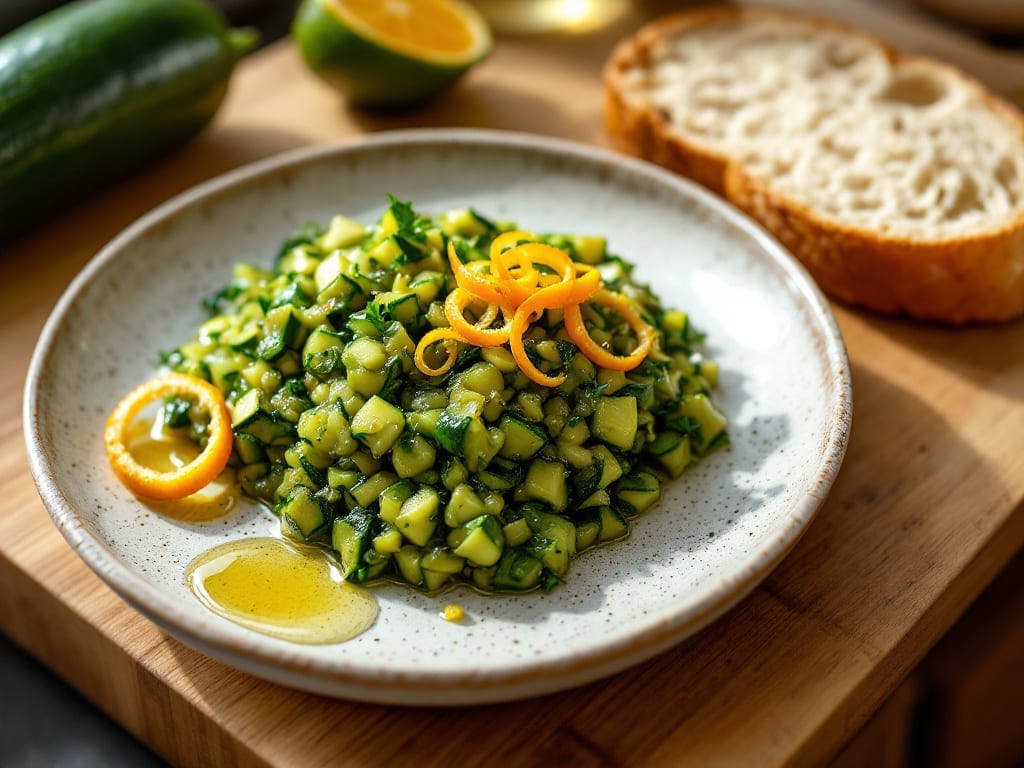
Master this sweet zucchini relish canning recipe to lock in summer’s harvest with jars of bright, tangy goodness that last all year.
This canning recipe transforms fresh zucchini into a vibrant, crunchy relish with just the right balance of sweetness and acidity—ideal for sandwiches, burgers, or snacking straight from the jar. The key lies in precise chopping, controlled cooking, and proper canning techniques to ensure shelf-stable results every time.
What sets this recipe apart is its foolproof method for achieving the perfect texture—crisp-tender zucchini pieces that hold up beautifully even after canning. The combination of vinegar and sugar not only preserves the relish but also enhances its flavor, creating a sweet-tangy profile that pairs perfectly with meats or cheese.
With just a few simple ingredients and basic canning equipment, you’ll have jars ready for year-round use.
The process is straightforward yet professional, ensuring your relish maintains its quality for up to a year. Sterilizing jars, processing them in a water bath, and sealing them properly are critical steps that guarantee safe, long-lasting preserves.
Once canned, the relish develops deeper flavors over time, making it even more delicious with each passing month.
Whether you’re a seasoned canner or trying this for the first time, this recipe delivers reliable, restaurant-quality results at home. The bright green relish adds a fresh, garden-fresh touch to any meal, and the satisfaction of creating something that lasts is unmatched.
Let’s get started on preserving summer’s harvest in jars of sweet zucchini relish.
Ingredients for sweet zucchini relish canning
Preserve summer’s bounty with these ten essential ingredients for vibrant, shelf-stable sweet zucchini relish.
| Ingredient | Amount | Notes |
|---|---|---|
| Fresh Zucchini 🥒 | 6 cups | Chopped into 1/4-inch dice |
| Yellow Onion 🧅 | 1 whole | Finely diced, about 1 cup |
| Sweet Red Bell Pepper 🌶️ | 1 whole | Finely diced, about 1 cup |
| Granulated White Sugar 🍚 | 3 cups | For sweetness balance |
| White Vinegar 💧 | 1 ½ cups | 5% acidity for preservation |
| Canola Oil 🫒 | ½ cup | Light flavor for cooking |
| Diamond Crystal Kosher Salt 🧂 | 1 ½ tbsp | For seasoning and preservation |
| Mustard Seed 🌾 | 1 tbsp | Whole, for subtle crunch |
| Ball or Kerr Pint-Mouth Mason Jars 🍯 | 8 whole | 8-ounce capacity, sterilized |
| Lid and Band Set 🔒 | 8 whole | Matching jar lids and bands |
The quality of your zucchini and vinegar determines the final product. Fresh, firm zucchini with minimal seeds yields the best texture—avoid overripe or waterlogged specimens. For vinegar, 5% acidity white vinegar is optimal; brands like Heinz or White House deliver consistent results. Mason jars must be new or previously sterilized to prevent contamination; Ball or Kerr brands are industry standards for canning safety. The red bell pepper adds color and subtle sweetness, so choose one with vibrant skin and firm flesh. Mustard seeds should be whole and toasted lightly before adding to enhance their flavor profile.
No red bell pepper? Yellow bell pepper or jalapeño works equally well, though flavor will differ slightly. Substitute white vinegar with apple cider vinegar for a milder tang, but reduce to 1.25 cups to maintain acidity balance. For sugar, turbinado or brown sugar can replace white sugar, though the relish may develop deeper caramel notes. If mustard seeds are unavailable, celery seeds at half the amount provide a similar aromatic quality. Sterilizing jars without a dishwasher? Boil them for 10 minutes in water with a lid-safe rack to ensure proper sanitation.
Processed relish maintains peak quality for up to 12 months when stored in a cool, dark pantry. Once opened, refrigerate and consume within 1 month to preserve freshness. Label jars with the date to track shelf life. For extended storage, freeze unopened jars for up to 18 months. The relish’s texture softens slightly over time, but flavor intensifies—ideal for year-round snacking or gifting. Always perform a water bath canning process to guarantee safety and longevity.
Why You’ll Love This Recipe
- No-Waste Prep: I’ll use every last bit of those summer zucchini—even the scraps. The relish captures the bright crunch of raw veggies without the watery mess of a salad, and the vinegar-sugar balance keeps it fresh for months.
- Sweet-Tart Magic: That first bite? Crisp little cubes of zucchini and pepper floating in a glossy, tangy-sweet syrup. The onion adds depth, but the sugar caramelizes just enough to make it irresistible—like a jam for your sandwiches.
- Year-Round Pantry Hero: Forget buying expensive relish at the store. This keeps for ages in the fridge or pantry, so I’m always ready to toss it into burgers, hot dogs, or even as a snack with crackers. (Yes, even in January.)
- Budget Stretch: I make a big batch when zucchini’s cheap at the farmers’ market, then stretch it across meals. A single jar lasts weeks—way better than buying pre-made relish that costs a fortune and tastes bland. Plus, sugar and vinegar are pantry staples.
Step-by-step instructions for sweet zucchini relish canning
Master this preservation technique for vibrant, sweet-tangy relish that stays fresh for months.
Prepare and Sterilize Your Equipment
Begin by thoroughly cleaning all 8 whole Ball or Kerr Pint-Mouth Mason Jars, lids, and bands with hot, soapy water. Place the jars in a large pot and cover with water, bringing to a boil for 10 minutes. Keep them hot until ready to fill. Meanwhile, sterilize the lids by simmering them in a separate pot of water for 10 minutes. This critical step prevents contamination and ensures proper sealing.
While the jars are sterilizing, prepare your workspace by lining a large baking sheet with several layers of clean towels. This will catch any drips during the filling process. I find it helpful to keep a timer running alongside the sterilization process to maintain organization. The jars should remain submerged until you’re ready to fill them—never let them cool before filling or sealing.
Cook the Zucchini Mixture to Perfection
In a large, heavy-bottomed pot, combine the 6 cups Fresh Zucchini, 1 whole Yellow Onion (finely diced), and 1 whole Sweet Red Bell Pepper (finely diced). Add 1.5 tbsp Diamond Crystal Kosher Salt and 1 tbsp Mustard Seed, stirring to distribute evenly. Cook over medium-high heat for 5 minutes, stirring occasionally, until the vegetables begin to soften and release their juices.
Next, add 3 cups Granulated White Sugar and 1.5 cups White Vinegar, stirring until the sugar dissolves completely. The mixture should bubble gently—this indicates proper heat distribution. Reduce the heat to medium-low and simmer for 20-25 minutes, stirring every 5 minutes to prevent sticking. You’re aiming for a thick, jam-like consistency where the vegetables hold their shape but the mixture coats the back of a spoon smoothly.
Finally, stir in 0.5 cup Canola Oil and continue simmering for an additional 5 minutes. The oil will help preserve the relish and add a subtle richness. Here’s the thing—taste the mixture now. It should balance sweetness with tangy acidity. If it’s too sweet, add a splash more vinegar; if too sharp, stir in a bit more sugar. Adjust gradually to achieve harmony.
Fill and Seal the Jars for Long-Term Storage
Using a large ladle or spoon, carefully fill each of the 8 whole Ball or Kerr Pint-Mouth Mason Jars with the hot relish mixture, leaving about ½-inch headspace at the top. Tap the jars gently on the counter to remove any air bubbles trapped in the mixture. This step is crucial—air bubbles can cause the jars to seal improperly or even explode during processing.
Wipe the rims of the jars with a clean, damp cloth to ensure a perfect seal. Place the sterilized lids on the jars and screw on the bands until they’re fingertip-tight—don’t overtighten, as this can prevent proper sealing. Here’s where precision matters: the headspace and rim cleanliness directly impact shelf life and safety.
Place the filled jars into a canning rack in a large pot, ensuring they’re covered by at least 1 inch of water. Bring the water to a gentle boil and process for 15 minutes. Maintain a steady simmer—boiling too vigorously can cause the jars to break. After processing, remove the jars and let them cool undisturbed for 12-24 hours. You’ll hear a satisfying “ping” as the lids seal. Test the seal by pressing down on the center of each lid—if it doesn’t pop back up, it’s properly sealed.
Pro Tips For Making Sweet Zucchini Relish Canning
- Boil Zucchini First: Chop the zucchini into 1/4-inch dice, then blanch it in boiling water for 2 minutes before adding to the vinegar mix. This stops the enzymes that make relish turn mushy—trust me, you’ll notice the difference in texture after canning.
- Dice Small, Dice Even: Cut onions and bell peppers into uniform 1/8-inch pieces—no big chunks hiding in there. I learned this the hard way when my first batch had a weird texture because some veggies were undercooked. A sharp knife and a steady hand make this easier than it sounds.
- Don’t Skimp on Vinegar: Use the full amount called for in your recipe—no half-measures. Vinegar isn’t just for tang; it’s what preserves the relish and keeps it bright. I once cut it by 1/4 cup, and by month three, the jars were cloudy and sad.
- Sterilize Jars Hot: Run your canning jars and lids through a quick rinse in boiling water for 10 minutes before filling. Cold jars can cause the relish to spoil faster—yes, even if you’re in a hurry. (Your future self will thank you.)
Make-ahead tips for this dish
Prep Ahead for Efficiency
Chop all your vegetables the night before canning to save time. Store the diced zucchini, onion, and bell pepper in airtight containers in the fridge—they’ll keep fresh for up to 24 hours.
I like to use glass containers with snap-on lids to prevent moisture loss. This step alone cuts your active prep time by 30 minutes on canning day. 💡
Partial Cooking Shortcut
Pre-cook the vegetable mixture up to the sugar and vinegar stage, then refrigerate it for up to 3 days before finishing and canning. When ready, simply reheat the mixture over medium-low heat until bubbling, then add the oil and proceed with filling jars.
This works especially well if you’re canning in batches over multiple days. Just remember to bring it to a full boil before processing to ensure proper sterilization.
Jar Prep Timeline
Sterilize your jars and lids 24 hours ahead of canning day and store them in a 200°F oven until ready to use. The dry heat keeps them sterile without risking warping. I place them on a baking sheet lined with parchment paper, covered loosely with foil.
This method maintains sterility while making them ready to fill at a moment’s notice. The oven method is my go-to for large canning projects.
Relish Flavor Development
Let the cooked relish mixture sit at room temperature for 1 hour before canning to allow flavors to meld. This step enhances the sweet-tangy balance and lets you make any final adjustments.
I often taste it again after this resting period—sometimes the flavors deepen enough that I need to tweak the sugar or vinegar ratio. Patience here makes a noticeable difference in the final product. ✨
Batch Canning Strategy
If you’re canning more than 8 jars, divide the relish into batches and process them in two separate 15-minute water bath sessions. Keep the first batch hot in a slow cooker set to 160°F while you process the second batch.
This maintains consistency without overcooking the relish. Label each batch with the date to track freshness and rotation.
Storage Rotation System
Once sealed, store jars in a cool, dark pantry with the oldest batches in the front. Use a permanent marker to label each jar with the canning date on the lid band.
I also add a sticker with the flavor profile (“Sweet Zucchini Relish”) to make gifting easier. This system ensures you always use the oldest jars first, maximizing freshness and preventing waste. 📅
Nutrition facts
Frequently asked questions
Why does the recipe call for a water bath canning process instead of pressure canning?
This relish has a high acidity level from the vinegar, which makes it safe for water bath canning. The 15-minute processing time at a rolling boil destroys harmful bacteria while preserving the vibrant flavors. Pressure canning isn’t needed for acidic foods like this—it’s only required for low-acid vegetables and meats.
Can I adjust the sweetness level in this relish?
Start with the 3 cups sugar as written, then taste the cooked mixture before canning. For a sweeter version, add up to ½ cup more sugar>; for less sweetness, increase the vinegar by ¼ cup. Remember, adjustments should be made gradually to maintain the proper sweet-tangy balance needed for preservation.
What should I do if my jars don’t seal properly?
If a jar doesn’t seal (the lid pops up when pressed), refrigerate it and use the relish within 1 week. The seal may have failed due to improper headspace, dirty jar rims, or insufficient processing time. For future batches, double-check you’ve left ½-inch headspace> and that the jar rims are completely clean and dry before sealing.
How can I use leftover cooked relish before canning?
Use it immediately as a topping for grilled meats, a sandwich spread, or a dip for veggies! The warm relish makes a fantastic accompaniment to burgers, hot dogs, or even as a glaze for roasted vegetables. Store unused portions in the fridge for up to 5 days> in an airtight container. For longer storage, freeze in small portions for up to 3 months.
Can I substitute apple cider vinegar for white vinegar in this recipe?
Yes, but reduce the amount to 1.25 cups**> instead of 1.5 cups to maintain the proper acidity level. Apple cider vinegar has a milder flavor that adds subtle sweetness and depth to the relish. The slightly lower acidity means you must be precise with the measurement to ensure safe preservation.

- Mary Berry’s Boiled Fruit Cake Recipe: Moist Center and Spiced Crust Magic - November 5, 2026
- Atlantic Salmon Recipe: Honey-Dill Pan-Seared With Crispy Skin - November 5, 2026
- Blaze Pizza Copycat Dough Recipe: Chewy, Airy Crust That Mimics the Original - November 5, 2026