
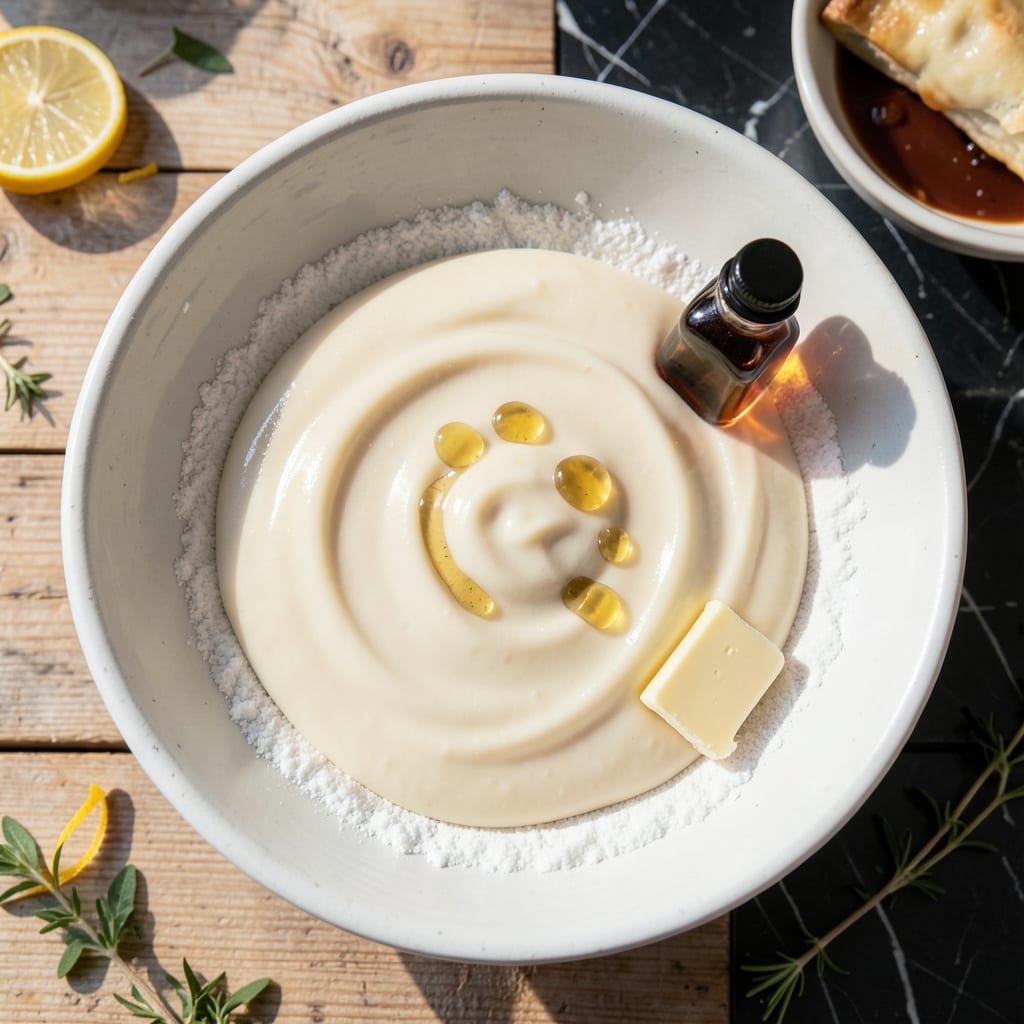
This simple icing transforms store-bought pastries into bakery-quality treats with minimal effort. The secret lies in the precise ratio of powdered sugar to liquid, creating a glaze that sets perfectly without running.
With just a few pantry staples and 5 minutes of mixing, you’ll have a smooth, sweet topping that hardens to that signature Toaster Strudel finish. It’s the easiest way to elevate breakfast pastries.
Ingredients for Toaster Strudel Icing
Six pantry staples create that signature sweet glaze you remember from childhood mornings.
| Ingredient | Amount | Notes |
|---|---|---|
| Powdered Sugar 🍚 | 2 cups | Sifted for smooth texture |
| Milk 🥛 | 3 tbsp | Whole milk for creaminess |
| Vanilla Extract 🌿 | 1 tsp | Pure vanilla for best flavor |
| Unsalted Butter 🧈 | 2 tbsp | Melted and slightly cooled |
| Salt 🧂 | 0.125 tsp | Fine grain for even distribution |
| Corn Syrup 💧 | 1 tbsp | Light corn syrup for shine |
Powdered sugar is non-negotiable here—Domino or C&H are my go-tos (the fine texture dissolves perfectly). Whole milk gives you that creamy base, but 2% works in a pinch. The vanilla? Nielsen-Massey if you’re feeling fancy, but store brand does the job. Butter adds richness, so don’t skip it. Most supermarkets carry everything you need for this.
No milk? Heavy cream at half the amount thickens it up nicely. Vanilla bean paste adds those pretty speckles (and more flavor). Want it thicker? Add powdered sugar 1 tbsp at a time. Thinner? A splash more milk. The corn syrup might seem odd but it’s what gives that authentic Toaster Strudel sheen (and keeps it from crystallizing).
This sets fast—use it within 30 minutes or it’ll harden in the bowl. Store in an airtight container at room temp for 2-3 days. Stir before using. Doubles easily if you’re glazing a crowd.
Why You’ll Love This Recipe
- Five-Minute Fix: I stir powdered sugar, a splash of milk, and vanilla in one bowl and it’s ready before the toaster dings.
- Buttery Sweetness: The melted butter and vanilla make it taste like a bakery glaze, only in my own kitchen.
- Breakfast Upgrade: I drizzle it over store-bought strudels or cinnamon rolls—weekday mornings feel like a treat.
- Pantry Staples: Between us, I always have these ingredients, so it’s a no-store-trip way to impress the kids.
Step-by-Step Instructions for Toaster Strudel Icing
This foolproof method creates a glossy glaze that sets beautifully without being too runny or too thick.
Step 1: Melt and Cool the Butter
Start by melting the 2 tbsp Unsalted Butter in a microwave-safe bowl or small saucepan over low heat. I prefer the microwave for this—use 15-second bursts and stir between each until just melted. You don’t want it hot, just liquid.
Let the melted butter cool for 5 minutes at room temperature. It should feel barely warm to the touch. Adding hot butter to the powdered sugar can cause the glaze to separate or become grainy. This step ensures a smooth, lump-free consistency.
Step 2: Whisk the Dry Ingredients
In a medium mixing bowl, combine the 2 cups Powdered Sugar and 0.125 tsp Salt. I like to sift the powdered sugar first, even if it’s labeled as pre-sifted—this guarantees no lumps in your finished icing. The fine grain salt ensures even distribution without any gritty texture.
Whisk these together briefly until fully incorporated. This step might seem simple, but it’s crucial for preventing streaks in your glaze. The salt enhances the sweetness and balances the flavors, so don’t skip it.
Step 3: Combine Wet and Dry Ingredients
Create a well in the center of the powdered sugar mixture. Pour in the cooled 2 tbsp Unsalted Butter, 3 tbsp Milk, 1 tsp Vanilla Extract, and 1 tbsp Corn Syrup. The corn syrup is the secret to that classic Toaster Strudel shine and slightly chewy set.
Using a whisk, stir everything together until completely smooth. Start slowly to avoid splashing, then increase your speed to break up any remaining lumps. The mixture should be thick but pourable—like heavy cream. If it’s too thick, add milk ½ tsp at a time until it reaches the right consistency.
Step 4: Adjust and Test the Consistency
Let the icing sit for 2-3 minutes to thicken slightly. This resting period allows the powdered sugar to fully absorb the liquids. Dip a spoon into the glaze and lift it—if the icing drizzles off in a steady, thick ribbon that holds its shape for a second before dissolving, it’s perfect.
If it’s too thin, whisk in additional powdered sugar 1 tbsp at a time until thickened. If it’s too thick, thin it with milk ½ tsp at a time. Real talk: getting the consistency right is the difference between a glaze that pools perfectly and one that runs off the edges.
Step 5: Apply and Let Set
Drizzle the icing over your Toaster Strudel pastries while they’re still warm. Use a spoon or squeeze bottle for control. The glaze will spread slightly as it hits the warm surface, so don’t overdo it—start with a thin layer and add more if needed.
Let the icing set for 10-15 minutes at room temperature. It should harden to a smooth, slightly glossy finish that cracks gently when bitten. This is the moment that matters: a properly set glaze stays in place and delivers that nostalgic Toaster Strudel experience with every bite.
Pro Tips For Making Toaster Strudel Icing
- Melt Butter First: Always melt the unsalted butter before mixing—it blends smoothly into the powdered sugar and prevents clumpy icing. I learned this the hard way after stirring cold butter into a batch and ending up with a grainy mess.
- Sift the Sugar: Sounds tedious, but sifting the powdered sugar removes lumps and guarantees silky-smooth icing. My first few attempts had tiny bits that refused to dissolve, no matter how hard I stirred.
- Add Milk Slowly: Pour the milk a teaspoon at a time while whisking—it’s easier to thin the icing than to fix a runny batch. After ruining a few by overpouring, I now measure with a dropper for precision.
- Use Real Vanilla: Skip the imitation stuff and splash in pure vanilla extract—it adds depth that artificial flavors just can’t match. I was skeptical until I tried it side by side; the difference was night and day.
Flavor Customization for These Flavors
Citrus Twist
Add 1-2 tsp fresh lemon or orange zest to the dry ingredients for a bright, zesty kick. I love how this cuts through the sweetness—use a microplane to get fine, fluffy zest. Pair with a splash of citrus juice (½ tsp) in the wet mix for extra pop. 🌟
Chocolate Lovers
Replace ¼ cup powdered sugar with ¼ cup cocoa powder for a rich chocolate version. I recommend Hershey’s Special Dark for deeper flavor. Thin with an extra ½ tsp milk if needed—the cocoa makes it thicker.
Spiced Variation
Stir in ½ tsp cinnamon or ¼ tsp pumpkin pie spice with the dry ingredients. A pinch of nutmeg adds warmth. This works especially well for fall pastries. I often dust a little extra spice on top after glazing.
Coffee Infusion
Swap the vanilla for 1 tsp instant espresso powder dissolved in the milk. The coffee enhances the chocolate notes in the glaze without tasting like coffee itself. Use Medaglia d’Oro for best results.
For moisture, add 1 tsp brewed coffee in place of 1 tbsp milk.
Nutty Crunch
Fold in 2 tbsp finely chopped toasted nuts after mixing. Pecans, walnuts, or almonds all work beautifully. Toast them in a dry pan over medium heat for 3-4 minutes first. This adds texture contrast to the smooth glaze.
Nutrition Facts
Frequently Asked Questions
Can I use water instead of milk?
You can, but the flavor and texture will be different. Milk adds richness and creaminess that water can’t replicate. If you must, use 3 tbsp water and add ½ tsp vanilla for flavor.
Why does my icing stay runny?
It needs more powdered sugar or time to thicken. Add 1 tbsp powdered sugar at a time until it reaches ribbon consistency. Let it sit for 2-3 minutes to thicken naturally.
How do I get a thicker glaze?
For a thicker glaze, reduce milk to 2 tbsp and add ¼ cup more powdered sugar. The corn syrup helps it set while maintaining a smooth texture.
Can I make this ahead of time?
Yes! Store in an airtight container at room temperature for up to 2 days. Stir well before using, as it may thicken slightly over time.

- BBQ Sausage Recipe Oven: Smoky Depth Without the Grill - September 28, 2026
- BBQ Chicken Bowl Recipe Rice: Smoky Sweetness Over Fluffy Grains - September 28, 2026
- Beef Cutlet Recipe Ideas: Crispy Breaded Patties With Bold Seasonings - September 28, 2026