
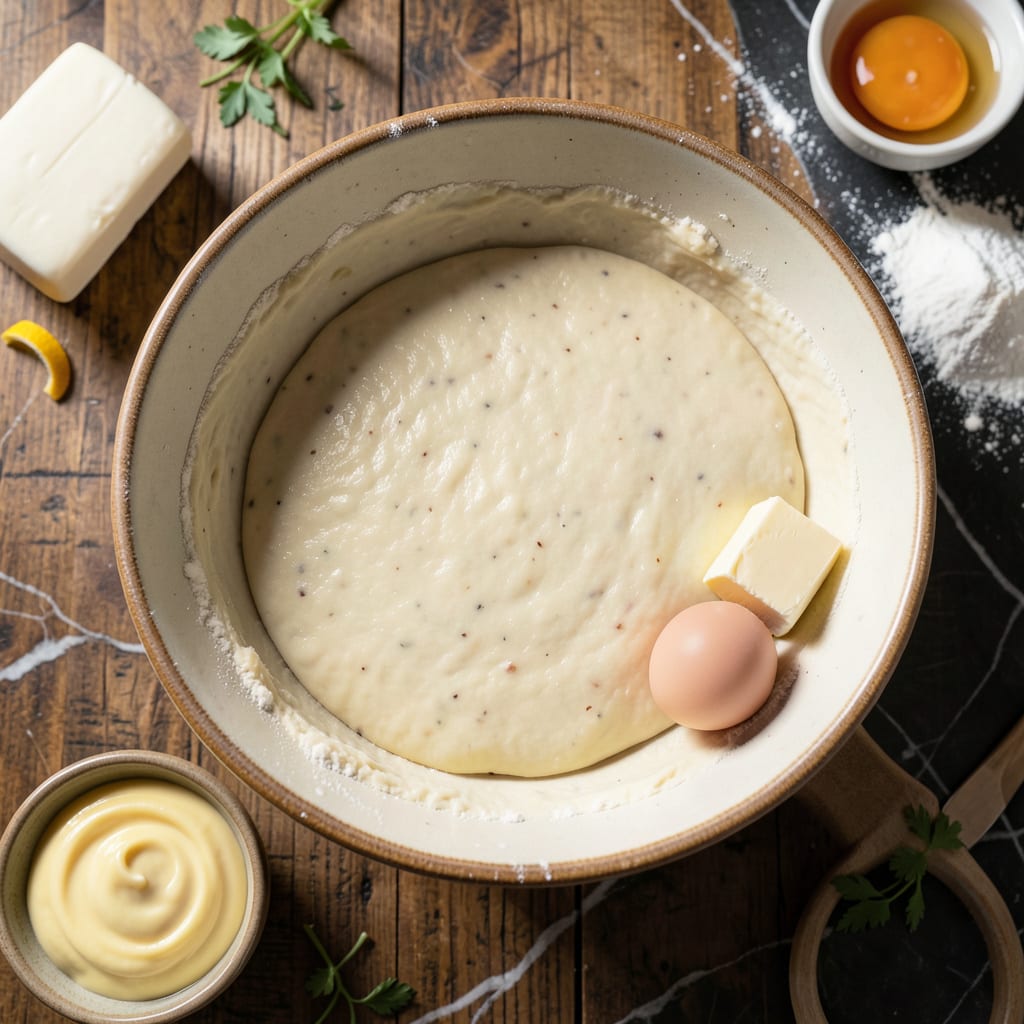
There’s an art to crafting traditional pierogi dough that yields those coveted tender pockets perfect for savory fillings. This proven method delivers the ideal texture—smooth, elastic, and just the right thickness to hold any filling without tearing.
With simple ingredients and precise technique, you’ll create dough that’s easy to roll and cut. The resting time is crucial, allowing the gluten to relax for effortless shaping. This foundation ensures your pierogi turn out just like the classics.
Ingredients for Traditional Pierogi Dough
Simple, quality ingredients create that classic elastic dough for perfect pierogi every time.
| Ingredient | Amount | Notes |
|---|---|---|
| All-Purpose Flour 🌾 | 3 cups | Plus extra for dusting |
| Water 💧 | ¾ cup | Warm, about 110°F |
| Sour Cream 🥛 | ½ cup | Full-fat for tenderness |
| Unsalted Butter 🧈 | 4 tbsp | Melted and cooled slightly |
| Large Egg 🥚 | 1 whole | Room temperature |
| Salt 🧂 | 1 tsp | Fine sea salt preferred |
| Vegetable Oil 🫒 | 1 tbsp | For brushing dough |
[recipeingredientscaler]
The flour is the foundation here. King Arthur or Gold Medal all-purpose gives consistent results—avoid bread flour, as it’s too high in protein. Sour cream is non-negotiable for that signature tenderness (full-fat only). Cabot or Breakstone’s are reliable brands. If your kitchen is cold, warm the water slightly to activate the gluten properly.
No sour cream? Full-fat Greek yogurt at equal volume works in a pinch. For a vegan version, replace the egg with 1 tbsp flaxseed meal + 3 tbsp water. The butter can be swapped for coconut oil, but expect a slightly different flavor. Always use room-temperature ingredients—cold butter or eggs can make the dough tough.
The dough rests best covered with a damp towel at room temperature for 30 minutes. Store unused dough wrapped tightly in plastic for up to 2 days in the fridge. Freeze for 1 month (thaw overnight before using).
Why You’ll Love This Recipe
- No-Fuss Mixing: I just dump everything in one bowl—flour, sour cream, egg, butter—and it comes together faster than my coffee brews.
- Rich, Tender Bite: The sour cream and butter make the dough so soft it practically melts, with that subtle tang I crave.
- Freezer Friendly: I roll out a big batch on Sunday, freeze the extras, and have homemade pierogi ready for lazy weeknights.
- Pocket Change Cost: Honestly, five basic ingredients I always have on hand—no special trips to the store, no budget stress.
Step-by-Step Instructions for Traditional Pierogi Dough
Master this authentic technique for a smooth, elastic dough that encases fillings beautifully.
Step 1: Activate the Dough Base with Warm Liquid
In a large mixing bowl, combine the 3 cups All-Purpose Flour and 1 tsp Salt. Create a well in the center and add the 0.75 cup Water (warm, about 110°F) and 0.5 cup Sour Cream. The warmth of the water helps activate the gluten development without being so hot it could cook the egg.
Use a wooden spoon to gradually incorporate the flour into the wet ingredients. The mixture will appear shaggy and rough at first. This initial hydration is crucial—it ensures the flour absorbs the liquid evenly, preventing dry spots in your final dough.
Step 2: Enrich and Bind with Egg and Butter
Add the 1 whole Large Egg (room temperature) and 4 tbsp Unsalted Butter (melted and cooled slightly) to the bowl. The egg provides structure and richness, while the butter adds tenderness to the finished pockets.
Mix until a cohesive dough begins to form. The butter should be cool enough that it doesn’t cook the egg but still liquid for easy incorporation. At this stage, the dough will be slightly sticky—that’s normal and indicates proper hydration.
Step 3: Knead to Develop Elasticity
Turn the dough out onto a lightly floured surface and knead for 8-10 minutes until smooth and elastic. Press with the heels of your hands, then fold and turn the dough repeatedly. You’ll notice the texture transform from rough to silky as the gluten develops.
If the dough feels too sticky, dust with a small amount of additional flour, but use restraint—too much flour will make the pierogi tough. The dough is ready when it springs back lightly when pressed with a finger and has a satin-like finish.
Step 4: Rest for Optimal Workability
Shape the dough into a ball, place it in a lightly oiled bowl, and brush the surface with the remaining 1 tbsp Vegetable Oil. Cover with a clean kitchen towel or plastic wrap. Let it rest at room temperature for 30 minutes.
This resting period allows the gluten to relax, making the dough easier to roll out thinly without shrinking back. The oil prevents a skin from forming on the surface, which could dry out the dough. After resting, the dough should feel supple and ready for rolling.
Pro Tips For Making Traditional Pierogi Dough
- Knead Gently: Overworking the dough makes it tough—I learned this the hard way after my first few batches turned out like rubber. Just mix until it comes together, then let it rest.
- Use Room Temp Ingredients: Cold butter or sour cream straight from the fridge won’t blend evenly. Take them out 30 minutes before starting, or you’ll end up with a lumpy, uneven dough.
- Skip the Extra Flour: It’s tempting to dust your surface with too much flour, but resist. The dough should be slightly tacky—adding too much flour makes pierogi dense and dry.
- Rest the Dough: After kneading, wrap it in plastic and let it sit for 20-30 minutes. My grandmother swore by this, and it makes rolling and shaping way easier.
Make-Ahead Tips for This Recipe
Dough Prep Ahead
You can mix and knead the dough up to 2 days in advance. After resting, wrap it tightly in plastic wrap and refrigerate. Cold dough is actually easier to roll thinly because it’s less elastic. Just let it sit at room temperature for 30 minutes before rolling. 💡
Rolling and Cutting
Once rolled to ⅛-inch thickness, use a 3-inch round cutter to shape your pierogi. Place cut circles on a floured tray, cover with a towel, and refrigerate for up to 24 hours. This prevents drying while you prepare fillings.
Freezing Uncooked
For long-term storage, freeze uncooked pierogi on a baking sheet in a single layer. Once solid, transfer to freezer bags with parchment between layers. They’ll keep for 3 months. Cook directly from frozen—just add 2 extra minutes to boiling time.
Cooking from Frozen
Drop frozen pierogi into gently boiling water. Stir occasionally to prevent sticking. When they float to the surface after 5-7 minutes, cook for 1 additional minute, then remove with a slotted spoon. This method preserves their shape and texture perfectly.
Storing Cooked Pierogi
Cooked pierogi can be refrigerated in an airtight container for up to 5 days. To reheat, pan-fry in butter until golden, or microwave with a splash of water. I prefer the pan-frying method for that crispy edge. ❄️
Reheating for Crowds
For large batches, reheat in batches in a skillet with 2 tbsp butter over medium heat. Turn occasionally until heated through, about 4-5 minutes. This works great for meal prep when you want to serve them hot all at once.
Nutrition Facts
Frequently Asked Questions
Why does the dough need to rest?
Resting relaxes the gluten, making the dough easier to roll thin without shrinking. Without this 30-minute pause, the dough would resist stretching and could tear.
Can I use a stand mixer for kneading?
Yes! Use the dough hook attachment on low speed for 6-8 minutes. Watch for a smooth, elastic texture. Avoid overmixing, which can make the dough tough.
What if my dough is too sticky?
Dust with a little extra flour, but sparingly. Too much flour will make the pierogi dense. The dough should feel slightly tacky but not stick to your hands.
How thin should I roll the dough?
Aim for ⅛-inch thickness—thin enough to fold easily but thick enough to hold fillings. Use a rolling pin or pasta machine for even results.

- BBQ Sausage Recipe Oven: Smoky Depth Without the Grill - September 28, 2026
- BBQ Chicken Bowl Recipe Rice: Smoky Sweetness Over Fluffy Grains - September 28, 2026
- Beef Cutlet Recipe Ideas: Crispy Breaded Patties With Bold Seasonings - September 28, 2026