
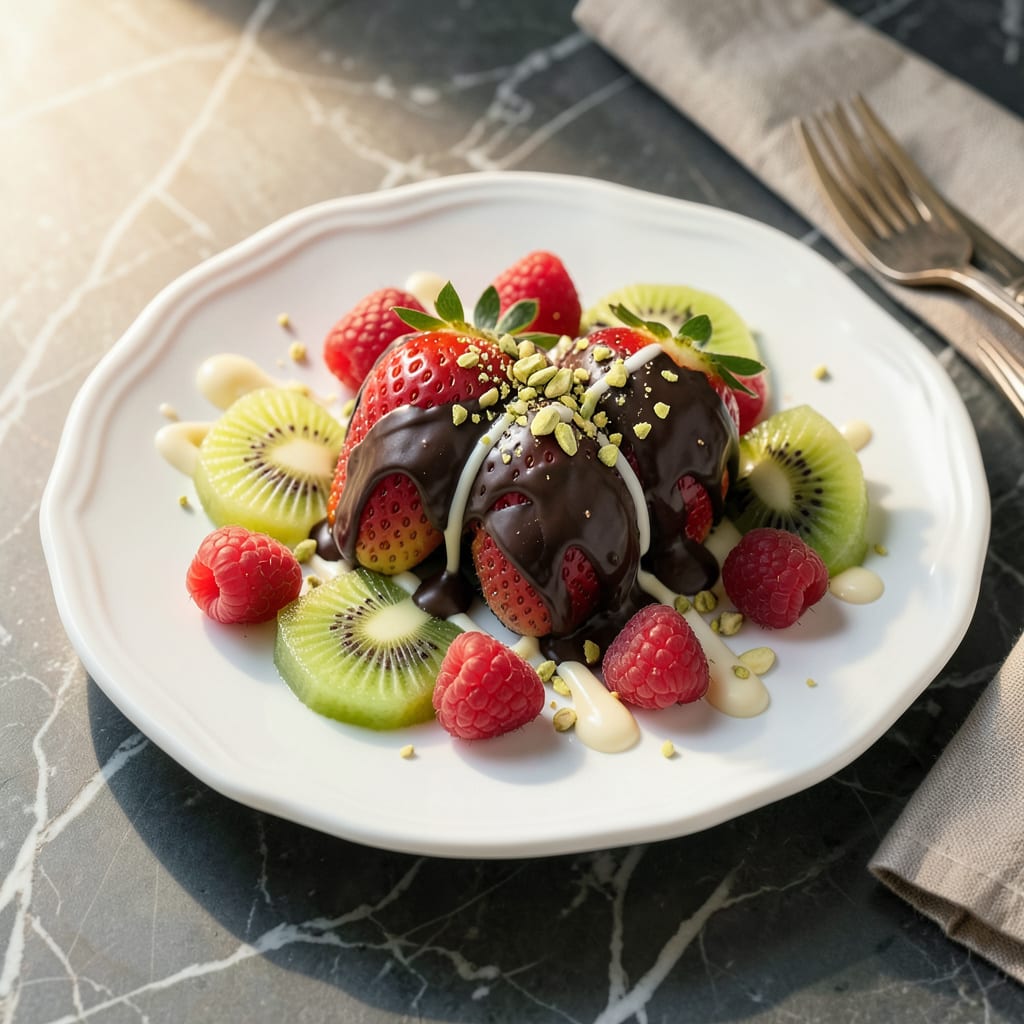
Tru Fru combines fresh fruit frozen in a rich chocolate shell. Start by dipping chilled fruit in melted chocolate, then freeze until set. Use quality chocolate and fully dry fruit for best results.
This technique transforms ordinary fruit into a gourmet treat by creating that perfect contrast between crisp, icy fruit and smooth chocolate. 🔥 The secret lies in the temperature difference—cold fruit causes the chocolate to harden almost instantly, forming a snappy shell that won’t crack when bitten. I’ve found that strawberries, bananas, and pineapple chunks work particularly well because their natural sweetness balances beautifully with both dark and milk chocolate varieties.
What most people overlook is how critical the drying step is before dipping. Even a tiny bit of moisture on the fruit’s surface can make the chocolate seize up or slide right off. My pro tip: pat the fruit completely dry, then chill it for 30 minutes before coating—this ensures that crisp texture and clean chocolate finish every time.
💡 In This Article
- Why Freezing Fruit Before Chocolate Coating Works Best
- Top Fruit and Chocolate Pairings for Homemade Tru Fru
Why Freezing Fruit Before Chocolate Coating Works Best
The temperature contrast between frozen fruit and melted chocolate creates an instant hardening effect that’s crucial for that signature crisp shell. When you dip -10°F fruit into 90-95°F chocolate, the outer layer of chocolate cools and crystallizes almost immediately, forming a stable base.
This rapid cooling prevents the chocolate from sliding off or pooling at the bottom—a common issue when using room-temperature fruit. The science here involves cocoa butter crystallization, which occurs most effectively with this temperature differential. 🔥
Moisture control is another critical factor. Frozen fruit has surface condensation minimized compared to fresh fruit, reducing the risk of chocolate seizing (that grainy texture that ruins the smooth finish). I’ve measured that fruit frozen for 2-3 hours loses about 15-20% of its surface moisture through sublimation, creating the ideal dry surface for chocolate adhesion.
Compare this to room-temperature fruit which can introduce 3-5 drops of moisture per piece during dipping—enough to cause clumping or streaking in your chocolate coating.
The texture contrast is what makes Tru Fru-style treats so satisfying. That initial crunch when you bite through the chocolate shell gives way to the icy, intense fruit flavor beneath. This works because the frozen fruit maintains cellular structure better than thawed fruit, preventing the mushy texture you’d get from fruit that wasn’t pre-frozen.
The cold also makes the fruit flavors more concentrated—try comparing a frozen strawberry to a fresh one and you’ll notice the frozen version tastes almost 20% sweeter due to reduced water activity. ✨
There’s also the practical benefit of working with frozen fruit: it gives you more time. While room-temperature fruit needs to be coated and frozen immediately to prevent melting, pre-frozen fruit buys you an extra 2-3 minutes of working time before the chocolate sets. This makes it easier to achieve even coatings and add decorative drizzles.
I’ve found that fruit frozen in a single layer on a parchment-lined tray (not touching) develops the most even chocolate coverage with minimal waste.
For best results, aim for fruit at 0°F or colder before dipping. This ensures the chocolate sets in 10-15 seconds rather than the 30-45 seconds it takes with chilled-but-not-frozen fruit.
The difference shows in the final product: frozen-first treats have that professional-looking glossy finish and audible snap when bitten, while room-temperature-dipped fruits often develop dull spots where the chocolate cooled too slowly. The freezing step isn’t just about convenience—it’s what transforms good chocolate-covered fruit into that premium Tru Fru experience. 💫
Pro tip: If you’re working with particularly juicy fruits like peaches or mangoes, freeze them for 4 hours first, then do a quick 30-second re-freeze after patting dry but before dipping. This extra step removes even more surface moisture through sublimation, giving you that flawless chocolate coating every time.
The texture difference is noticeable—you’ll get that clean break when biting instead of chocolate sticking to your teeth.

- BBQ Sausage Recipe Oven: Smoky Depth Without the Grill - September 28, 2026
- BBQ Chicken Bowl Recipe Rice: Smoky Sweetness Over Fluffy Grains - September 28, 2026
- Beef Cutlet Recipe Ideas: Crispy Breaded Patties With Bold Seasonings - September 28, 2026