
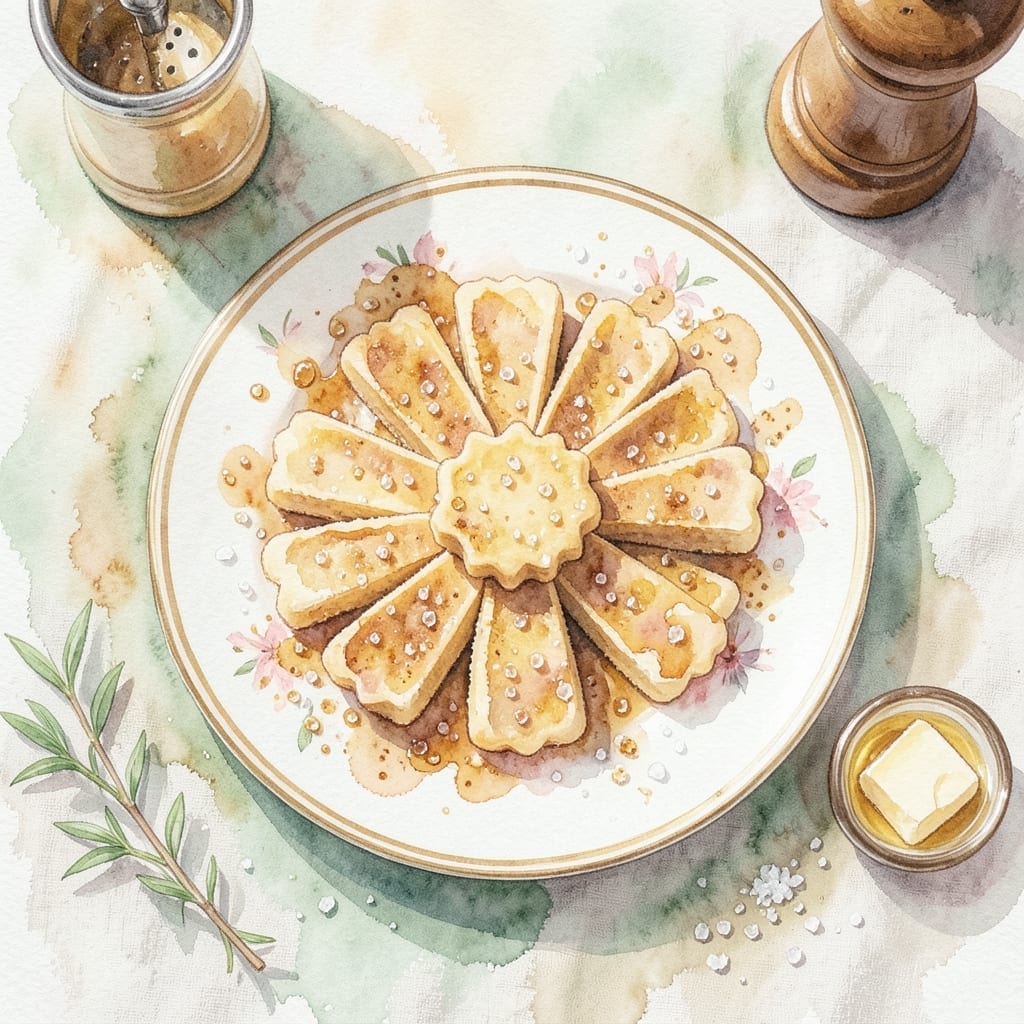
I’ve lost count of how many times these vanilla wafers have saved dessert. They’re simple, buttery, and just sweet enough to stand alone or become the base for something bigger.
The batter comes together in 10 minutes with basic ingredients, and the cookies bake up golden and tender every time. No fancy equipment, no fuss—just classic flavor that works in every recipe.
Use them as a crust for cheesecake, crush them into parfaits, or sandwich with ice cream. They’re the kind of cookie that turns leftovers into new favorites.
Bake a batch today and see where they take you.
Ingredients for Vanilla Wafer Recipe Ideas
Basic pantry staples turn into these buttery, golden cookies in no time.
| Ingredient | Amount | Notes |
|---|---|---|
| All-Purpose Flour 🌾 | 2 cups | Sifted for lighter texture |
| Unsalted Butter 🧈 | ¾ cup | Room temperature, softened |
| Granulated Sugar 🍚 | ½ cup | Fine white sugar |
| Brown Sugar 🟤 | ¼ cup | Light or dark, packed |
| Large Eggs 🥚 | 1 whole | Room temperature preferred |
| Pure Vanilla Extract 🌿 | 1 tsp | Real vanilla, not imitation |
| Baking Powder ⚗️ | 1 tsp | Fresh for best rise |
| Salt 🧂 | ¼ tsp | Fine table or kosher |
| Whole Milk 🥛 | 2 tbsp | Adds richness to dough |
| Vanilla Bean Seeds 🌿 | 1 whole | Scraped from 1 bean |
The butter is the soul of this recipe. Land O’Lakes or Plugrá are my go-tos—always unsalted so you control the salt level. Vanilla matters too: Nielsen-Massey or Rodelle extracts are worth the splurge (or scrape a real bean if you’re feeling fancy). Most supermarkets carry these, but Whole Foods has the good vanilla beans if you want to go all out.
No whole milk? Any milk at hand works fine, even plant-based if that’s your thing. Swap the brown sugar for all white if needed—the cookies will be slightly crisper. Out of baking powder? 1:1 baking soda plus cream of tartar in a pinch. And if you only have salted butter, just skip the added salt. These cookies are forgiving like that.
Dough keeps 3 days wrapped in the fridge, or bake and freeze the cookies for 2 months. They soften up nicely at room temp (the good stuff, not the store-bought kind).
Why You’ll Love This Recipe
- One Bowl Wonder: I mix everything in a single bowl—flour, butter, both sugars—and it’s ready for the oven in minutes.
- Buttery Sweetness: The brown sugar caramelizes just enough to give that warm vanilla flavor with a hint of crisp.
- Endless Uses: Honestly, I crumble them over ice cream, layer them in trifles, or just eat them straight from the jar.
- Budget Friendly: All-purpose flour and basic pantry staples mean I can bake a batch without breaking the bank.
Step-by-Step Instructions for Vanilla Wafers
Here’s the method I use for perfect, crispy vanilla wafers every single time.
Step 1: Cream Butter and Sugars Until Fluffy
In a large bowl, beat the 0.75 cup Unsalted Butter with the 0.5 cup Granulated Sugar and 0.25 cup Brown Sugar on medium speed for 3-4 minutes. The mixture should turn pale yellow and nearly double in volume—this is how you know you’ve incorporated enough air.
I always use room temperature butter for this step. If it’s too cold, it won’t cream properly, and if it’s too soft, your cookies will spread too much in the oven. Scrape down the sides of the bowl at least once to ensure everything gets mixed evenly.
Step 2: Incorporate Eggs and Vanilla Flavorings
Add the 1 whole Large Eggs and beat for 30 seconds until fully combined. Then mix in the 1 tsp Pure Vanilla Extract and the 1 whole Vanilla Bean Seeds. The seeds from the bean will give your wafers those beautiful little black specks and an extra layer of vanilla flavor.
I like to split the vanilla bean down the middle with a sharp knife, then scrape out the seeds with the back of the blade. This gives you maximum flavor without wasting any of those precious seeds. The mixture might look slightly curdled at this point—that’s normal.
Step 3: Combine Dry Ingredients and Form Dough
In a separate bowl, whisk together the 2 cups All-Purpose Flour, 1 tsp Baking Powder, and 0.25 tsp Salt. I sift my flour first for a lighter texture in the finished cookies, but it’s not absolutely necessary if you’re in a hurry.
Add the dry ingredients to the wet mixture in two additions, mixing on low speed for 30 seconds between each. Then pour in the 2 tbsp Whole Milk and mix just until the dough comes together. Don’t overmix—you want a soft, slightly sticky dough, not a tough one.
Step 4: Chill Dough and Preheat Oven
Cover the bowl with plastic wrap and refrigerate the dough for at least 1 hour. This chilling step is crucial—it prevents the cookies from spreading too much in the oven and helps develop the flavors. I often make the dough the night before and let it chill overnight.
While the dough chills, preheat your oven to 350°F and line two baking sheets with parchment paper. If you skip the parchment, your cookies might stick, and we definitely don’t want that with these delicate wafers.
Step 5: Shape, Bake, and Cool
Using a small cookie scoop or teaspoon, portion out tablespoon-sized balls of dough and place them 2 inches apart on the prepared baking sheets. Flatten each ball slightly with your fingers—they won’t spread much on their own.
Bake for 10-12 minutes until the edges are light golden brown. The centers might still look a bit soft when you take them out, but they’ll firm up as they cool. Let the cookies cool on the baking sheet for 5 minutes before transferring them to a wire rack to cool completely.
Pro Tips For Making Vanilla Wafer Recipe Ideas
- Chill the Dough: After mixing, refrigerate the dough for at least 30 minutes—I learned this the hard way when my first batch spread into a single, sad sheet. Cold butter in the dough keeps the wafers thick and tender.
- Cream Butter Thoroughly: Beat the butter and sugars together for a full 3-4 minutes, until it’s pale and fluffy. My grandmother swore by this, and she was right: it traps air for lighter, crispier wafers.
- Skip Overmixing Flour: Stir in the flour just until it disappears—resist the urge to overwork it. Overmixing develops gluten, and you’ll end up with tough cookies instead of delicate, melt-in-your-mouth vanilla wafers.
- Use Parchment Paper: Line your baking sheets with parchment, even if it feels like a hassle. Sounds weird, but it works: prevents sticking and saves you from scrubbing baked-on butter and sugar off the pan later.
Health Benefits of This vanilla wafer recipe ideas
Energy Boost
These cookies provide a quick carbohydrate boost from the flour and sugars, perfect for a mid-afternoon pick-me-up. A single wafer offers about 80-100 calories, making it a light, portion-controlled treat. I often pair one with tea for a satisfying energy lift. 💪
Mood Enhancer
The real vanilla extract in this recipe contains vanillin, which has been linked to mood enhancement and stress reduction. Just the aroma of baking these can create a calming effect. I notice my kitchen feels cozier when they’re in the oven.
Comfort Food
There’s something nostalgic about vanilla wafers that makes them the ultimate comfort food. The familiar flavor and soft texture can evoke happy memories, which is why I always keep a batch on hand for tough days.
Portion Control
At about 1 inch in diameter, these cookies are naturally portion-controlled. This makes them easier to enjoy mindfully compared to larger desserts. I find it’s the perfect size to satisfy a sweet craving without overindulging.
Nutrient Sources
While not a health food, the recipe includes calcium from milk and protein from eggs and flour. The butter provides some vitamin A. Every little bit counts toward your daily nutrient needs.
Versatile Base
Use these as a base for healthier desserts like yogurt parfaits or fruit sandwiches. The neutral vanilla flavor pairs well with fresh berries or banana slices, letting you create balanced treats with added vitamins and fiber. 🌟
Nutrition Facts
Frequently Asked Questions
Can I make these without a mixer?
A sturdy wooden spoon and strong arm work just fine. Cream the butter and sugars together first, then beat in the egg and vanilla. It’ll take a little more elbow grease but yields the same delicious results.
How do I store them to keep them crisp?
Store completely cooled cookies in an airtight container at room temperature. For extra crispness, add a slice of bread to absorb moisture. They’ll stay fresh for up to 5 days.
Can I use margarine instead of butter?
Yes, but butter gives the best flavor and texture. If using margarine, choose one with at least 80% fat content and make sure it’s not the light version. The cookies may spread slightly more.
Why did my cookies turn out too hard?
Overbaking is the most common cause. Pull them from the oven when the edges are just starting to turn light golden brown. They’ll continue cooking on the baking sheet as they cool.

- Beyond Burger Recipe Ideas: Plant-Based Creativity for Every Meal - September 28, 2026
- BBQ Bison Recipe Steaks: Smoky Grill Mastery with Bold Flavor - September 28, 2026
- Chicken Breast Recipe Tender: Brine-Soaked Juiciness Without Overcooking - September 28, 2026