
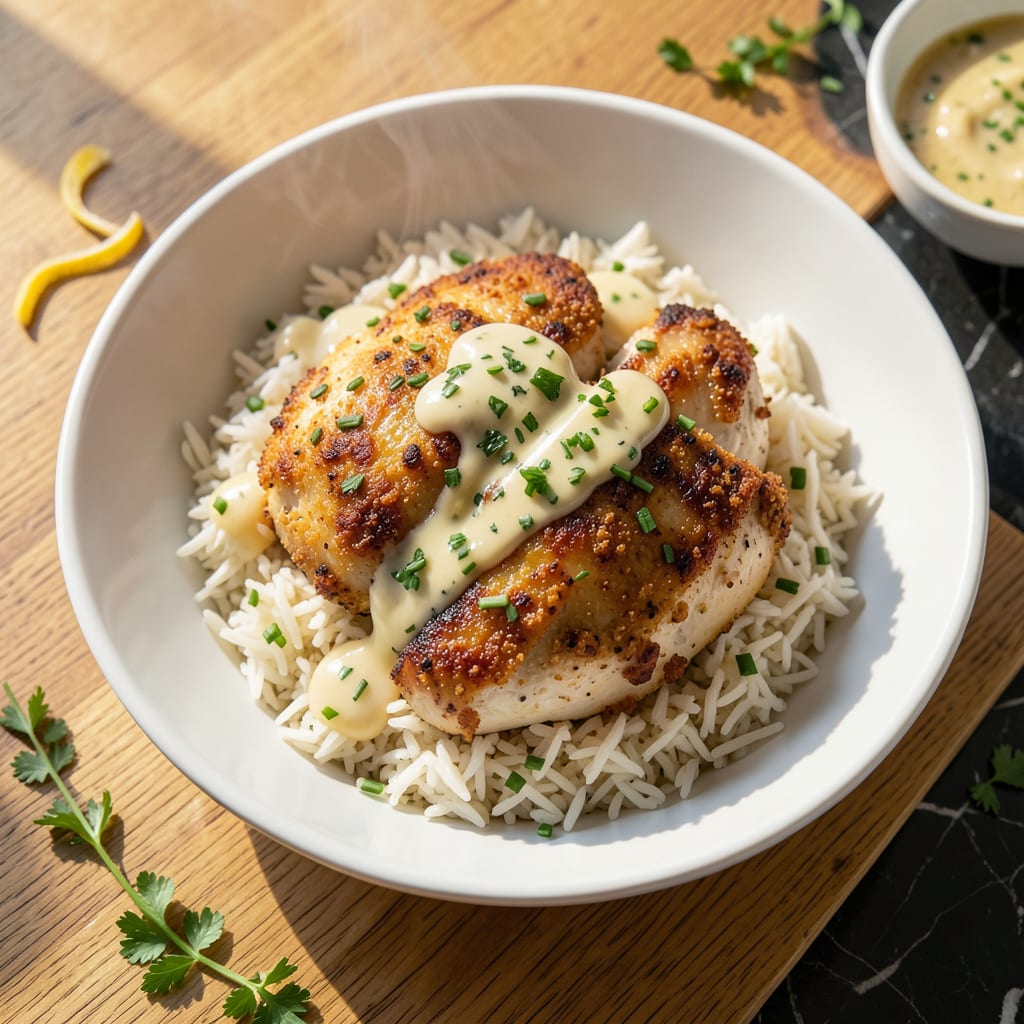
This baked version delivers all the indulgence of classic chicken kiev without the deep-fry mess. The secret lies in keeping the garlic butter center perfectly sealed during baking.
You’ll get a golden, crispy coating with a molten, aromatic surprise inside—every bite releases that rich, herbed butter we all love.
Ingredients for Baked Chicken Kiev
Golden breading, herbed butter center, and zero deep-fry hassle—just good ingredients.
| Ingredient | Amount | Notes |
|---|---|---|
| Chicken Breast 🍗 | 4 whole | Boneless, skinless, pounded to 1/4-inch thickness |
| Unsalted Butter 🧈 | ½ cup | Softened for garlic butter center |
| Garlic Cloves 🧄 | 4 cloves | Minced for butter mixture |
| Fresh Parsley 🌿 | 2 tbsp | Finely chopped for butter |
| Fresh Chives 🌿 | 1 tbsp | Finely chopped for butter |
| All-Purpose Flour 🌾 | ½ cup | For dredging chicken |
| Large Eggs 🥚 | 2 whole | Beaten for egg wash |
| Panko Breadcrumbs 🍞 | 1 ½ cups | Japanese-style for crispy coating |
| Dijon Mustard 🟡 | 2 tbsp | For assembling breading |
| Kosher Salt 🧂 | 1 tsp | Diamond Crystal preferred |
| Freshly Ground Black Pepper 🌶️ | ½ tsp | For seasoning chicken |
| Paprika 🌶️ | 1 tsp | Sweet or smoked variety |
| Olive Oil 🫒 | 2 tbsp | For baking and browning |
| Toothpicks 🪥 | 12 pieces | For securing chicken rolls |
The chicken is everything here. Boneless, skinless breasts pounded to an even thickness seal the butter best—look for air-chilled at Whole Foods or Costco for better texture and flavor. The butter needs to be real, European-style (higher fat content) so it doesn’t leak out during baking. I always buy Plugrá or Kerrygold for this exact reason. Fresh herbs matter too; skip the dried stuff for the butter center.
No panko? Crush stale sourdough or baguette into fine crumbs—works in a pinch. Short on time? Pre-minced garlic from a jar (the kind in oil) saves a few minutes. Out of Dijon? Regular mustard with a pinch of dry mustard powder gets you close. The flour can be swapped for cornstarch if you’re avoiding gluten (use one-to-one ratio). Don’t skip the toothpicks—they’re what keeps that butter sealed inside.
The assembled rolls can sit in the fridge up to 24 hours before baking (great for prepping ahead). Leftovers keep 3-4 days in the fridge, though that butter center is best fresh. Reheat gently in a 350°F oven to avoid drying out the chicken.
Why You’ll Love This Recipe
- One Pan Wonder: I toss everything on a sheet pan and let the oven do the work—no splatter, no fuss.
- Buttery Garlic Bomb: That first bite with the melted garlic butter oozing out? Pure comfort in every bite.
- Weeknight MVP: Between us, it’s my go-to for impressing dinner guests without the stress. (Yes, even on a Tuesday night)
- Budget-Friendly Feast: Chicken breasts and pantry staples stretch far, and leftovers taste just as good the next day.
Step-by-Step Instructions for Baked Chicken Kiev
This method delivers that molten garlic butter center with a perfectly crisp coating every time.
Step 1: Create the Garlic Butter Filling
In a small bowl, combine the 0.5 cup unsalted butter (softened), 4 cloves garlic cloves (minced), 2 tbsp fresh parsley, and 1 tbsp fresh chives. Mix thoroughly until the herbs and garlic are evenly distributed throughout the butter. The mixture should be soft enough to spread but hold its shape when chilled.
Divide the garlic butter into 4 equal portions (about 2 tbsp each) and roll each into a log about 2 inches long. Place these on a small plate and refrigerate for 15-20 minutes until firm. This chilling step prevents the butter from oozing out during breading and baking.
Step 2: Prepare and Bread the Chicken
Lay out the 4 whole chicken breast pieces (pounded to 1/4-inch thickness) on a clean surface. Season both sides with 1 tsp kosher salt, 0.5 tsp freshly ground black pepper, and 1 tsp paprika. The paprika adds a subtle smokiness that complements the garlic butter beautifully.
Place one chilled butter log at the end of each chicken breast. Roll the chicken tightly around the butter, tucking in the sides as you go to completely enclose it. Secure each roll with 3 toothpicks to hold its shape. Now set up your breading station: one bowl with 0.5 cup all-purpose flour, one with 2 whole large eggs beaten with 2 tbsp Dijon mustard, and one with 1.5 cups panko breadcrumbs.
Step 3: Apply the Three-Step Breading Process
Dredge each chicken roll in the flour, shaking off any excess. This first layer creates a foundation for the egg wash to adhere to. Then dip each floured roll into the egg mixture, ensuring it’s completely coated. Let any excess egg drip off for a moment before moving to the final step.
Roll each piece in the panko breadcrumbs, pressing gently to ensure an even, thorough coating. The panko’s coarse texture creates that desirable crispy exterior. Place the breaded rolls on a plate and refrigerate for 10-15 minutes. This rest period helps the coating adhere better and prevents it from falling off during baking.
Step 4: Bake to Golden Perfection
Preheat your oven to 400°F. Place a wire rack on a baking sheet and brush it lightly with 1 tbsp olive oil. Arrange the chicken rolls seam-side down on the rack. Drizzle or brush the tops with the remaining 1 tbsp olive oil to encourage browning.
Bake for 20-25 minutes or until the coating is golden brown and the internal temperature reaches 165°F. The rack allows air to circulate underneath, ensuring even cooking and preventing soggy bottoms. Rotate the pan halfway through baking for uniform browning if your oven has hot spots.
Step 5: Rest and Serve with Caution
Remove the chicken from the oven and let it rest for 5 minutes before serving. This brief rest allows the juices to redistribute and the butter to cool slightly. Carefully remove the toothpicks before serving—there’s no need to keep them in for presentation.
Serve immediately while the coating is still crisp and the center is molten. Warn your guests about the hot garlic butter center—it’s best to cut into each piece slightly to let some of the steam escape before taking that first delicious bite. The contrast between the crisp panko exterior and the creamy garlic butter interior is what makes this dish unforgettable.
Pro Tips For Making Baked Chicken Kiev
- Chill the Butter: Freeze your unsalted butter for 15-20 minutes before mixing with garlic, parsley, and chives—I learned this the hard way after watching my herbed butter ooze out during baking. The firmer it is, the better it holds its shape inside the chicken.
- Pound Even Thickness: Use a rolling pin or meat mallet to flatten chicken breasts to ¼-inch thickness. After burning three batches, I finally figured out uneven thickness means some parts dry out before others cook through.
- Seal the Edges: Press the folded edges of the chicken tightly and secure with toothpicks—skip this and that delicious garlic butter will leak right out. My grandmother swore by this, and she was right.
- Rest Before Baking: Let the stuffed chicken rest in the fridge for 15 minutes before baking. Sounds weird, but it works: the butter stays put and the coating crisps better.
Perfect Pairings for baked chicken kiev
Wine Pairings
A crisp Sauvignon Blanc from New Zealand cuts through the richness with its bright acidity and citrus notes. I love how the grapefruit and lime flavors cleanse your palate between bites. Try Kim Crawford or Oyster Bay for reliable options. 🍷
Beer Options
A light pilsner like Stella Artois or Warsteiner offers a refreshing contrast without competing with the dish’s flavors. The carbonation helps balance the buttery richness, while the mild hop profile won’t overpower the garlic and herbs.
Side Dish Ideas
Serve with roasted asparagus tossed in olive oil and lemon zest—the acidity mirrors the wine pairing. Alternatively, a simple green salad with a light vinaigrette prevents the meal from feeling too heavy.
Starch Pairings
Garlic mashed potatoes make an indulgent pairing that soaks up any escaped butter. For a lighter option, wild rice pilaf with herbs adds texture without overwhelming the main dish.
Vegetable Sides
Steamed green beans with slivered almonds provide a satisfying crunch. I also love roasted Brussels sprouts with a balsamic glaze—their caramelized edges complement the crispy chicken coating. ✨
Bread Options
Offer crusty French bread or sourdough rolls to mop up every last bit of that garlicky butter. Warm the bread just before serving for maximum absorption.
Nutrition Facts
Frequently Asked Questions
Why does my butter leak out during baking?
This usually happens if the butter isn’t chilled enough before rolling. Ensure your garlic butter logs are firm (refrigerate 20 minutes) and seal the chicken edges tightly.
Can I use regular breadcrumbs instead of panko?
Yes, but panko gives a crispier coating. If substituting, toast regular breadcrumbs in 1 tbsp olive oil for 3-4 minutes to improve texture.
How do I prevent the coating from falling off?
Chill the breaded rolls for 10-15 minutes before baking. This helps the coating set. Also, use a wire rack for even air circulation.
What’s the best way to reheat leftovers?
Place in a 350°F oven for 10-12 minutes to revive crispiness. Microwaving will make the coating soggy.

- BBQ Sausage Recipe Oven: Smoky Depth Without the Grill - September 28, 2026
- BBQ Chicken Bowl Recipe Rice: Smoky Sweetness Over Fluffy Grains - September 28, 2026
- Beef Cutlet Recipe Ideas: Crispy Breaded Patties With Bold Seasonings - September 28, 2026