
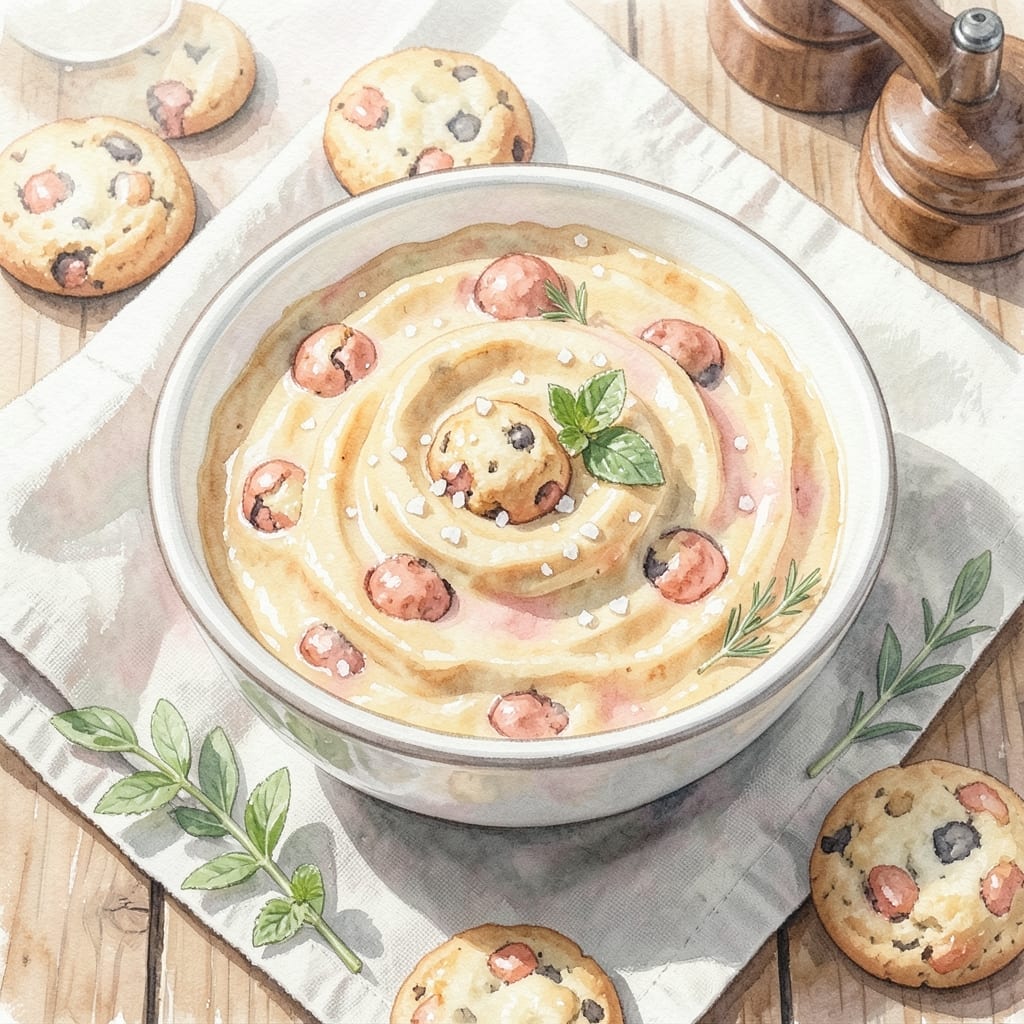
Achieving creamy layers without bananas might seem impossible, but this dessert proves otherwise. The secret lies in a carefully balanced custard layered with crisp vanilla wafers.
This recipe transforms simple ingredients into a textured delight that satisfies any sweet tooth. The vanilla wafers soften just enough to blend with the custard while maintaining their signature crunch.
What emerges is a dessert with velvety custard and subtle cookie flavor in every bite. The layers create a perfect harmony of textures that feels both nostalgic and innovative.
The result is a foolproof treat that delivers on its promise of creamy indulgence. Each serving offers the comfort of classic pudding with an unexpected twist.
Ingredients for Banana Cookie Pudding Recipe Without Bananas
Creamy custard and crisp vanilla wafers transform simple pantry staples into an elegant layered dessert.
| Ingredient | Amount | Notes |
|---|---|---|
| Granulated Sugar 🍚 | ¾ cup | Fine white sugar preferred |
| All-Purpose Flour 🌾 | ¼ cup | Sifted for smooth custard |
| Cornstarch 🌾 | 3 tbsp | Thickening agent for custard |
| Salt 🧂 | ¼ tsp | Fine sea salt for balance |
| Whole Milk 🥛 | 3 cups | Full-fat for creaminess |
| Large Egg Yolks 🥚 | 4 whole | Room temperature for smooth custard |
| Vanilla Extract 🌿 | 2 tsp | Pure extract for best flavor |
| Unsalted Butter 🧈 | 2 tbsp | For richness in custard |
| Vanilla Wafers 🍪 | 12 oz | About 36 wafers, standard size |
| Heavy Cream 🥛 | 1 cup | Whipped for topping |
| Vanilla Bean 🌿 | 1 whole | Split and scraped, optional enhancement |
The custard base demands quality dairy. Whole milk from a local dairy or organic brands like Horizon provide the richest texture. For the egg yolks, fresh, free-range eggs yield a deeper color and smoother mouthfeel. Vanilla wafers should be classic—Nilla Wafers by Nabisco are the standard, but store brands work in a pinch (avoid the overly sweet versions).
No whole milk? Half-and-half mixed with water at a 1:1 ratio works as a substitute. Egg yolks can be replaced with additional cornstarch at 1 tbsp per yolk, though the texture will be slightly less luxurious. For vanilla, vanilla bean paste offers a more intense flavor than extract. If avoiding dairy entirely, coconut milk can replace the milk, but the custard will have a subtle coconut note.
Assembled pudding keeps in the fridge for 3-4 days, though the wafers will soften further over time. The custard can be made 2 days ahead and stored separately. For best texture, layer just before serving. Freezing is not recommended as it separates the custard.
Why You’ll Love This Recipe
- One Bowl Wonder: I just dump the flour, sugar, and cornstarch in a bowl, whisk in the milk, and let the stove do the rest.
- Potluck MVP: Between us, I bring this to every church social and come home with an empty dish.
- Fridge Friendly: Leftovers thicken overnight, so breakfast the next day is basically dessert for one.
Step-by-Step Instructions for Banana Cookie Pudding Without Bananas
This method ensures silky custard and perfectly layered vanilla wafer crunch without actual bananas.
Step 1: Create the Custard Base
In a medium saucepan, whisk together the 0.75 cup Granulated Sugar, 0.25 cup All-Purpose Flour, 3 tbsp Cornstarch, and 0.25 tsp Salt. Gradually whisk in the 3 cups Whole Milk until completely smooth. This prevents lumps from forming during cooking.
Place the saucepan over medium heat and cook, stirring constantly with a wooden spoon, until the mixture thickens and comes to a gentle boil. You’ll notice it transforming from a thin liquid to a pudding-like consistency that coats the back of the spoon. This should take 8-10 minutes.
Step 2: Temper and Thicken with Egg Yolks
In a separate bowl, lightly beat the 4 whole Large Egg Yolks. Slowly pour about 1 cup of the hot milk mixture into the yolks while whisking constantly. This tempering process prevents the eggs from curdling when added to the hot liquid.
Pour the egg mixture back into the saucepan and return to medium heat. Continue cooking for 2-3 minutes, stirring constantly, until the custard thickens enough to leave a clear path when you drag a spoon through it. Remove from heat immediately once thickened to prevent overcooking.
Step 3: Add Flavor and Finish the Custard
Stir in the 2 tsp Vanilla Extract and 2 tbsp Unsalted Butter until completely melted and incorporated. For enhanced flavor, scrape the seeds from the 1 whole Vanilla Bean and add them to the custard as well. The custard should now be glossy and smooth.
Transfer the custard to a bowl and press plastic wrap directly onto the surface to prevent a skin from forming. Chill in the refrigerator for at least 2 hours or until completely cool and set. This cooling time is essential for achieving the proper texture.
Step 4: Whip the Cream and Prepare the Vanilla Wafers
While the custard chills, whip the 1 cup Heavy Cream to stiff peaks. Set aside. Arrange the 12 oz Vanilla Wafers in a single layer at the bottom of your serving dish or individual glasses. The wafers should cover the bottom completely without overlapping.
For best texture, use standard-sized vanilla wafers (about 36 wafers). If your dish is particularly deep, you may need to break some wafers to create an even layer. Reserve a few whole wafers for garnish if desired.
Step 5: Assemble and Chill the Pudding
Once the custard is completely cool, spread half of it over the vanilla wafer layer. Top with half of the whipped cream, then repeat with the remaining custard and cream. The layers should be distinct but will soften slightly as they chill together.
Cover and refrigerate for at least 4 hours or overnight. This resting time allows the vanilla wafers to soften slightly while maintaining their structure, creating that perfect cookie pudding texture. Serve chilled with additional vanilla wafers for crunch.
Pro Tips For Making Banana Cookie Pudding Recipe Without Bananas
- Whisk the Cornstarch: Mix the cornstarch with a little cold milk before adding it to the warm mixture—I learned this the hard way after ending up with lumpy pudding.
- Simmer, Don’t Boil: Keep the heat at a steady simmer, not a rolling boil, or the milk will scorch and the pudding will turn grainy.
- Use Full-Fat Milk: Skip the skim—whole milk gives the pudding that creamy, rich texture that makes it feel like a real treat.
- Add Pinch of Salt: Sounds weird, but a tiny pinch of salt balances the sugar and actually changes the outcome for the better.
Storing and Reheating This banana cookie pudding recipe without bananas
Refrigerator Storage
Let your pudding cool completely before storing—I recommend waiting the full 4 hours for best texture. Transfer to an airtight container or cover your serving dish tightly with plastic wrap. Store at 40°F or below for up to 3 days. 💡
Layer Integrity
The vanilla wafers will continue softening over time, but the custard stays creamy. For best results, store the pudding in individual portions to maintain the layer structure. I’ve found mason jars work perfectly for this.
Freezing Not Recommended
This dessert doesn’t freeze well—the custard tends to separate and become watery when thawed. The whipped cream also loses its texture. If you must freeze, do so for no more than 1 month and expect some texture changes.
Rechilling After Serving
If you have leftovers after serving, return them to the refrigerator within 2 hours. The custard can handle being chilled and rechilled once without losing quality. Just be sure to cover it well to prevent absorbing other fridge odors.
Revivifying Textures
After storage, if the top layer seems dry, add a fresh dollop of whipped cream before serving. For the wafers, a quick 10-minute rest at room temperature can help restore some of their original crunch. ❄️
Make-Ahead Strategy
You can prepare the custard and whipped cream separately up to 2 days ahead. Store them in separate containers and assemble with fresh vanilla wafers just before serving for the best texture contrast. This is my preferred method for gatherings.
Nutrition Facts
Frequently Asked Questions
Can I use a different type of cookie?
Yes! Shortbread or graham crackers work well as substitutes. They offer a similar crunch and pair nicely with the custard. Just adjust the quantity to match the vanilla wafer amount by weight.
Why does the custard need to chill for so long?
Chilling for 2 hours allows the custard to fully set and develop its creamy texture. This step ensures smooth layers and prevents a runny dessert.
What if my custard turns lumpy?
Strain it through a fine-mesh sieve while warm to remove lumps. Constant stirring during cooking also prevents this issue.
Can I make this dairy-free?
Substitute coconut milk for whole milk and use dairy-free butter. Note that the custard may have a slight coconut flavor.

- Beyond Burger Recipe Ideas: Plant-Based Creativity for Every Meal - September 28, 2026
- BBQ Bison Recipe Steaks: Smoky Grill Mastery with Bold Flavor - September 28, 2026
- Chicken Breast Recipe Tender: Brine-Soaked Juiciness Without Overcooking - September 28, 2026