
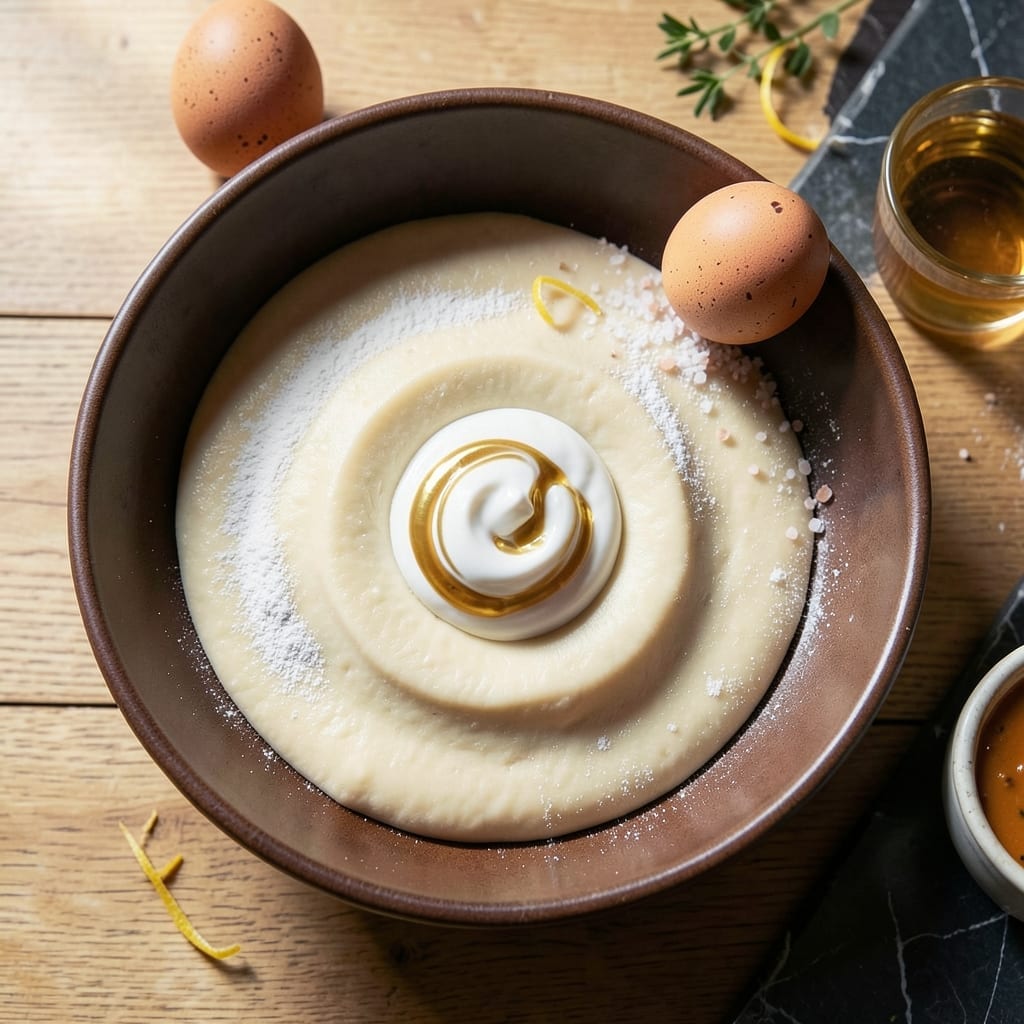
Achieving perfect pierogi begins with mastering the dough, and this recipe delivers a texture that’s tender yet sturdy enough for folding. The secret lies in the precise ratio of flour to liquid and proper resting time.
This method creates a smooth, elastic dough that rolls thin without tearing. The resting period allows the gluten to relax, making it easier to shape and fill. It’s a proven technique that ensures consistent results every time.
You’ll end up with pillowy soft pierogi that hold their shape during cooking and maintain that ideal chew. The dough stays flexible when boiling, preventing the fillings from bursting through.
Whether you’re making sweet or savory pierogi, this foundation guarantees professional-quality results. The texture is exactly what you’re looking for in traditional pierogi.
Ingredients for Best Pierogi Dough
Eight simple ingredients transform into the perfect elastic dough for pillowy pierogi.
| Ingredient | Amount | Notes |
|---|---|---|
| All-Purpose Flour 🌾 | 3 cups | Plus extra for dusting surface |
| Warm Water 💧 | ¾ cup | About 110-115°F temperature |
| Large Egg 🥚 | 1 whole | Room temperature preferred |
| Sour Cream 🥛 | ½ cup | Full-fat for best texture |
| Unsalted Butter 🧈 | 4 tbsp | Melted and slightly cooled |
| Salt 🧂 | 1 tsp | Fine sea salt or kosher |
| White Vinegar 🍶 | 1 tsp | Helps tenderize the dough |
| Vegetable Oil 🫒 | 1 tbsp | For brushing dough before resting |
The flour is the foundation here. King Arthur or Gold Medal all-purpose work beautifully—avoid bread flour as it’s too high-protein. The sour cream is non-negotiable for that tender yet sturdy texture (trust me on the full-fat version). I grab mine from Whole Foods or any grocery store with a good dairy section. The egg should be room temp so it blends in seamlessly with the warm water.
No sour cream? Plain Greek yogurt at the same amount works in a pinch. Out of vinegar? Lemon juice at half the quantity does the trick. For a richer dough, swap the water for warm milk. If you’re making a big batch, double the recipe—this dough freezes beautifully. The butter needs to be melted but not hot, or it’ll cook the egg.
Resting is key—don’t skip it. The dough stays fresh in the fridge for 2 days wrapped tightly in plastic. Once rolled and cut, freeze uncooked pierogi on a tray before bagging for up to 3 months. Always dust your surface well to prevent sticking.
Why You’ll Love This Recipe
- One-Bowl Wonder: I just dump everything in, mix, and it’s ready—no fancy tools, no fuss.
- Buttery Richness: The sour cream and butter make the dough so tender it melts in your mouth. Honestly, it’s the best I’ve tried.
- Freezer Friendly: I batch-make a dozen, freeze them, and pull out a few whenever I need a quick meal.
- Pocket Change: Flour, egg, a bit of butter—this feeds my family for less than a fancy takeout night.
Step-by-Step Instructions for Pierogi Dough
This method guarantees tender, elastic dough that rolls out beautifully and holds fillings perfectly.
Step 1: Mix the Wet Ingredients
In a large mixing bowl, whisk together the 0.75 cup Warm Water, 1 whole Large Egg, 0.5 cup Sour Cream, 4 tbsp Unsalted Butter, 1 tsp Salt, and 1 tsp White Vinegar until fully combined. The mixture will look slightly lumpy—that’s normal.
I always make sure the butter is melted and just warm to the touch, not hot, so it doesn’t cook the egg. The vinegar is the secret here—it tenderizes the dough, making it easier to roll and fold without cracking.
Step 2: Gradually Incorporate the Flour
Add the 3 cups All-Purpose Flour about 1 cup at a time, stirring with a wooden spoon until the dough starts to come together. You’ll notice it pulling away from the sides of the bowl and forming a shaggy mass.
Don’t rush this step. If the dough feels too sticky, add a little extra flour, but be sparing—too much flour makes the dough tough. You want it soft but not wet. When it’s just holding together, turn it out onto a lightly floured surface.
Step 3: Knead Until Smooth and Elastic
Knead the dough for 8-10 minutes by hand, pushing it away with the heel of your palm and folding it back over itself. It’ll feel slightly sticky at first, but resist the urge to add more flour right away. As you knead, the gluten develops, and the dough will become smooth and supple.
You’ll know it’s ready when it bounces back slightly when pressed and has a satin-like finish. This is the key to that pillowy soft texture—under-kneading results in dense, chewy pierogi, and over-kneading makes them tough.
Step 4: Rest the Dough for Optimal Texture
Shape the dough into a ball and brush the surface lightly with the 1 tbsp Vegetable Oil. This prevents a crust from forming as it rests. Place it in a clean bowl, cover with a damp towel or plastic wrap, and let it rest at room temperature for 30-45 minutes.
This resting period relaxes the gluten, making the dough much easier to roll out thinly. Without it, the dough will shrink back as you try to stretch it. I like to use this time to prep my fillings so everything is ready when the dough is.
Pro Tips For Making Best Pierogi Dough
- Knead Just Enough: Work the dough until it’s smooth but stop before it gets tough—I learned this the hard way after making rubbery pierogi that could bounce.
- Use Room-Temperature Eggs: Cold eggs shock the butter, so pull them out 30 minutes early or soak in warm water for 5; it blends smoother into the sour cream and butter.
- Skip Over-Flouring: Dust lightly when rolling, but too much flour dries the dough and makes it crack when boiling—my grandmother swore by this, and she was right.
- Rest the Dough: After mixing, cover and let it sit for 20-30 minutes; sounds weird, but it works—makes the dough more pliable and easier to roll thin.
Flavor Customization for This best pierogi dough
Sweet Dough Variations
For dessert pierogi, add 2 tbsp granulated sugar and 1 tsp vanilla extract to the wet ingredients. This creates a slightly sweeter dough perfect for fruit fillings. I love this with blueberry or cherry pierogi. 💛
Herb-Infused Dough
Mix 1 tbsp finely chopped fresh dill or 1 tsp dried chives into the flour before combining. This adds a subtle savory note that pairs beautifully with potato, cheese, or mushroom fillings.
Whole Wheat Blend
Replace 1 cup of all-purpose flour with whole wheat flour for a nuttier flavor and extra fiber. The dough will be slightly denser but still tender. Add 1-2 tbsp extra water if needed, as whole wheat absorbs more liquid.
Cheese-Enhanced Dough
Add ½ cup finely grated Parmesan or pepper jack cheese to the flour mixture. This creates a dough with extra depth and a subtle cheesy flavor that works well with savory fillings.
Spiced Dough Option
Incorporate ½ tsp paprika or ¼ tsp cayenne into the flour for a hint of warmth. This pairs especially well with meat or sauerkraut fillings. The spice adds complexity without overpowering. 🌶️
Colorful Dough
For festive pierogi, add 1-2 tsp beet powder for pink or ½ tsp turmeric for golden dough. Adjust liquid slightly if the dough feels dry. These look stunning on a platter!
Nutrition Facts
Frequently Asked Questions
Why use sour cream in the dough?
Sour cream adds richness and tenderness while keeping the dough sturdy enough to hold fillings. It creates that perfect balance of softness and elasticity you need for folding.
Can I make the dough ahead of time?
Yes! Wrap the dough tightly in plastic and refrigerate for up to 2 days. Let it return to room temperature before rolling for easier handling.
What if my dough tears while rolling?
Let it rest for 10-15 minutes more. If still problematic, dust with extra flour and roll at a slightly thicker setting. Patience is key!
How thin should I roll the dough?
Aim for about 1/8 inch thick. Too thin and it may tear; too thick and the pierogi become doughy. Use a ruler for precision.

- BBQ Sausage Recipe Oven: Smoky Depth Without the Grill - September 28, 2026
- BBQ Chicken Bowl Recipe Rice: Smoky Sweetness Over Fluffy Grains - September 28, 2026
- Beef Cutlet Recipe Ideas: Crispy Breaded Patties With Bold Seasonings - September 28, 2026