
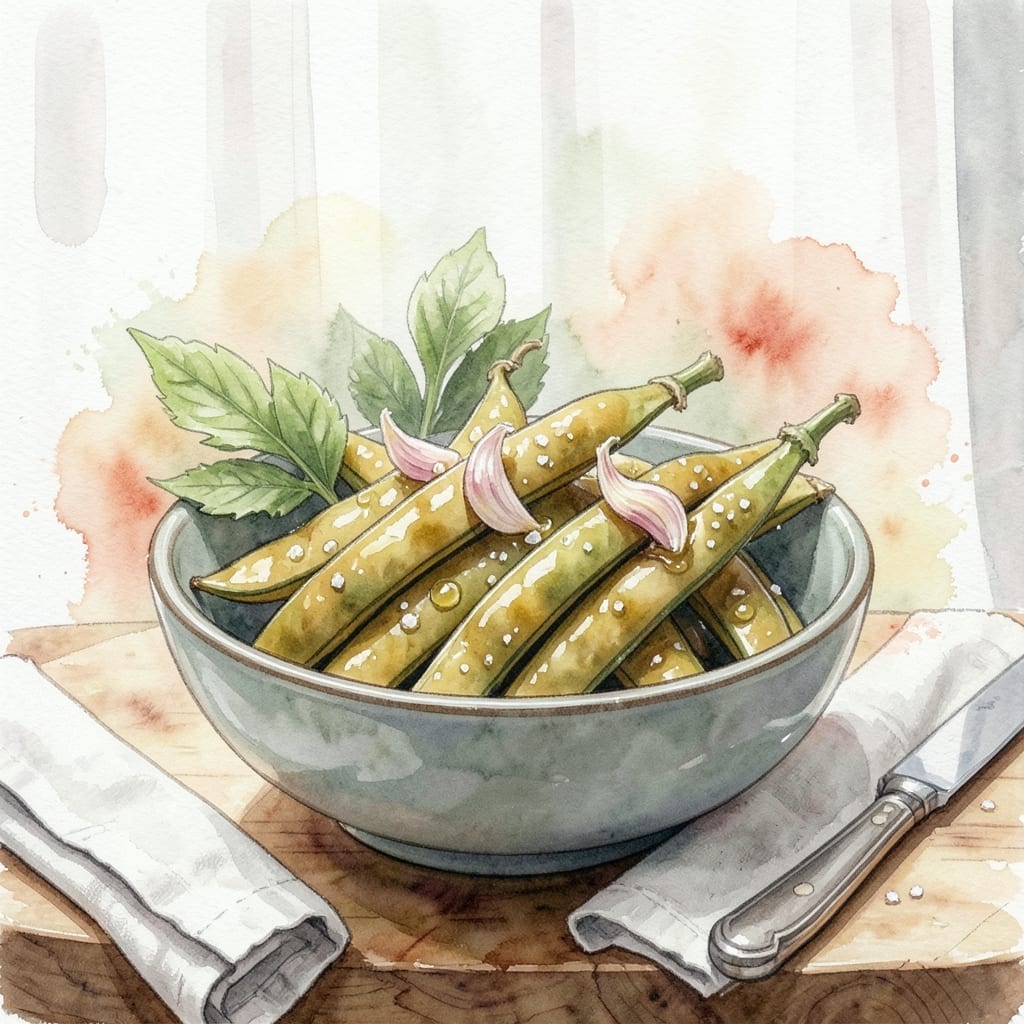
Frozen green beans can be just as delicious as fresh when prepared correctly. This method transforms them into a crisp-tender side dish that rivals any fresh vegetable.
The secret is high heat and minimal liquid. I’ve tested countless approaches, and this technique consistently delivers the best results—bright, flavorful, and perfectly textured.
Garlic and lemon add a bright, aromatic finish that enhances the natural sweetness of the beans. The process is simple but precise, ensuring they never turn mushy or bland.
Ready in minutes, this dish proves that frozen vegetables can be just as satisfying as their fresh counterparts. Here’s how to make it.
Ingredients for Best Recipe for Frozen Green Beans
Bright, flavorful green beans with minimal ingredients and maximum impact for this side dish.
| Ingredient | Amount | Notes |
|---|---|---|
| Frozen Green Beans 🌱 | 16 oz | Do not thaw before cooking |
| Extra-Virgin Olive Oil 🫒 | 2 tbsp | Divided, high quality preferred |
| Garlic Cloves 🧄 | 4 cloves | Minced finely for even distribution |
| Sea Salt 🧂 | ½ tsp | Fine grain, adjust to taste |
| Freshly Ground Black Pepper 🌶️ | ¼ tsp | Coarsely ground preferred |
| Fresh Lemon Juice 🍋 | 1 tbsp | About half a medium lemon |
| Lemon Zest 🍋 | 1 tsp | Finely grated for brightness |
| Red Pepper Flakes 🌶️ | ¼ tsp | Optional for heat |
| Vegetable Broth 🥣 | ¼ cup | Low-sodium preferred |
| Fresh Parsley 🌿 | 2 tbsp | Chopped, for garnish |
The green beans are the star here—look for organic frozen if possible, as they tend to have better texture. Trader Joe’s or Whole Foods carry excellent options. Avoid bags with ice crystals or signs of freezer burn. The olive oil should be something you’d drizzle on bread—California Olive Ranch or Cobram Estate are reliable choices. Fresh garlic is non-negotiable; pre-minced lacks the punch.
No fresh lemon? Bottled lemon juice at half the amount works in a pinch, though the zest is harder to replace. Out of parsley? Fresh cilantro or chives add a different but complementary note. For a smokier depth, swap red pepper flakes for smoked paprika. Vegetable broth can be replaced with water, but the flavor will be less complex.
Store unused green beans in the freezer for up to 8 months. Once cooked, leftovers keep 3-4 days in the fridge. Reheat gently in a skillet to preserve texture—microwaving can make them soggy.
Why You’ll Love This Recipe
- 5-Minute Side: No thawing, no chopping—just toss frozen beans with olive oil and roast.
- Garlicky Bite: The sizzle of fresh garlic in hot oil makes these taste like they’re straight from a garden.
- Weeknight Hero: I pair this with chicken, fish, or pasta and call dinner done in 20.
Step-by-Step Instructions for Crisp-Tender Green Beans with Garlic and Lemon
Here’s the method. Straightforward, tested, works every time.
Step 1: Sauté the Aromatics in Olive Oil
Heat 2 tbsp extra-virgin olive oil in a large skillet over medium heat. I prefer a heavy-bottomed pan for even heat distribution. Add the 4 cloves garlic cloves, minced finely, and cook for 30-45 seconds until just fragrant and golden at the edges.
Watch carefully—garlic burns easily. You want to develop its sweetness without bitterness. The moment it turns light gold, add the 0.25 tsp red pepper flakes and stir for 10 seconds to release their heat. This builds the flavor foundation for your dish.
Step 2: Cook the Green Beans Until Crisp-Tender
Add the 16 oz frozen green beans directly to the skillet—no thawing needed. Stir to coat them in the garlic-infused oil. Pour in the 0.25 cup vegetable broth and immediately cover the pan with a lid.
Cook for 4-5 minutes until the beans are bright green and just tender. The steam from the broth helps cook them through while preserving their crisp texture. Remove the lid and continue cooking for 2-3 minutes until the liquid has mostly evaporated.
Step 3: Season and Finish with Lemon and Herbs
Sprinkle the 0.5 tsp sea salt and 0.25 tsp freshly ground black pepper over the beans. Stir well to distribute the seasoning evenly. The salt enhances the natural sweetness of the beans while the pepper adds a subtle kick.
Add the 1 tbsp fresh lemon juice and 1 tsp lemon zest, then toss everything together. The acidity from the lemon brightens the dish, while the zest adds a vibrant citrus aroma. Cook for an additional 1 minute to let the flavors meld.
Step 4: Garnish and Serve Immediately
Transfer the green beans to a serving dish. The beans should be tender-crisp with a glossy coating from the olive oil and lemon. Taste and adjust the seasoning if needed—I sometimes add an extra pinch of salt if the beans need it.
Sprinkle the 2 tbsp fresh parsley over the top just before serving. The parsley adds a fresh, herbal note that complements the garlic and lemon perfectly. Serve immediately while hot—the texture is best right out of the pan.
Pro Tips For Making Best Recipe For Frozen Green Beans
- Don’t Thaw First: Toss the frozen beans straight into the hot pan—thawing makes them soggy and dull. The ice helps them steam just enough to stay crisp.
- Slice Garlic Thin: Cut the garlic into paper-thin slices instead of mincing so it cooks evenly without burning before the beans are done.
- High Heat Only: Crank the pan to medium-high and keep it there; anything lower turns the beans to mushy, gray blobs instead of bright green.
- Salt After Browning: Hit the beans with salt only after they’ve had 2-3 minutes to sear—early salt pulls out moisture and steams them instead of browning.
Storing and Reheating This Dish
Refrigerator Storage
Let your green beans cool completely before transferring to an airtight container. They’ll keep in the fridge for 3-4 days without losing texture. I use glass containers with snap-tight lids to prevent odors from seeping in. ❄️
Freezer Storage
For longer storage, freeze cooked beans in a single layer on a baking sheet first. Once frozen, transfer to freezer bags, squeezing out excess air. They’ll maintain quality for up to 3 months. This prevents them from sticking together in clumps.
Skillet Reheating
My preferred method: warm 1 tbsp olive oil in a skillet over medium heat. Add the beans and cook for 3-4 minutes, stirring occasionally. A splash of water or broth helps restore moisture.
Microwave Reheating
Place beans on a microwave-safe dish with a damp paper towel on top. Heat on 50% power for 1-2 minutes, then stir. Continue in 30-second bursts until hot. Avoid high power to prevent sogginess. 🔥
Reviving Leftovers
If your beans seem limp after storage, a quick ice bath can help restore crispness. Drain well and pat dry before reheating. This works best for beans stored less than 2 days.
Avoid These Mistakes
Never reheat green beans in a slow cooker—they’ll turn to mush. Also, skip the aluminum foil when storing; it can impart a metallic taste. Always let them cool before sealing containers to prevent condensation.
Nutrition Facts
Frequently Asked Questions
Should I thaw frozen green beans before cooking?
No, add them directly to the skillet while frozen. Thawing creates excess moisture that leads to soggy beans. The recipe accounts for cooking from frozen for best texture.
Can I use fresh green beans instead?
Yes, but reduce cooking time to 3-4 minutes total. Fresh beans contain more water, so skip the broth and add 1-2 tbsp of water only if needed.
What if my beans turn out mushy?
You likely overcooked them or used too much liquid. Next time, cook uncovered after the initial 4-5 minutes and increase heat to medium-high to evaporate excess moisture faster.
How can I add more flavor?
Try tossing in 1/4 cup toasted almonds or 2 tbsp grated Parmesan at the end. A pinch of smoked paprika adds depth without overpowering the dish.

- Crock Pot Mac and Cheese Recipe Paula Deen: Ultra Creamy Southern-Style Comfort - September 28, 2026
- Beyond Burger Recipe Ideas: Plant-Based Creativity for Every Meal - September 28, 2026
- BBQ Bison Recipe Steaks: Smoky Grill Mastery with Bold Flavor - September 28, 2026