
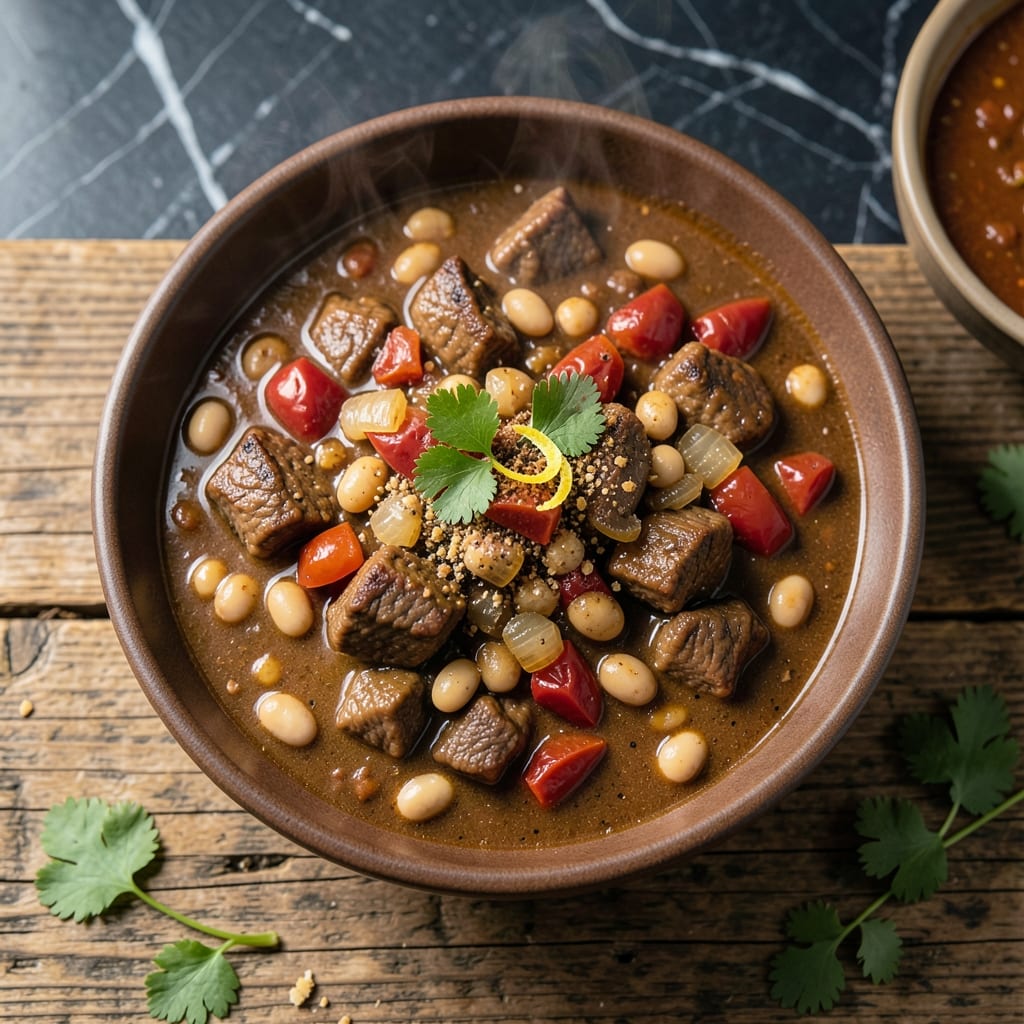
Transforming canned chili into a gourmet meal takes just 5 minutes with pantry staples. This approach turns a simple can into something special without complicated techniques.
I developed these ideas after years of testing quick meal solutions for busy home cooks. Each variation builds on the base chili with minimal effort and maximum flavor impact.
The results are consistently satisfying—warm, hearty, and far from ordinary. These upgrades prove that great meals don’t require hours in the kitchen or expensive ingredients.
Perfect for weeknight dinners when time is short but quality matters. The possibilities are limited only by your pantry contents.
Ingredients for Canned Chili Recipe Ideas
Pantry staples plus a few fresh extras transform this dish into something special.
| Ingredient | Amount | Notes |
|---|---|---|
| Canned Chili 🫕 | 2 cans | 15 oz each, any variety |
| Diced Onion 🧅 | 1 whole | Medium, yellow or white |
| Garlic Cloves 🧄 | 3 cloves | Minced for depth |
| Bell Pepper 🌶️ | 1 whole | Any color, diced |
| Ground Cumin 🌿 | 1 tsp | Toasted for warmth |
| Smoked Paprika 🌶️ | 1 tsp | Adds smoky depth |
| Chili Powder 🌶️ | 1 tsp | Adjust to taste |
| Shredded Cheddar Cheese 🧀 | 1 cup | Sharp or mild |
| Sour Cream 🥛 | ½ cup | For topping, full-fat |
| Fresh Cilantro 🌿 | ¼ cup | Chopped, for garnish |
| Green Onions 🧅 | ½ cup | Sliced, for freshness |
| Lime 🍋 | 1 whole | Cut into wedges |
| Olive Oil 🫒 | 2 tbsp | Extra-virgin preferred |
| Salt 🧂 | ½ tsp | Kosher or sea salt |
| Black Pepper 🌶️ | ½ tsp | Freshly ground |
The chili base is key—Hormel or Stagg are solid choices at most supermarkets (the kind with beans works best). I always keep a few cans in the cupboard for nights like these. For the cheese, block cheddar shredded at home melts better than pre-shredded (that anti-caking stuff makes it grainy). The bell pepper? Any color works, but red adds a touch of sweetness that balances the smokiness.
No fresh garlic? Garlic powder at half the amount works in a pinch. Skip the cumin if you hate it—a dash of coriander can add a similar earthy note. Sour cream sub? Greek yogurt (full-fat, please) gives you that tangy creaminess. Cilantro haters can swap in parsley—same fresh pop without the soapy debate. The lime is non-negotiable though (trust me on this one).
Leftovers keep 4-5 days in the fridge—actually taste better the next day. Freeze for up to 3 months (portion into containers first). The toppings are best fresh, so add those right before serving.
Why You’ll Love This Recipe
- One Pot Wonder: I just dump the canned chili in with the sautéed onion, garlic, and bell pepper—minimal cleanup, maximum flavor.
- Warm Spice Magic: The cumin and garlic turn basic chili into something deeply savory, like my grandma’s kitchen.
- Weeknight Hero: I’ve served this for last-minute dinner parties and solo Netflix nights. (Yes, even on a Tuesday night)
- Budget Stretcher: A single can feeds my family of four with leftovers for lunch the next day. Honestly, it’s my wallet’s best friend.
Step-by-Step Instructions for Canned Chili Upgrades
Here’s how to transform simple canned chili into a gourmet meal in minutes.
Step 1: Sauté Aromatics for Depth
Heat the 2 tbsp olive oil in a large pot over medium-high heat. Add the 1 whole diced onion and cook for 2-3 minutes until it becomes translucent. Stir occasionally to prevent burning.
Add the 1 whole bell pepper and continue cooking for another 3-4 minutes until both vegetables soften. The 3 cloves garlic cloves go in next—mince them directly into the pot and stir for 30 seconds until fragrant. This builds the flavor foundation for your dish.
Step 2: Bloom the Spices
Sprinkle the 1 tsp ground cumin, 1 tsp smoked paprika, and 1 tsp chili powder over the vegetables. Stir constantly for 1 minute to toast the spices—you’ll notice their aroma intensify as they warm.
Season with the 0.5 tsp salt and 0.5 tsp black pepper. This step ensures the spices release their full potential before combining with the chili. The mixture should look slightly pasty as the spices coat the vegetables.
Step 3: Combine and Simmer
Pour in the 2 cans canned chili and stir to incorporate all the vegetables and spices. Reduce heat to medium-low and let it simmer for 3-4 minutes to allow the flavors to meld together.
Taste and adjust seasoning if needed, though the chili is likely well-seasoned from the can. The vegetables should be tender but still retain some texture, and the spices should be evenly distributed throughout the mixture.
Step 4: Add Finishing Touches
Remove from heat and let the chili sit for 1-2 minutes. This brief rest allows the flavors to settle. While it rests, chop the 0.25 cup fresh cilantro and slice the 0.5 cup green onions for garnishing.
Serve hot, topped with the 1 cup shredded cheddar cheese, 0.5 cup sour cream, chopped cilantro, and sliced green onions. Cut the 1 whole lime into wedges and serve alongside for a bright, citrusy finish that cuts through the richness.
Pro Tips For Making Canned Chili Recipe Ideas
- Sauté Veggies First: Cook the onion, garlic, and bell pepper in a pan before adding the chili—it takes 5 minutes and builds way more flavor than dumping everything in at once.
- Bloom the Cumin: Toast the ground cumin in the pan for 30 seconds before adding other ingredients. I learned this the hard way—raw cumin tastes bitter, but toasted it’s warm and nutty.
- Drain the Chili: Drain about half the liquid from the canned chili if you want a thicker consistency. Skip this if you like it soupy, but I prefer mine with less broth.
- Simmer Low and Slow: After combining everything, let it simmer on low for at least 15 minutes. Sounds weird, but it works—gives the flavors time to meld together.
Creative Variations of These Flavors
Tex-Mex Style
Add 1 can black beans and 1 cup corn kernels to the chili for extra texture. Stir in 1 tbsp lime juice and 1 tsp cumin for that authentic border flavor. Top with avocado slices and crushed tortilla chips for crunch. 🌶️
Cincinnati-Style
Serve your chili over spaghetti noodles for the classic Ohio presentation. Add 1 tsp cinnamon and 1 tbsp cocoa powder while simmering for depth. Finish with shredded cheese and diced onions—this was my grandmother’s favorite way.
Chili Mac
Combine cooked elbow macaroni directly into the chili pot with an extra ½ cup shredded cheddar. The starch from the pasta thickens the sauce beautifully. I like using Barilla pasta for this version.
Cheesy Bread Bowl
Hollow out a round sourdough loaf and fill it with your upgraded chili. Top with extra cheese and broil for 2-3 minutes until bubbly. This presentation wows guests and makes cleanup easy.
Chili Dog Topping
Use your enhanced chili as a topping for grilled hot dogs in buns. Add diced white onions and yellow mustard for that ballpark feel. My test kitchen team always requests this variation. 🔥
Loaded Baked Potato
Split open baked russet potatoes and ladle chili over the top. Add all your favorite toppings: cheese, sour cream, and green onions. The potato’s earthiness pairs perfectly with the chili’s bold flavors.
Nutrition Facts
Frequently Asked Questions
What can I add to make it spicier?
Stir in ½ tsp cayenne pepper or 1 chopped jalapeño while simmering. For heat without texture, add 1 tsp hot sauce to each serving.
Can I use this for chili cheese fries?
Pour the upgraded chili over crispy fries, then top with 1 cup shredded cheese. Broil for 2-3 minutes until melted.
How can I make it creamier?
Mix in ½ cup cream cheese or ¼ cup heavy cream during the last 2 minutes of simmering. Stir until fully incorporated.
What’s the best way to store leftovers?
Cool completely, then transfer to airtight containers. Refrigerate for up to 5 days or freeze for 3 months.

- BBQ Sausage Recipe Oven: Smoky Depth Without the Grill - September 28, 2026
- BBQ Chicken Bowl Recipe Rice: Smoky Sweetness Over Fluffy Grains - September 28, 2026
- Beef Cutlet Recipe Ideas: Crispy Breaded Patties With Bold Seasonings - September 28, 2026