
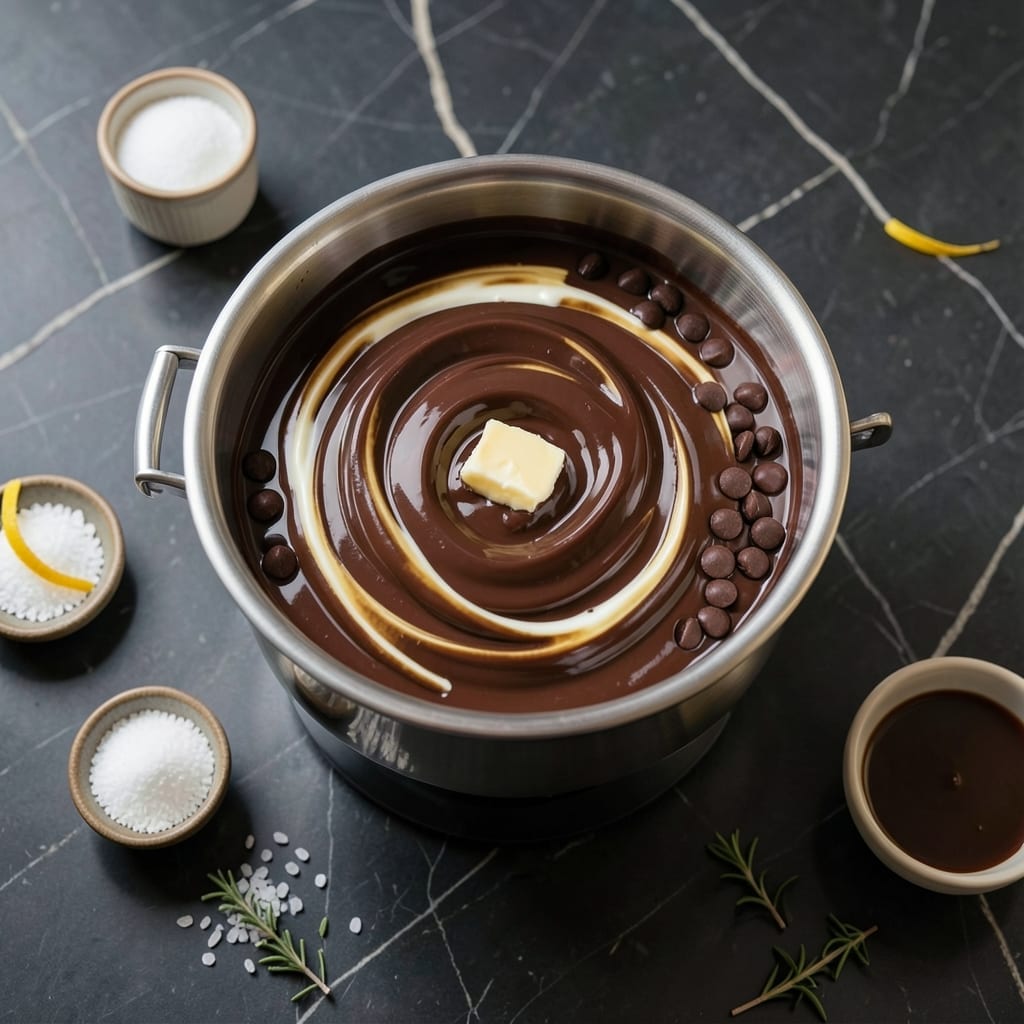
This chocolate fountain recipe transforms any gathering into a memorable dessert experience. The secret lies in achieving the perfect silky texture that flows smoothly while maintaining rich chocolate flavor.
I’ve perfected this method using heavy cream to create a velvety dip that clings beautifully to fruit, marshmallows, and cake. Temperature control is key—too hot and it burns, too cool and it thickens into a clumpy mess.
With just a few ingredients and careful attention, you’ll have a smooth, glossy chocolate fountain that guests will rave about. The cream adds a luxurious mouthfeel that elevates every bite.
Serve with an assortment of dippers for a crowd-pleasing centerpiece. This setup works for parties, holidays, or a decadent weekend treat.
Ingredients for Chocolate Fountain Recipe with Cream
High-quality chocolate and cream create this velvety, crowd-pleasing centerpiece with minimal effort.
| Ingredient | Amount | Notes |
|---|---|---|
| Semi-Sweet Chocolate Chips 🍫 | 16 oz | High-quality for smooth melting |
| Heavy Whipping Cream 🥛 | 1 cup | Full-fat for luxurious texture |
| Unsalted Butter 🧈 | 2 tbsp | For glossy finish and stability |
| Pure Vanilla Extract 🌿 | 1 tsp | Enhances chocolate depth |
| Granulated Sugar 🧂 | 2 tbsp | Balances bitterness if needed |
| Sea Salt 🧂 | ¼ tsp | Fine grain for even distribution |
| Fresh Strawberries 🍓 | 2 cups | Hulled, for dipping |
| Bananas 🍌 | 3 whole | Peeled, sliced for dipping |
| Marshmallows 🍬 | 2 cups | Mini or regular size |
| Pound Cake 🍰 | 1 lb | Cubed for easy dipping |
| Pretzel Rods 🥨 | 20 pieces | For salty contrast |
| Rice Krispies Treats 🍚 | 12 pieces | Cut into squares |
The chocolate quality is non-negotiable here. Ghirardelli or Guittard semi-sweet chips melt beautifully without seizing. Heavy cream must be full-fat (36-40% fat content)—Organic Valley or Darigold are reliable. Avoid chocolate with stabilizers or waxy coatings, as they create a grainy texture. Unsalted butter allows precise control over salt levels, critical for balance.
Substituting cream? Whole milk plus 2 tbsp butter per cup works in a pinch but lacks richness. Dark chocolate can replace semi-sweet at a 1:1 ratio, though you may want to add 1 tbsp more sugar. For a dairy-free version, coconut cream and vegan chocolate work well. The vanilla should always be pure extract—imitation has an artificial aftertaste that ruins the experience.
The chocolate mixture holds at serving temperature for 2-3 hours before needing reheating. Store leftovers in an airtight container at room temperature for up to 3 days. Reheat gently in a double boiler, stirring constantly to prevent scorching. Dippers are best prepared fresh the day of serving.
Why You’ll Love This Recipe
- Five-Minute Meltdown: I dump the chocolate chips and cream in a pot, stir until it’s glossy, and that’s it—no fancy steps.
- Smooth Luxury: The heavy cream turns the semi-sweet chips into this velvety flow that coats strawberries like a dream.
- Party Hero: Honestly, I’ve used this fountain for birthday bashes, movie nights, even a random Tuesday dessert spread.
- Leftovers Win: The extra chocolate sets into a thick ganache I spoon over ice cream the next day—no waste, just bonus treats.
Step-by-Step Instructions for Chocolate Fountain With Cream
This professional method ensures a velvety texture that cascades beautifully over your dippers.
Step 1: Melt Chocolate Chips and Heavy Whipping Cream Together
In a double boiler or heatproof bowl set over a saucepan of simmering water, combine the 16 oz Semi-Sweet Chocolate Chips and 1 cup Heavy Whipping Cream. Stir constantly with a silicone spatula until the mixture is completely smooth and glossy.
The steam from the simmering water should be gentle—never let the bowl touch the water, or the chocolate may seize. This slow melting process prevents scorching and ensures an even, lump-free consistency. You’ll notice the mixture thickens slightly as it melts, which is ideal for fountain flow.
This combination of chocolate and cream creates a stable emulsion that flows smoothly through the fountain tiers without separating or clumping.
Step 2: Incorporate Butter, Vanilla, and Sweeteners
Once melted, remove the bowl from heat and stir in the 2 tbsp Unsalted Butter, 1 tsp Pure Vanilla Extract, 2 tbsp Granulated Sugar, and 0.25 tsp Sea Salt. The butter adds a glossy sheen, while the vanilla deepens the chocolate’s flavor.
The sugar balances any residual bitterness from the semi-sweet chocolate, and the fine sea salt enhances all the flavors without overpowering. Whisk vigorously until the butter is fully melted and the mixture is uniform in color and texture.
At this stage, the chocolate should be silky and slightly thickened, with a satin-like finish. If it appears too dense, return it briefly to the double boiler for a few seconds to loosen.
Step 3: Transfer to Fountain and Prepare Dippers
Pour the melted chocolate into the fountain’s basin, ensuring it covers the bottom evenly. Turn the fountain on to its lowest speed and let the chocolate begin to flow. If the consistency is too thick, thin it with 1-2 tablespoons of additional Heavy Whipping Cream until it cascades smoothly.
While the fountain warms the chocolate, arrange your dippers on a platter: hull and halve the 2 cups Fresh Strawberries, slice the 3 whole Bananas, cube the 1 lb Pound Cake, and portion the 2 cups Marshmallows, 20 pieces Pretzel Rods, and 12 pieces Rice Krispies Treats.
The chocolate is ready when it flows in a steady, ribbon-like stream without breaking or clumping. This typically takes 5-7 minutes once the fountain is activated.
Step 4: Maintain Temperature and Serve
Keep the fountain running at a low speed to maintain a consistent flow. The ideal temperature for dipping is 105-110°F—warm enough to be fluid but cool enough to avoid burning the chocolate or melting delicate dippers too quickly.
If the chocolate thickens over time, add small amounts of Heavy Whipping Cream, 1 tablespoon at a time, and stir until smooth. Avoid adding water or milk, as this can cause the chocolate to seize.
Serve immediately, encouraging guests to twist dippers in the flow for even coating. The chocolate will set slightly on the dippers within 1-2 minutes, creating a perfect shell.
Pro Tips For Making Chocolate Fountain Recipe With Cream
- Melt Slowly: Heat the cream and chocolate chips together on low, stirring constantly—rushing with high heat will make the chocolate seize up and turn grainy.
- Use Fresh Cream: Heavy whipping cream that’s been sitting in the fridge too long can separate or curdle when heated, so check the date and give it a sniff before using.
- Skip the Sugar: Semi-sweet chocolate chips already have sugar, so adding granulated sugar just makes it cloying; the vanilla and butter bring enough depth.
- Add Butter Last: Stir in the unsalted butter after the chocolate and cream are fully melted and smooth—this gives it that silky finish without breaking the emulsion.
Essential Equipment for chocolate fountain recipe with cream
Fountain Machine
Invest in a 3-tier chocolate fountain from Nostalgia or Wilton—both offer reliable models under $50. These machines circulate chocolate smoothly with adjustable flow rates. I’ve used my Nostalgia FCM200 for years without issues. 💫
Double Boiler Setup
A proper double boiler prevents scorching. Use a heatproof glass bowl over a 2-quart saucepan of simmering water. The bowl should fit snugly without touching the water. Pyrex bowls are my go-to for even heat distribution.
Quality Chocolate
High-quality chocolate melts more smoothly. I recommend Ghirardelli or Guittard semi-sweet chips for consistent results. Avoid chocolate with added stabilizers—they create a grainy texture that clogs the fountain mechanism.
Silicone Tools
Use a silicone spatula for stirring—it won’t scratch your bowl and handles heat well. OXO Good Grips makes excellent ones. Also keep a small whisk handy for breaking up any stubborn chocolate chunks during melting.
Temperature Control
An instant-read thermometer is essential for monitoring chocolate temperature. Aim for 105-110°F in the fountain basin. I use a ThermoWorks Thermapen for accuracy—it reads in 2-3 seconds with precision. 🌡️
Serving Accessories
Have long skewers or fondue forks ready for dipping. Bamboo skewers work well for fruit, while metal fondue picks are better for denser items like cake. A lazy Susan under your fountain makes serving easier for guests.
Nutrition Facts
Frequently Asked Questions
Can I use milk instead of heavy cream?
Whole milk works in a pinch but will be thinner. Use 1 cup milk + 2 tbsp butter to mimic cream’s richness. Avoid low-fat milk as it may cause graininess.
Why does my chocolate look grainy?
This usually means the chocolate seized from moisture or overheating. Always use a double boiler on low heat and ensure all tools are dry. Stir constantly for smooth results.
How long can the fountain run?
With proper temperature (105-110°F), it flows well for 2-3 hours. Stir and add 1 tbsp cream if it thickens. Never let it sit unused for more than 30 minutes.
What’s the best way to clean the fountain?
Let chocolate harden completely, then gently scrape with a plastic spatula. Wash parts with warm, soapy water immediately after use to prevent residue buildup.

- BBQ Chicken Bowl Recipe Rice: Smoky Sweetness Over Fluffy Grains - September 28, 2026
- Beef Cutlet Recipe Ideas: Crispy Breaded Patties With Bold Seasonings - September 28, 2026
- Bluefin Tuna Recipe Ideas: Sushi-Grade Seared and Sesame-Crusted - September 28, 2026