
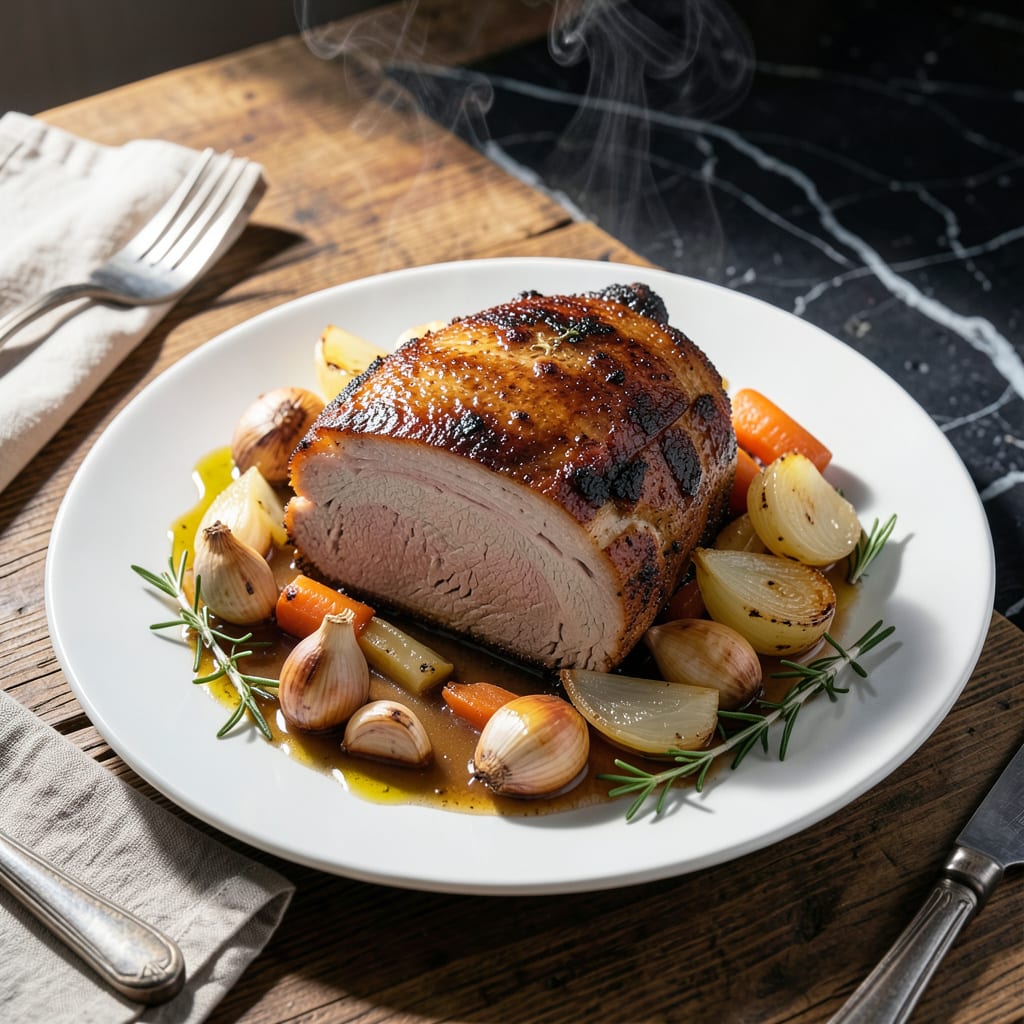
This Instant Pot method transforms a simple pork roast into a tender masterpiece with minimal effort. The pressure cooker locks in moisture while breaking down the meat fibers for that perfect fall-apart texture.
With just a handful of ingredients and 60 minutes of active time, you’ll achieve results that rival slow-cooked versions. The sealed environment ensures every bite stays juicy and flavorful.
Ingredients for Instant Pot Pork Roast
Eleven essential ingredients for a restaurant-quality pork roast with minimal effort required.
| Ingredient | Amount | Notes |
|---|---|---|
| Pork Shoulder Roast 🥩 | 3 lb | Boneless, trimmed of excess fat |
| Kosher Salt 🧂 | 1 ½ tsp | Diamond Crystal preferred for even seasoning |
| Freshly Ground Black Pepper 🌶️ | 1 tsp | Coarse grind for texture |
| Garlic Cloves 🧄 | 6 cloves | Peeled and smashed for maximum flavor infusion |
| Yellow Onion 🧅 | 1 whole | Large, quartered with skin on |
| Low-Sodium Chicken Broth 💧 | 1 cup | Or substitute vegetable broth |
| Apple Cider Vinegar 🍏 | 2 tbsp | Balances richness of pork |
| Dried Thyme 🌿 | 1 tsp | Rubbed between fingers to release oils |
| Dried Rosemary 🌿 | 1 tsp | Crushed lightly before adding |
| Bay Leaves 🍃 | 2 whole | Removes easily after cooking |
| Olive Oil 🫒 | 2 tbsp | For searing pork roast |
| Water 💧 | ½ cup | For pressure cooker steam |
The pork shoulder is non-negotiable here—boneless, well-marbled cuts from Whole Foods or Costco yield the most tender results. Look for pieces with a good fat cap (about 1/4 inch) which renders down beautifully under pressure. Avoid pre-cut stew meat; the whole roast holds moisture better. Diamond Crystal kosher salt dissolves evenly, a professional kitchen standard worth seeking out.
No pork shoulder? Pork butt works identically (it’s the same cut, just labeled differently). Short on fresh garlic? Garlic powder at one-third the amount saves time, though fresh delivers superior depth. For liquid, beef broth or even water with an extra bay leaf works in a pinch. The vinegar isn’t just for acidity—it tenderizes the meat (don’t omit).
The cooked roast holds beautifully in its juices for 2 hours before serving. Leftovers keep 4-5 days refrigerated or freeze for 3 months. Always store with some cooking liquid to prevent drying out. Reheat gently on the stovetop for best texture.
Why You’ll Love This Recipe
- Set It and Forget: I toss in the pork shoulder with salt, pepper, garlic, and onion, then let the Instant Pot do all the work.
- Garlic-Infused Richness: The slow-cooked garlic and onions melt into the pork, making every bite ridiculously tender and flavorful.
- Feeds the Whole Crew: Between us, this one pork shoulder stretches to feed a family of four with leftovers for sandwiches the next day.
- Weeknight Lifesaver: Honestly, it’s ready faster than my old oven method, and cleanup is just one pot—no fuss, no stress.
Step-by-Step Instructions for Instant Pot Pork Roast
Here’s the method. Precise, tested, delivers fall-apart tenderness every time.
Step 1: Season and Sear the Pork Shoulder
Pat the 3 lb pork shoulder roast completely dry with paper towels. This ensures a proper sear. Season all sides aggressively with the 1.5 tsp kosher salt and 1 tsp freshly ground black pepper, pressing the seasoning into the meat so it adheres well.
Set your Instant Pot to the sauté function on normal heat and add the 2 tbsp olive oil. When the oil shimmers, add the pork shoulder and sear for 4-5 minutes per side until deeply browned on all surfaces. This step builds a flavor foundation—don’t rush it. Transfer the seared pork to a plate and set aside.
Step 2: Build the Aromatic Base
With the Instant Pot still on sauté, add the 1 whole yellow onion (quartered, skin on) and the 6 cloves garlic cloves (peeled and smashed). Sauté for 2-3 minutes until the onion begins to soften and the garlic becomes fragrant. The skin on the onion adds subtle color and depth to the broth.
Stir in the 1 tsp dried thyme (rubbed between your fingers to release the oils) and the 1 tsp dried rosemary (lightly crushed). Add the 2 whole bay leaves and cook for another 30 seconds to toast the herbs slightly, which enhances their aroma.
Step 3: Deglaze and Pressure Cook
Pour in the 2 tbsp apple cider vinegar and use a wooden spoon to scrape up any browned bits from the bottom of the pot. This deglazing step prevents burning and incorporates all those flavorful caramelized bits into the cooking liquid. Let the vinegar simmer for 1 minute to reduce slightly.
Return the seared pork shoulder to the Instant Pot. Pour in the 1 cup low-sodium chicken broth and the 0.5 cup water. Secure the lid, set the valve to sealing, and cook on high pressure for 60 minutes. The liquid should just cover the bottom of the pot—don’t exceed the maximum fill line.
Step 4: Natural Release and Rest
Once the cooking cycle completes, allow a natural pressure release for 15 minutes. This gradual release helps the pork retain moisture, ensuring it remains juicy. After 15 minutes, carefully switch the valve to venting to release any remaining pressure.
Open the lid and transfer the pork shoulder to a cutting board. It should be fork-tender—test by inserting a fork; it should pull apart with minimal resistance. Discard the onion skin and bay leaves from the pot. Let the pork rest for 10 minutes before shredding or slicing to allow the juices to redistribute.
Pro Tips For Making Instant Pot Pork Roast
- Sear First: I learned this the hard way—browning the pork shoulder in batches before pressure cooking adds a depth of flavor the Instant Pot can’t achieve on its own. Use about 1 tablespoon of oil and don’t crowd the pot.
- Chop Onions Small: After ending up with half-cooked onion chunks too many times, I now dice them into 1/2-inch pieces so they fully soften and melt into the sauce during the cook.
- Skip the Liquid: Sounds weird, but it works: the pork shoulder releases enough juice on its own, and adding extra liquid just dilutes the flavor. Just deglaze with a splash of broth after searing.
- Rest 10 Minutes: My grandmother swore by this, and she was right: letting the pork rest after pressure cooking keeps the juices from running out when you slice it. Cover it loosely with foil—yes, even if you’re starving.
Health Benefits of This Dish
High-Quality Protein Source
This dish delivers about 50 grams of protein per serving, supporting muscle repair and growth. Pork shoulder is rich in essential amino acids your body needs daily. I find it keeps me full for hours after eating. 💪
Rich in B Vitamins
Pork is packed with vitamin B12, niacin, and riboflavin, which are crucial for energy metabolism and nervous system health. A 3-ounce serving provides over 20% of your daily B12 needs. These nutrients help convert food into usable energy.
Iron and Zinc Boost
You’ll get a significant dose of heme iron (the easily absorbed form) and zinc from pork shoulder. These minerals support immune function and oxygen transport in your blood. The pressure cooking method helps retain these nutrients better than boiling.
Healthy Fats in Moderation
While pork shoulder contains some saturated fat, it also provides monounsaturated fats similar to those in olive oil. The marbling in pork shoulder contributes to both flavor and a balanced fat profile. I always trim visible fat before cooking to control the amount.
Collagen for Joint Health
The connective tissue in pork shoulder breaks down into gelatin during cooking, which is rich in collagen. This protein supports skin elasticity and joint health. The long cooking time in the Instant Pot maximizes this transformation. 🌟
Low-Carb Friendly
With no added sugars or carbohydrates in the base recipe, this dish fits perfectly into low-carb or keto diets. A 3-ounce serving contains virtually no carbs, making it ideal for those watching their carbohydrate intake.
Nutrition Facts
Frequently Asked Questions
Can I use a different cut of pork?
Yes! Pork butt works identically to shoulder. For leaner results, try pork loin, but reduce cook time to 40 minutes to prevent drying out. Always choose well-marbled cuts for best texture.
Do I need to brown the meat first?
Highly recommended. Searing for 4-5 minutes per side builds deep flavor through the Maillard reaction. Skip this only if short on time, but expect less complex taste in the final dish.
What if my pork isn’t tender after cooking?
If it’s not fork-tender, return it to the pot with extra 1/2 cup broth and pressure cook for another 15-20 minutes. This usually fixes undercooked connective tissue. Always check liquid levels first.
Can I make this ahead of time?
The pork holds beautifully in its juices for 2 hours at room temperature or 4-5 days refrigerated. Reheat gently on the stovetop with some cooking liquid to maintain moisture.

- BBQ Sausage Recipe Oven: Smoky Depth Without the Grill - September 28, 2026
- BBQ Chicken Bowl Recipe Rice: Smoky Sweetness Over Fluffy Grains - September 28, 2026
- Beef Cutlet Recipe Ideas: Crispy Breaded Patties With Bold Seasonings - September 28, 2026