
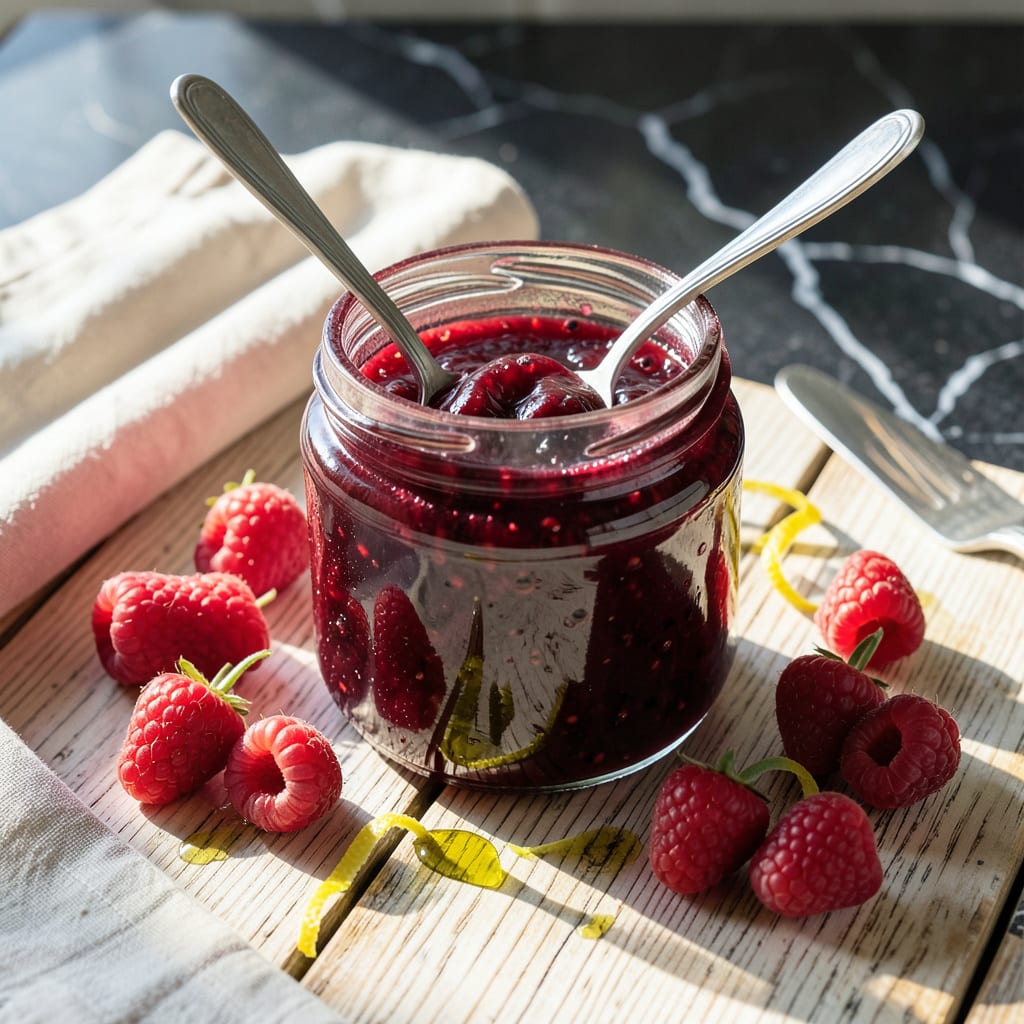
There’s a reason this classic raspberry jam remains a staple in British kitchens—it captures summer in a jar. This proven method delivers perfect texture and vibrant flavor every time.
With just a few ingredients and careful timing, you’ll create a classic spread that’s ideal for toast, scones, or gift-giving. The natural pectin in raspberries ensures a beautiful set without additives.
Ingredients for Mary Berry Raspberry Jam
Six ingredients transform fresh raspberries into a timeless British preserve with vibrant color and balance.
| Ingredient | Amount | Notes |
|---|---|---|
| Fresh Raspberries 🍇 | 4 cups | Fully ripe, unwashed |
| Granulated Sugar 🍚 | 3 cups | White granulated for classic texture |
| Lemon Juice 🍋 | ¼ cup | Freshly squeezed for acidity |
| Unsalted Butter 🧈 | 1 tbsp | For reducing foam, optional |
| Lemon Zest 🍋 | 1 tsp | Finely grated for bright flavor |
| Water 💧 | 2 tbsp | For initial cooking if needed |
The raspberries are everything here. Look for deep red, plump berries at peak ripeness—farmers markets or Whole Foods often have the best selection in season. Avoid overripe fruit (too soft) or underripe (not enough pectin). The sugar should be standard granulated; organic cane sugar works too but may darken the jam slightly. Use a fine-mesh skimmer to remove any foam during cooking.
No fresh raspberries? Frozen works perfectly—just thaw and drain them first (don’t rinse). Out of lemon juice? Bottled in a pinch, but fresh gives brighter flavor. The butter is optional but traditional—it helps dissolve foam. For a vegan version, skip the butter entirely. If your berries are tart, you may need up to half a cup more sugar for balance.
This keeps beautifully in sterilized jars for up to 12 months unopened, 1 month once opened. Store in a cool, dark place. The flavor deepens after 24 hours, so resist the urge to dig in right away (worth the wait).
Why You’ll Love This Recipe
- One Pot Wonder: I just dump everything in a single pan—raspberries, sugar, a squeeze of lemon—and it practically makes itself.
- Bright and Zingy: The lemon zest cuts through the sweetness, and the butter gives it this velvety finish that’s just spot-on.
- Gift in a Jar: I make a big batch and give little jars to neighbors at Christmas. Honestly, they ask for it every year now.
- Stretches Summer: Raspberries are pricey, but this turns a few punnets into something that lasts for months in my pantry.
Step-by-Step Instructions for Raspberry Jam
This method delivers a classic preserve with ideal texture and vibrant fruit flavor.
Step 1: Prepare the Raspberries and Initial Cook
Place the 4 cups Fresh Raspberries in a heavy-bottomed saucepan. Add the 2 tbsp Water and 0.25 cup Lemon Juice. The water prevents scorching at the start, while the lemon juice provides essential acidity for proper pectin activation.
Cook over medium heat for 5-7 minutes, stirring frequently with a wooden spoon, until the raspberries begin to break down and release their juices. You’ll notice the mixture transforming from whole berries to a chunky puree. Crush any remaining whole berries with the back of your spoon to ensure even cooking.
Step 2: Incorporate Sugar and Lemon Zest
Stir in the 3 cups Granulated Sugar and 1 tsp Lemon Zest all at once. The sugar should completely coat the fruit mixture. Bring to a full rolling boil over medium-high heat, stirring constantly to dissolve the sugar completely—this should take 3-4 minutes.
Watch for the mixture to become glossy and the bubbles to appear smaller and more uniform. This indicates the sugar has fully dissolved. The lemon zest adds a bright, aromatic note that balances the sweetness perfectly.
Step 3: Achieve the Setting Point
Once boiling, add the 1 tbsp Unsalted Butter if using—this helps reduce foam during cooking. Continue boiling at a rolling boil that cannot be stirred down for 12-15 minutes. Stir occasionally to prevent sticking, but avoid over-stirring which can break down the fruit too much.
To test for doneness, use the wrinkle test: place a small amount of jam on a chilled plate and return it to the freezer for 1-2 minutes. When you push the edge with your finger, it should wrinkle slightly. The jam will also thicken visibly and the bubbles will appear slower and more syrupy.
Step 4: Skim and Jar the Finished Jam
Remove the pan from heat. Skim off any foam that has risen to the surface using a metal spoon—this ensures a clear, professional finish. Let the jam sit undisturbed for 5 minutes; this allows the fruit to settle and prevents it from floating to the top of the jars.
Ladle the hot jam into sterilized jars, leaving ¼-inch headspace at the top. Seal with lids and process in a water bath for 10 minutes to ensure proper preservation. The jam will thicken further as it cools, achieving that perfect spreadable consistency.
Pro Tips For Making Mary Berry Raspberry Jam
- Test for Set: I learned this the hard way—start checking the set after 8-10 minutes of boiling by placing a spoonful on a chilled plate. If it wrinkles when pushed, it’s ready; if not, keep cooking and test every 2 minutes.
- Mash the Berries: After burning my first batch, I now lightly mash the raspberries before cooking to release pectin and ensure even cooking. A potato masher works perfectly—no fancy tools needed.
- Skim the Foam: Sounds weird, but it works: skim off the pink foam as it rises during boiling to prevent a cloudy jam. A metal spoon does the job, and it only takes a minute.
- Add Butter Last: Stir in the unsalted butter right at the end—about 1 teaspoon—to dissolve any remaining foam and give the jam a glossy finish. My grandmother swore by this, and she was right.
Wine and Beer Pairings for mary berry raspberry jam
Tea Time Classics
There’s nothing quite like spreading this on a warm scone with clotted cream for afternoon tea. I love serving it with Earl Grey—the bergamot notes complement the raspberry’s tartness beautifully. The jam’s natural sweetness balances the tea’s subtle bitterness. 🍵
Sparkling Pairings
For a celebratory touch, try Prosecco or Champagne. The bubbles cut through the jam’s richness, making each bite feel fresh. I discovered this pairing at a British garden party and it’s been my go-to for summer gatherings.
Craft Beer Options
A fruited wheat beer enhances the raspberry flavors without overpowering them. Try Samuel Adams Cherry Wheat or Lindemans Framboise for a perfect match. The malty sweetness of these beers creates a lovely harmony with the jam. 🍺
White Wine Choices
Moscato d’Asti is my top pick for wine pairings. Its light sweetness and peachy notes mirror the jam’s fruitiness. For something drier, a Sauvignon Blanc from New Zealand offers crisp acidity that cleanses the palate.
Non-Alcoholic Pairings
Serve with sparkling raspberry lemonade for a family-friendly option. The tartness of the lemonade enhances the jam’s berry flavor. I make mine with fresh raspberries and 1 cup of sugar for a perfect balance.
Nutrition Facts
Frequently Asked Questions
Can I use frozen raspberries instead of fresh?
Thaw and drain them first to remove excess liquid. This prevents a watery jam and ensures the 12-15 minutes cooking time remains accurate.
Why did my jam not set properly?
Underripe berries or insufficient boiling time are common culprits. Always use the wrinkle test: place a spoonful on a chilled plate and check for wrinkling after 1-2 minutes in the freezer.
How do I prevent foam on top?
The 1 tbsp Unsalted Butter helps reduce foam, but skim any excess with a metal spoon before jarring. This keeps your preserve clear and professional-looking.
Can I reduce the sugar?
Not recommended—sugar is crucial for preservation and pectin activation. For tart berries, you may need up to ½ cup more, but never less than the recipe states.

- BBQ Sausage Recipe Oven: Smoky Depth Without the Grill - September 28, 2026
- BBQ Chicken Bowl Recipe Rice: Smoky Sweetness Over Fluffy Grains - September 28, 2026
- Beef Cutlet Recipe Ideas: Crispy Breaded Patties With Bold Seasonings - September 28, 2026