
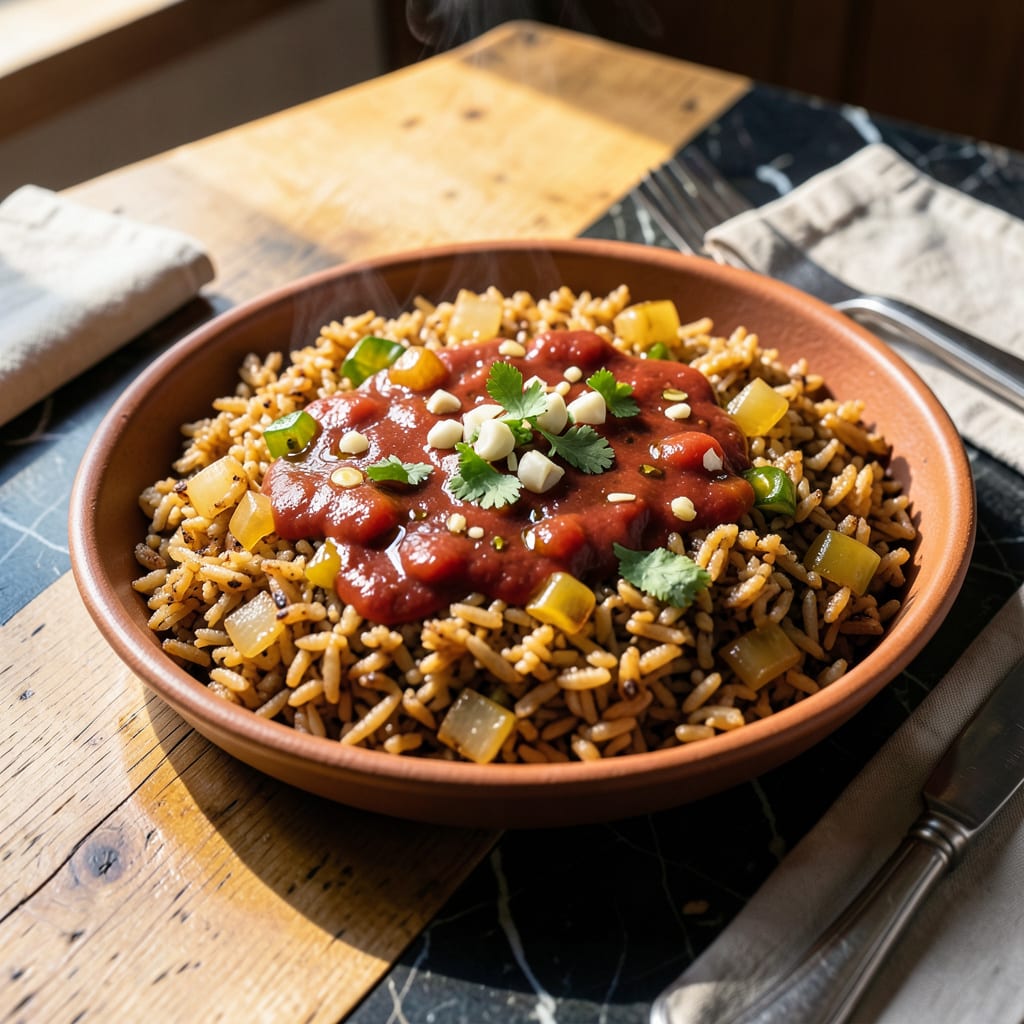
This restaurant-style dish delivers authentic flavor through a simple but precise method. Toasting the rice and aromatics first creates a deep, nutty base that defines its character.
Using long-grain white rice and chicken stock ensures the perfect texture and richness. The result is fluffy, fragrant, and packed with the same taste you’d find in your favorite Mexican restaurant.
Ingredients for Mexican Rice Recipe Restaurant Style
Pantry staples plus fresh produce create this vibrant, restaurant-quality side dish.
| Ingredient | Amount | Notes |
|---|---|---|
| Long-Grain White Rice 🍚 | 1 ½ cups | Uncooked, rinsed well |
| Vegetable Oil 🫒 | 3 tbsp | Neutral flavor preferred |
| Garlic Cloves 🧄 | 3 cloves | Minced finely |
| Yellow Onion 🧅 | 1 whole | Medium, finely diced |
| Chicken Stock 🥣 | 2 ½ cups | Vegetable stock for vegetarian |
| Tomato Sauce 🍅 | ½ cup | Plain, unsweetened |
| Green Bell Pepper 🌶️ | ½ whole | Finely diced |
| Ground Cumin 🌿 | 1 tsp | Toasted enhances flavor |
| Dried Oregano 🍃 | 1 tsp | Mexican oregano preferred |
| Bay Leaf 🌿 | 1 whole | Remove before serving |
| Salt 🧂 | 1 tsp | Adjust to taste |
| Black Pepper 🌶️ | ½ tsp | Freshly ground |
| Fresh Cilantro 🌿 | ¼ cup | Chopped for garnish |
| Lime 🍈 | 1 whole | Juiced and zested |
The rice is the foundation—long-grain white rice like Basmati or Jasmine gives you that fluffy texture. Rinsing it well removes excess starch so it doesn’t turn gummy. For the stock, I use Better Than Bouillon vegetable base mixed with water—it’s got that depth without the meat. The tomato sauce should be plain, no added sugar or herbs. You’ll find all of this at any standard grocery store.
No chicken stock? Vegetable stock works perfectly here—just use the same amount. Out of tomato sauce? Tomato paste thinned with water (2 tbsp paste + 6 tbsp water) is a solid backup. If you don’t have fresh cilantro, flat-leaf parsley adds a different but still fresh note. The bell pepper can be swapped for frozen peas (thawed first) if that’s what you’ve got.
This rice is best served fresh but reheats well. Store leftovers in an airtight container in the fridge for up to 4 days. Freeze for longer storage—it’ll keep for 3 months. Reheat in the microwave with a splash of water to bring back the moisture.
Why You’ll Love This Recipe
- One Pan Magic: I love that I can start this in one skillet and never touch another dish. The rice toasts in the oil first, then simmers in the stock—cleanup is a breeze.
- Garlic-Onion Depth: Honestly, the sizzle of garlic and onion in hot oil before the rice goes in makes all the difference. It’s that restaurant-style aroma and flavor in every bite.
- Meal Prep Hero: I make a big batch Sunday and it reheats beautifully all week. Toss it in burritos, under eggs, or just eat it plain with a sprinkle of cheese.
- Budget Stretcher: Long-grain rice and chicken stock keep costs low, yet it feels indulgent. I’ll be real: it’s my go-to when I need to feed a crowd without breaking the bank.
Step-by-Step Instructions for Mexican Rice Restaurant Style
This method delivers the rich, toasted depth of flavor you’d expect from your favorite taqueria.
Step 1: Toast the Rice in Oil
Heat the 3 tbsp Vegetable Oil in a large skillet over medium-high heat until it shimmers. Add the 1.5 cups Long-Grain White Rice and stir frequently for 5-7 minutes until the grains turn a deep golden brown color.
This toasting step is crucial—it creates a nutty base flavor that defines authentic Mexican rice. Keep the rice moving to prevent burning, and watch for that perfect toasted aroma. The grains should look slightly translucent at the edges when ready.
Step 2: Sauté the Aromatics
Add the finely diced Yellow Onion and finely diced Green Bell Pepper to the toasted rice. Cook for 3-4 minutes until the vegetables soften and the onion becomes translucent. Stir in the 3 cloves minced Garlic Cloves and cook for 30 seconds until fragrant.
The onion should release its sweetness as it cooks down, while the bell pepper adds a subtle freshness. Be careful not to let the garlic burn—it should just begin to turn golden at the edges. This aromatic base builds the foundation of flavor.
Step 3: Add Liquids and Seasonings
Pour in the 0.5 cup Tomato Sauce, 2.5 cups Chicken Stock, 1 tsp Ground Cumin, 1 tsp Dried Oregano, 1 whole Bay Leaf, 1 tsp Salt, and 0.5 tsp Black Pepper. Stir well to combine, making sure to scrape up any browned bits from the bottom of the pan.
Bring the mixture to a boil, then reduce the heat to low. The liquid should be a deep red-orange color from the tomato sauce. Taste at this point and adjust the salt if needed, though the flavor will concentrate as it cooks.
Step 4: Simmer Until Tender
Cover the skillet and let the rice simmer for 20-25 minutes until the liquid is fully absorbed and the rice is tender. Resist the urge to stir during this time—it can break the rice grains and make the dish mushy.
You’ll know it’s done when the surface looks dry and the rice is fluffy when gently fluffed with a fork. If there’s still liquid after 25 minutes, cook uncovered for a few more minutes until absorbed.
Remove the Bay Leaf before serving. Fluff the rice with a fork and let it sit covered for 5 minutes to steam and finish cooking.
Step 5: Finish and Garnish
Squeeze the juice from the 1 whole Lime over the rice and gently fold in the 0.25 cup Fresh Cilantro. The lime brightens all the flavors, while the cilantro adds a fresh, herbal note that completes the dish.
Taste one final time and adjust the seasoning if needed. Serve immediately while hot—the rice should be light and separate, not sticky, with each grain coated in the rich, tomato-infused liquid. This is the authentic texture you’re aiming for.
Pro Tips For Making Mexican Rice Recipe Restaurant Style
- Toast the Rice: Cook the rice in oil for 3-4 minutes until golden brown—this adds nutty depth and prevents mushiness. I learned this the hard way after my first few batches turned out gluey.
- Use Hot Stock: Pour in chicken stock straight from the kettle, not cold from the fridge. Sounds weird, but it works: the sudden heat kickstarts even cooking and better flavor absorption.
- Skip the Rinse: Don’t wash the rice first—restaurant-style Mexican rice needs that starch for texture. My grandmother swore by this, and she was right.
- Garlic First, Onion Later: Sauté garlic just until fragrant (30 seconds), then add onion to soften. After burning three batches, I finally figured out garlic burns fast if left too long.
Storing and Reheating This Dish
Refrigerator Storage
Let the rice cool completely before transferring to an airtight container. It will keep in the fridge at 40°F or below for up to 4 days. The flavors actually deepen overnight as the spices continue to meld. ❄️
Freezer Storage
For longer storage, portion the cooled rice into freezer-safe bags or containers. It freezes beautifully for up to 3 months with minimal texture change. I recommend using quart-sized freezer bags for easy portioning.
Microwave Reheating
Place a portion in a microwave-safe dish with 1-2 tbsp water and cover with a damp paper towel. Heat on 70% power for 2 minutes, stir, then continue in 30-second intervals until hot. 🔥
Stovetop Reheating
My preferred method: heat in a skillet over medium-low heat with 2 tbsp water or chicken stock. Stir occasionally for 5-7 minutes until heated through. This restores the fluffy texture best.
Reviving Leftovers
If the rice seems dry after reheating, fold in a splash of chicken stock and let it sit covered for 2-3 minutes. The grains will absorb the moisture and regain their restaurant-style fluffiness.
Nutrition Facts
Frequently Asked Questions
Why do I need to toast the rice first?
Toasting creates a deep, nutty flavor base that defines authentic restaurant-style rice. It also helps the grains stay separate instead of sticky. Skip this step and you’ll miss that signature taste.
Can I make this with brown rice?
Yes, but adjust the liquid to 3 cups and simmer for 40-45 minutes. The texture will be chewier, and the color less vibrant, but the flavor will still be great.
How do I fix mushy rice?
If it’s overcooked, spread it on a baking sheet to dry out in a 200°F oven for 10 minutes. Next time, use less liquid and avoid stirring while simmering.
What if I don’t have tomato sauce?
Use 2 tbsp tomato paste mixed with 6 tbsp water as a substitute. The flavor will be more concentrated, so taste before adding extra salt.

- BBQ Sausage Recipe Oven: Smoky Depth Without the Grill - September 28, 2026
- BBQ Chicken Bowl Recipe Rice: Smoky Sweetness Over Fluffy Grains - September 28, 2026
- Beef Cutlet Recipe Ideas: Crispy Breaded Patties With Bold Seasonings - September 28, 2026