
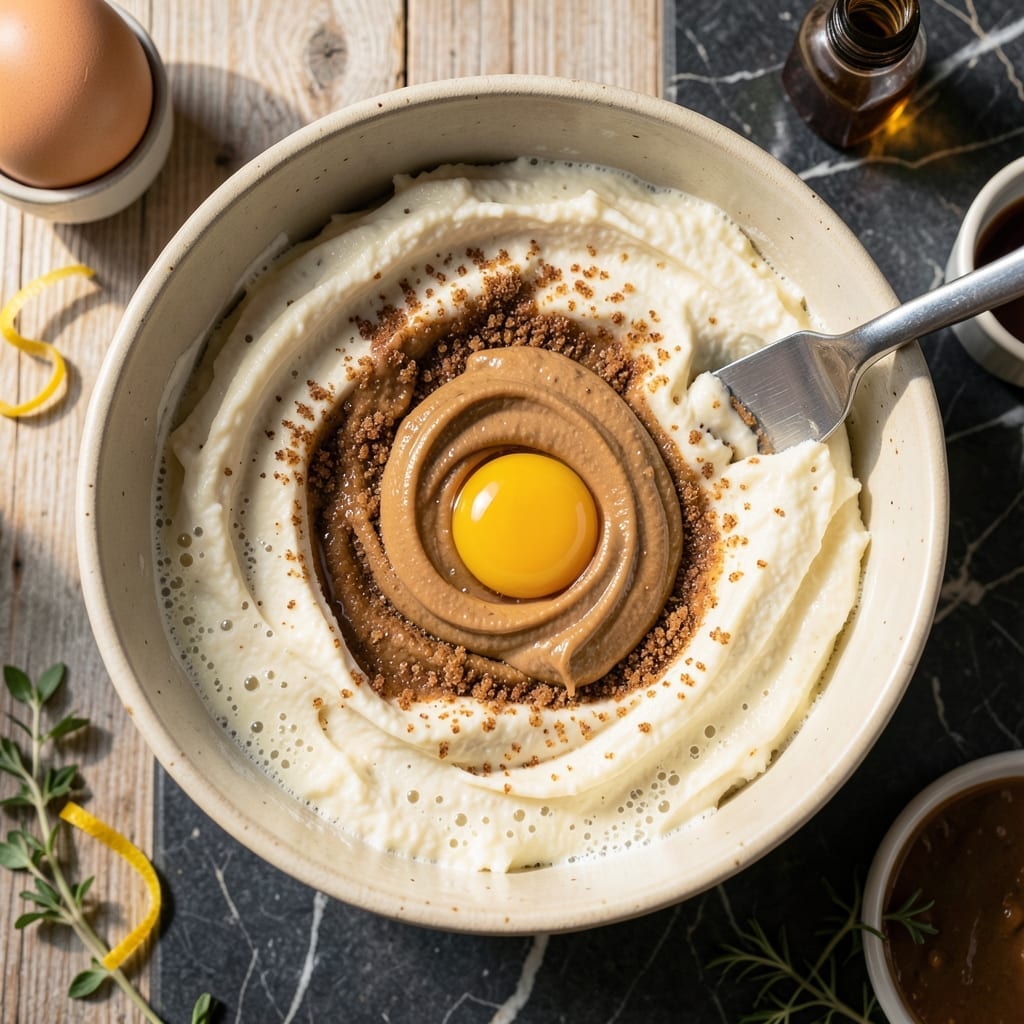
There’s a reason this classic recipe has stood the test of time—shortening creates the perfect texture for peanut butter cookies that stay tender for days.
I’ve tested countless variations, and this method consistently delivers crisscross cookies with crisp edges and soft centers. The shortening base prevents spreading while maintaining that signature melt-in-your-mouth quality.
The process is straightforward: cream the fat and sugar, mix in peanut butter and egg, then fold in dry ingredients. Roll into balls, flatten with a fork, and bake until just golden.
What emerges from the oven are cookies with rich peanut flavor, delicate crumb, and that nostalgic crisscross pattern we all recognize. This is the gold standard for peanut butter cookies.
Ingredients for Peanut Butter Cookie Recipe with Shortening
Classic ingredients for timeless cookies with perfect crisscross texture and rich peanut flavor.
| Ingredient | Amount | Notes |
|---|---|---|
| Vegetable Shortening 🧈 | ½ cup | Solid at room temperature |
| Granulated Sugar 🍚 | 1 cup | Fine white granulated |
| Brown Sugar 🟤 | 1 cup | Light or dark, packed |
| Creamy Peanut Butter 🥜 | 1 cup | Smooth, no stir variety |
| Large Egg 🥚 | 1 whole | Room temperature preferred |
| Vanilla Extract 🌿 | 2 tsp | Pure vanilla, not imitation |
| All-Purpose Flour 🌾 | 2 ½ cups | Sifted for best results |
| Baking Soda 🧂 | 1 tsp | Leavening agent, fresh |
| Salt 🧂 | ½ tsp | Fine table salt |
| Old-Fashioned Oats 🌾 | ½ cup | Rolled, not quick or steel-cut |
The shortening is non-negotiable here—Crisco All-Vegetable Shortening is the gold standard for that tender, non-spreading texture. Most supermarkets carry it in the baking aisle. Smooth peanut butter (Jif or Skippy) works best for uniform texture, though natural peanut butter can be used if well-stirred (the oil separation can affect consistency). For the flour, King Arthur or Gold Medal all-purpose are reliable choices that yield consistent results.
No shortening? Butter-flavored Crisco is an acceptable substitute, though the cookies may spread slightly more. Out of oats? Skip them entirely—the texture will be slightly different but still delicious. For a gluten-free version, use a 1:1 gluten-free flour blend. The brown sugar can be swapped for all granulated, but the cookies will be slightly less moist. Always use fresh baking soda—test it by mixing with vinegar to check for vigorous bubbling.
Dough can be refrigerated for up to 3 days or frozen for 3 months. Baked cookies stay fresh in an airtight container for 5 days (though they’re best within 48 hours). For longer storage, freeze baked cookies in a single layer before transferring to a bag—they’ll keep for 2 months.
Why You’ll Love This Recipe
- One-Bowl Wonder: I mix everything right in the same bowl—shortening, both sugars, and peanut butter—then roll and bake.
- Crispy-Edge Magic: The shortening gives them that buttery crunch on the outside while the peanut butter keeps the centers tender.
- Lunchbox Hero: Honestly, these stay soft for days, so I can pack them in lunches without worrying about crumbs.
- Budget Bake: A single egg and pantry staples make two dozen cookies for pennies—my wallet actually thanks me.
Step-by-Step Instructions for Peanut Butter Cookies With Shortening
This proven method delivers the classic crisscross texture and rich peanut flavor you expect.
Step 1: Cream Shortening and Sugars
In a large mixing bowl, beat the 0.5 cup vegetable shortening with the 1 cup granulated sugar and 1 cup brown sugar until the mixture becomes light and fluffy. This creaming process typically takes 3-4 minutes with an electric mixer at medium speed.
The texture should resemble wet sand with no visible shortening streaks. The brown sugar’s moisture helps create that signature chewy texture, while the granulated sugar contributes to the crisp edges.
Step 2: Incorporate Peanut Butter and Wet Ingredients
Add the 1 cup creamy peanut butter, 1 whole large egg, and 2 tsp vanilla extract to the sugar mixture. Beat until fully combined and smooth, about 2 minutes. The mixture will thicken noticeably as the peanut butter incorporates.
Stop to scrape the bowl as needed to ensure even mixing. The egg acts as a binder while the vanilla enhances the peanut flavor. The mixture should be homogeneous with a slightly sticky consistency.
Step 3: Combine Dry Ingredients
In a separate bowl, whisk together the 2.5 cups all-purpose flour, 1 tsp baking soda, and 0.5 tsp salt. This ensures even distribution of the leavening agent for consistent texture throughout the batch.
Gradually add the dry mixture to the wet ingredients, mixing on low speed just until the flour disappears. Overmixing at this stage would develop gluten, resulting in tough cookies rather than the desired tender crumb.
Step 4: Fold in Oats and Shape
Using a wooden spoon or spatula, fold in the 0.5 cup old-fashioned oats until evenly distributed. The oats add a subtle chew and visual interest to the finished cookies.
Roll the dough into 1-inch balls and place them 2 inches apart on ungreased baking sheets. The dough will be slightly sticky—this is normal. For the traditional look, use a fork to create the crisscross pattern by pressing down firmly in two perpendicular directions.
Step 5: Bake to Golden Perfection
Preheat your oven to 350°F and bake the cookies for 10-12 minutes, or until the edges are lightly golden. The centers may appear slightly underdone, but they’ll set as the cookies cool.
Allow the cookies to rest on the baking sheet for 5 minutes before transferring to a wire rack. This brief cooling period lets them firm up enough to maintain their shape. The finished cookies should have a crisp exterior with a tender, slightly chewy interior.
Pro Tips For Making Peanut Butter Cookie Recipe With Shortening
- Cream Shortening First: Beat the shortening and peanut butter together until fluffy—I learned this the hard way—skipping this step leaves cookies dense instead of light and tender.
- Chill the Dough: After mixing, refrigerate the dough for 30 minutes; it prevents spreading and keeps those classic fork marks from disappearing in the oven.
- Use Room-Temp Egg: Crack the egg into warm water for 5 minutes before using; a cold egg can cause the shortening to clump, and nobody wants a lumpy cookie dough.
- Press Forks Twice: Dip the fork in sugar between pressings to stop sticking, then make the crosses in two directions—this gives even baking and that classic crisscross look.
Storing and Reheating This Recipe
Room Temperature Cooling
Let your cookies cool completely on a wire rack at room temperature before storing. This prevents condensation that can make them soggy. I typically wait about 1 hour for a full batch to cool. The crisscross pattern stays intact best this way.
Room Temperature Storage
Store cooled cookies in an airtight container with parchment paper between layers. They’ll stay fresh for up to 5 days at room temperature. I use OXO Good Grips containers for their tight seal. 💡
Refrigerator Storage
For longer freshness, refrigerate cookies in an airtight container for up to 10 days. Let them come to room temperature before serving for the best texture. The cold can make them slightly firmer, but the flavor remains excellent.
Freezing Baked Cookies
Freeze cookies in a single layer on a baking sheet first, then transfer to a freezer bag. They’ll keep for up to 3 months. When ready to eat, thaw at room temperature for 1-2 hours. This method preserves the crisscross pattern perfectly. ❄️
Reheating for Warm Cookies
To enjoy warm cookies, place them on a baking sheet in a 300°F oven for 5-7 minutes. Alternatively, microwave for 10-15 seconds on a paper towel. The shortening base reheats beautifully without drying out.
Nutrition Facts
Frequently Asked Questions
Why use shortening instead of butter?
Shortening has a higher melting point than butter, which helps cookies maintain their shape and creates a more tender crumb. It also prevents spreading, keeping the crisscross pattern intact. Butter would make them crispier and flatter.
Can I use natural peanut butter?
Yes, but stir it well to distribute the oil first. The texture may be slightly different than with commercial brands. For best results, use smooth, no-stir peanut butter for consistent cookies.
How do I get the perfect crisscross pattern?
Roll dough into 1-inch balls and use a fork dipped in sugar to press down firmly in two perpendicular directions. The sugar helps prevent sticking and adds a slight crunch.
How can I tell when they’re done baking?
The edges should be lightly golden at 10-12 minutes. The centers may look slightly underdone but will set as they cool on the baking sheet for 5 minutes.

- Pina Colada Dip Recipe Red Lobster: Tropical Creaminess With Toasted Coconut - October 12, 2026
- Pickled Sweet Cherry Peppers Recipe Canning: Tangy Heat for Pantry Staples - October 12, 2026
- Peppercorn Sauce Recipe Vegan: Rich Umami Depth Without Cream - October 12, 2026