
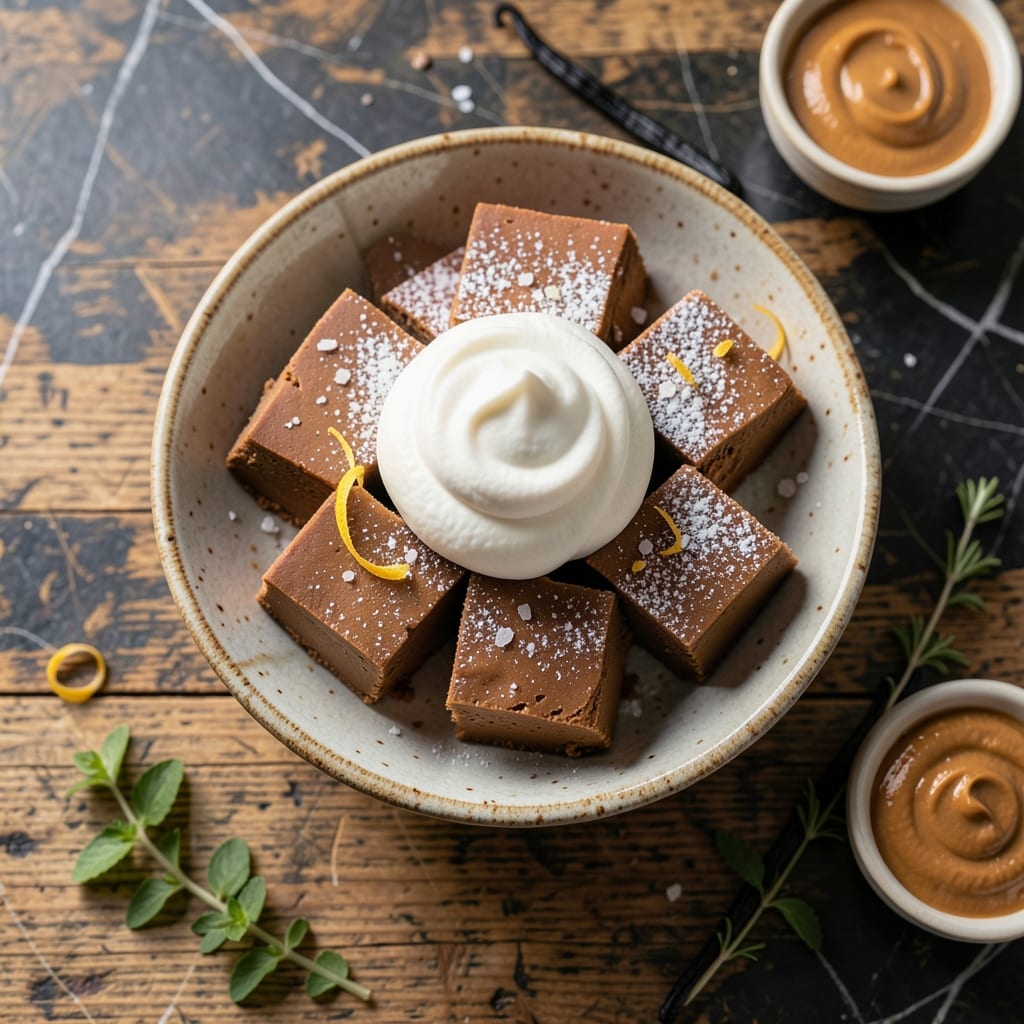
I’ve perfected a foolproof method for making creamy peanut butter fudge that comes together in minutes. The secret ingredient? Marshmallow fluff, which adds a light, airy texture without complicating the process.
This recipe requires just a handful of pantry staples and no candy thermometer. The fluff blends seamlessly into the peanut butter base, creating a smooth confection that sets quickly and holds its shape.
What you’ll get is a batch of rich, decadent fudge with a melt-in-your-mouth consistency. It’s sweet, nutty, and impossible to resist—ideal for gifting or satisfying a sudden craving.
No baking skills required. Just stir, set, and enjoy.
Ingredients for Peanut Butter Fudge Recipe Using Fluff
Just seven ingredients stand between you and melt-in-your-mouth peanut butter bliss here.
| Ingredient | Amount | Notes |
|---|---|---|
| Creamy Peanut Butter 🥜 | 1 ½ cups | Smooth, no stir variety preferred |
| Marshmallow Fluff 🍬 | 2 cups | Store-bought or homemade |
| Unsalted Butter 🧈 | ½ cup | Melted for binding |
| Powdered Sugar 🍚 | 3 cups | Sifted for smooth texture |
| Vanilla Extract 🌿 | 1 tsp | Pure extract for best flavor |
| Sea Salt 🧂 | ¼ tsp | Fine grain for even distribution |
| Heavy Cream 🥛 | ¼ cup | Optional, for extra creaminess |
The peanut butter is the foundation. Jif or Skippy creamy styles work best—natural peanut butter can separate and mess with the texture. Marshmallow fluff is non-negotiable (the Jet-Puffed brand is my go-to). Butter should be unsalted so you control the salt level yourself. Most supermarkets carry everything you need, but Whole Foods has great organic options if that’s your thing.
No marshmallow fluff? Marshmallows melted with a splash of cream gets you close, but the texture won’t be quite as light. Short on butter? Coconut oil at a 1:1 ratio works, though the flavor changes slightly. Powdered sugar can’t be swapped (granulated won’t dissolve right), but organic powdered sugar is fine. Vanilla extract is worth the splurge—imitation tastes flat.
This keeps at room temperature for 1 week in an airtight container (or 2 weeks in the fridge). For gifting, line a tin with parchment paper and layer with wax paper between pieces. It freezes beautifully for up to 3 months.
Why You’ll Love This Recipe
- No-Bake Magic: I just melt the peanut butter and fluff together—no oven, no fuss, and it sets in the fridge while I do something else.
- Crowd Pleaser: I bring this to potlucks and it’s always the first thing to disappear, even with the picky eaters.
- Budget Friendly: Five ingredients, most of which I already have, and it makes enough to share—or not, honestly, I won’t judge.
Step-by-Step Instructions for Peanut Butter Fudge Using Fluff
This method transforms simple ingredients into creamy, dreamy fudge with minimal effort.
Step 1: Melt the Butter and Combine Wet Ingredients
In a large microwave-safe bowl, melt the 0.5 cup Unsalted Butter on high power for 45-60 seconds until completely liquid. Watch it carefully—butter can go from melted to burnt quickly in the microwave.
Immediately add the 1.5 cups Creamy Peanut Butter and 1 tsp Vanilla Extract to the warm butter. Stir vigorously with a silicone spatula until the mixture becomes smooth and fully integrated. The heat from the melted butter will soften the peanut butter, making it easier to combine.
If using the optional 0.25 cup Heavy Cream, add it now and stir until the mixture is uniform. This addition creates an ultra-creamy texture that melts in your mouth.
Step 2: Incorporate the Marshmallow Fluff
Add the 2 cups Marshmallow Fluff to the peanut butter mixture. Fold it in gently but thoroughly—you want to maintain as much air as possible in the fluff for a lighter fudge texture.
The mixture will be thick and sticky at this stage. I find that using a spatula to press and fold works better than whisking, which can create strings of fluff that refuse to incorporate. Keep folding until no white streaks remain.
Taste the mixture now and adjust if needed. If you prefer a saltier fudge, you can add a pinch more Sea Salt, but remember you’ll add more later.
Step 3: Gradually Add the Powdered Sugar
Measure out the 3 cups Powdered Sugar—make sure it’s sifted if your package isn’t pre-sifted. Adding it gradually prevents clumping and ensures even distribution. I typically add it in 1-cup increments, stirring well after each addition.
After adding the first cup, the mixture will look crumbly, but keep stirring. By the time you’ve added all the sugar, the fudge should come together into a thick, dough-like consistency that pulls away from the sides of the bowl.
Add the 0.25 tsp Sea Salt and mix one final time. The salt enhances all the flavors and balances the sweetness perfectly.
Step 4: Press into Pan and Chill
Line an 8×8-inch baking pan with parchment paper, leaving an overhang on two sides for easy removal. Transfer the fudge mixture to the pan and press it down firmly into an even layer. I use the back of a measuring cup to create a smooth surface.
For the best texture, press a piece of plastic wrap directly onto the surface of the fudge to prevent a skin from forming. Chill in the refrigerator for at least 2 hours, or until firm enough to cut cleanly.
The fudge is ready when it holds its shape when pressed lightly with a finger. If it’s still soft, give it another 30 minutes in the fridge.
Step 5: Cut and Serve
Remove the fudge from the pan using the parchment paper overhang and transfer it to a cutting board. Use a sharp knife dipped in hot water and wiped clean between cuts to create neat squares.
Cut into 1-inch pieces for perfect bite-sized portions. The fudge should have a smooth, matte finish with a slightly crumbly texture that gives way to a creamy interior.
Store in an airtight container at room temperature for up to 1 week, or in the refrigerator for up to 2 weeks. Though I promise it won’t last that long.
Pro Tips For Making Peanut Butter Fudge Recipe Using Fluff
- Melt Butter Slowly: Use low heat and stir constantly—burnt butter will ruin the smooth texture of your fudge, and I learned this the hard way.
- Sift Powdered Sugar: Lumps in powdered sugar mean lumps in your fudge, so take the extra 2 minutes to sift it through a fine-mesh strainer.
- Skip the Natural PB: Natural peanut butter separates and can make your fudge greasy—stick with creamy processed for the best consistency.
- Chill Before Cutting: Give it at least 2 hours in the fridge, or it’ll crumble instead of slicing cleanly—I was skeptical until I tried it.
Pro Cooking Tips for Perfect Results
Perfect Butter Melting
Use a microwave-safe glass bowl for even heating. Melt the 0.5 cup unsalted butter in 20-second intervals at 50% power to prevent scorching. I learned this trick after ruining two batches with burnt butter!
Fluff Incorporation
Let the peanut butter-butter mixture cool for 2-3 minutes before adding 2 cups marshmallow fluff. This prevents melting the fluff completely, preserving its airy texture. Use a silicone spatula for gentle folding.
Sugar Addition
Sift your 3 cups powdered sugar first—this eliminates lumps for ultra-smooth fudge. Add it in 1-cup batches, mixing thoroughly between each. The mixture will transform from crumbly to cohesive.
Pan Preparation
Line your 8×8-inch pan with parchment paper, leaving overhang on two sides. Lightly grease the paper with butter or cooking spray for easy release. This makes lifting the set fudge out effortless. 💡
Chilling Technique
Press plastic wrap directly onto the fudge surface before refrigerating. This prevents a dry skin from forming. For fastest setting, place the pan in the freezer for 45 minutes before moving to the fridge.
Clean Cutting
Dip your knife in hot water and wipe it dry between each cut. This creates those professional-looking 1-inch squares with clean edges. Store with parchment between layers to prevent sticking. 💫
Nutrition Facts
Frequently Asked Questions
Can I use crunchy peanut butter instead of creamy?
Yes, but the texture will be different. Crunchy peanut butter adds a pleasant nutty crunch, while creamy creates a smooth fudge. For best results, stick with the recipe’s 1.5 cups creamy peanut butter.
Why does the fudge need to chill for 2 hours?
Chilling firms up the fudge so it holds its shape when cut. Skipping this step results in a sticky mess. The 2-hour chill time ensures clean, professional-looking squares.
How do I store leftover fudge?
Keep it in an airtight container at room temperature for up to 1 week. For longer storage, refrigerate for 2 weeks or freeze for 3 months.
Can I substitute regular marshmallows for fluff?
You can melt 2 cups mini marshmallows with 1 tablespoon cream, but the texture won’t be as light. Fluff incorporates air that regular marshmallows can’t replicate.

- Potato Candy Recipe 1933: Vintage Peanut Butter Roll Delight - October 30, 2026
- Potato Chip Cookie Recipe With Pecans: Buttery Crunch Meets Nutty Richness - October 30, 2026
- Potato Patty Recipe No Egg: Crispy Edges Without the Binder - October 30, 2026