
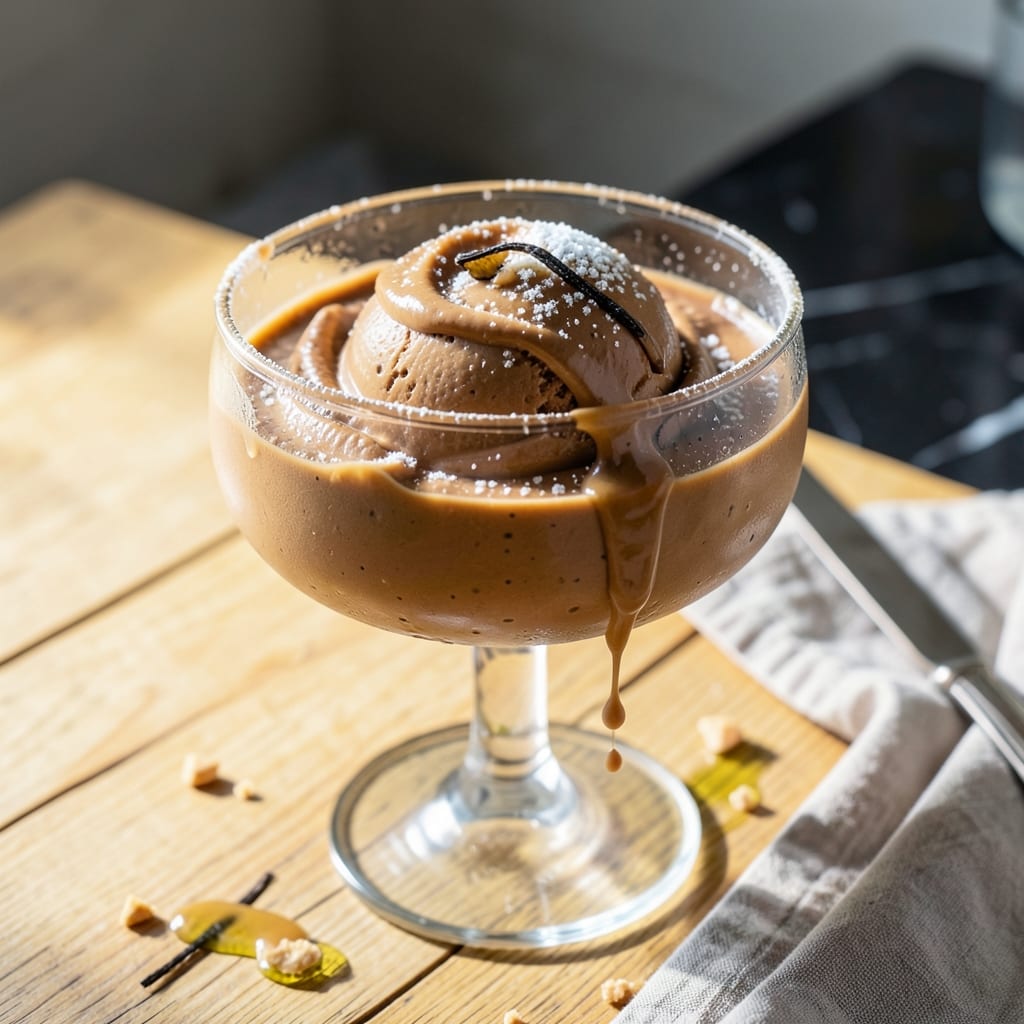
There’s nothing quite like homemade ice cream with a rich, custard base for that ultra-creamy texture. This version elevates classic peanut butter flavor with a velvety smoothness that store-bought can’t match.
The secret lies in the egg yolks, which create a luscious custard that carries the peanut butter flavor beautifully. Cooking the base to the right temperature ensures a smooth, creamy result without any iciness.
What sets this apart is the balance—just enough sweetness to complement the peanut butter without overpowering it. The custard base takes a little patience, but the payoff is restaurant-quality ice cream.
Perfect for warm days or when you crave something indulgent. This recipe delivers every time.
Ingredients for Peanut Butter Ice Cream Recipe with Eggs
Rich custard base with peanut butter creates velvety texture beyond store-bought versions.
| Ingredient | Amount | Notes |
|---|---|---|
| Heavy Cream 🥛 | 2 cups | Full-fat for ultra-creamy texture |
| Whole Milk 🥛 | 1 cup | Whole for richness, do not substitute |
| Large Egg Yolks 🥚 | 6 whole | Room temperature for best emulsification |
| Granulated Sugar 🍚 | ¾ cup | Fine grain for smooth dissolution |
| Creamy Peanut Butter 🥜 | ¾ cup | Smooth, no added sugar preferred |
| Vanilla Extract 🌿 | 1 tsp | Pure vanilla for depth of flavor |
| Table Salt 🧂 | ¼ tsp | Fine grain, enhances all flavors |
| Roasted Peanuts 🥜 | ½ cup | Chopped, for texture contrast |
| Vanilla Bean 🌿 | 1 whole | Split and scraped, seeds only |
| Light Corn Syrup 💧 | 2 tbsp | Prevents iciness in custard |
The egg yolks are critical here—fresh, high-quality eggs from Whole Foods or your local farmers market will give you the richest custard. Heavy cream should be at least 36% fat; avoid ultra-pasteurized if possible, as it can affect texture. For peanut butter, natural, no-stir varieties like Smucker’s work beautifully, but avoid low-fat versions, which can separate in the custard.
No vanilla bean? Pure vanilla extract at double the amount (2 tsp) works fine. Swap corn syrup for honey or agave if preferred, though it may slightly alter texture. For a nuttier flavor, use crunchy peanut butter, but strain out the oil first. If you’re avoiding peanuts entirely, almond or cashew butter can substitute, though the flavor will differ.
The custard base can be refrigerated for up to 24 hours before churning. Once churned, ice cream keeps for 1 week in an airtight container (press parchment directly on surface to prevent ice crystals). For longer storage, freeze for up to 2 months, but texture is best fresh.
Why You’ll Love This Recipe
- No Churn Needed: I just whisk the egg yolks with sugar, heat the dairy, then let my ice cream maker do the work. Honestly, it’s almost too simple.
- Rich Peanut Butter Swirls: The creamy peanut butter ribs through every bite—sweet, salty, and ridiculously smooth.
- Crowd Pleaser: Between us, even my pickiest nephew asks for seconds when I serve this at cookouts.
- Makes Extra: I always double the batch because leftovers keep beautifully in the freezer for up to a week.
Step-by-Step Instructions for Peanut Butter Ice Cream With Eggs
Master the custard base technique for ultra-smooth texture and deep peanut flavor.
Step 1: Infuse Cream and Milk with Vanilla Bean
In a heavy-bottomed saucepan, combine the 2 cups Heavy Cream and 1 cup Whole Milk. Split the 1 whole Vanilla Bean lengthwise and scrape the seeds into the mixture, then add the pod as well. Place over medium heat and warm until small bubbles form around the edges—approximately 5-7 minutes.
This gentle heating allows the vanilla to fully infuse into the dairy. Watch for steam rising from the surface and tiny bubbles at the perimeter, but do not let it boil. Remove from heat once it reaches 180°F and let it steep for 15 minutes to develop maximum flavor.
Step 2: Temper the Egg Yolks with Sugar
In a separate bowl, whisk together the 6 whole Large Egg Yolks and 0.75 cup Granulated Sugar until the mixture turns pale yellow and ribbons form when the whisk is lifted. This process, known as blanching, incorporates air and helps create a stable custard base.
Gradually ladle about 1 cup of the warm cream mixture into the egg yolk mixture while constantly whisking. This tempering step prevents the eggs from scrambling when introduced to the hot liquid. Once combined, pour the tempered egg mixture back into the saucepan with the remaining cream.
Step 3: Cook the Custard to Nappe Consistency
Return the saucepan to low heat and cook the custard, stirring constantly with a wooden spoon, for 8-10 minutes until it thickens enough to coat the back of the spoon. You’ll know it’s ready when you can draw a clear line through the custard on the spoon with your finger and it holds its shape.
During this process, add the 0.25 tsp Table Salt and 2 tbsp Light Corn Syrup, stirring to fully incorporate. The corn syrup enhances smoothness and prevents ice crystals from forming. Do not allow the custard to boil, as this will cause curdling.
Step 4: Incorporate Peanut Butter and Chill
Remove the custard from heat and stir in the 0.75 cup Creamy Peanut Butter and 1 tsp Vanilla Extract until completely smooth. The residual heat will help melt the peanut butter for even distribution. Strain the mixture through a fine-mesh sieve to remove any stray vanilla pod pieces, ensuring a silky texture.
Press plastic wrap directly onto the surface of the custard to prevent a skin from forming. Refrigerate for at least 4 hours, or preferably overnight. This chilling step is crucial—it allows the flavors to meld and the custard to fully set before churning.
Step 5: Churn and Add Roasted Peanuts
Pour the chilled custard into your ice cream maker and churn according to the manufacturer’s instructions, typically 20-25 minutes. The mixture will thicken to the consistency of soft-serve ice cream.
In the final 2 minutes of churning, add the 0.5 cup Roasted Peanuts to distribute them evenly throughout. Transfer the ice cream to a lidded container and freeze for at least 4 hours to achieve a firm, scoopable texture. The result will be a velvety, rich peanut butter ice cream with satisfying crunch in every bite.
Pro Tips For Making Peanut Butter Ice Cream Recipe With Eggs
- Temper the yolks: Slowly whisk about 1/2 cup of the hot cream mixture into the egg yolks before combining everything—this prevents scrambled eggs in your ice cream base. I learned this the hard way after ruining two batches.
- Warm the peanut butter: Microwave the creamy peanut butter for 20-30 seconds to loosen it before mixing into the custard, so it incorporates smoothly without clumps. Sounds weird, but it works.
- Skip the boil: Heat the dairy just until it steams (around 170°F), not a rolling boil, or you risk curdling the yolks when you add them. After burning three batches, I finally figured out patience is key here.
- Chill overnight: Give the custard a full 12 hours in the fridge before churning—it deepens the peanut butter flavor and guarantees a creamier texture. I skip this when I’m lazy, but the ice cream is noticeably better when I don’t.
Serving Suggestions for This Dish
Classic Presentation
Serve in chilled glass bowls for an elegant touch—the contrast of the cool glass against the creamy ice cream is divine. I always scoop 2 generous portions per serving to show off the swirls. 💛
Topping Ideas
Drizzle with warm chocolate fudge sauce or caramel for a decadent finish. A sprinkle of flaky sea salt enhances the peanut butter flavor beautifully. I also love adding chopped Reese’s cups for extra texture.
Waffle Cone Pairing
For a nostalgic experience, serve in homemade waffle cones. The crunch complements the creamy texture perfectly. Store-bought cones work too—I recommend Joy Ice Cream Cones for their sturdy structure.
Adult Upgrade
Add 1 oz bourbon to the custard base before churning for a boozy twist. Or serve with a shot of espresso on the side for an affogato-style dessert. The warmth of coffee brings out the nutty notes.
Kid-Friendly Fun
Create sundaes with whipped cream, rainbow sprinkles, and a cherry on top. Let kids customize their own with mini chocolate chips or crushed Oreos. This always makes it a hit at family gatherings.
Temperature Tip
Let the ice cream sit at room temperature for 5-10 minutes before scooping. This makes serving easier and enhances the creamy mouthfeel. Never microwave to soften—it ruins the texture.
Nutrition Facts
Frequently Asked Questions
Why use egg yolks in ice cream?
Egg yolks create a rich custard base that makes the ice cream ultra-creamy and smooth. They add fat and emulsifiers that prevent iciness, giving that velvety texture you can’t achieve with just cream and milk.
Can I make this without an ice cream maker?
Yes, but it requires more effort. Freeze the custard in a shallow container, then whisk vigorously every 30 minutes for 3-4 hours to break up ice crystals. The texture won’t be as perfect as churned.
How do I prevent the custard from curdling?
Temper the eggs slowly by adding warm cream in a thin stream while whisking constantly. Cook on low heat and stir continuously. If you see bubbles, remove from heat immediately.
What if my peanut butter separates in the custard?
Use natural peanut butter without added oils. If separation occurs, blend the finished custard with an immersion blender before chilling. Always stir peanut butter well before adding.

- Potato Candy Recipe 1933: Vintage Peanut Butter Roll Delight - October 30, 2026
- Potato Chip Cookie Recipe With Pecans: Buttery Crunch Meets Nutty Richness - October 30, 2026
- Potato Patty Recipe No Egg: Crispy Edges Without the Binder - October 30, 2026