
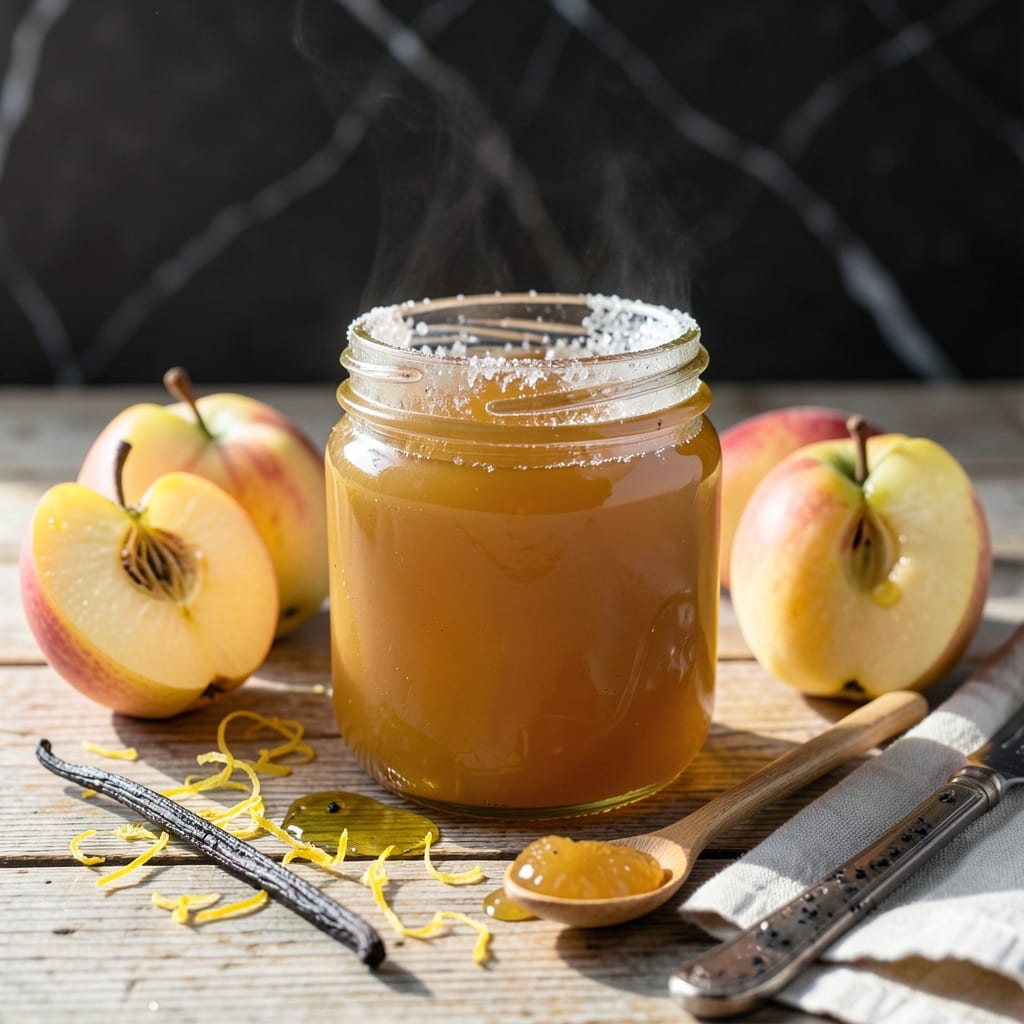
There’s a simple elegance to homemade pear jelly that store-bought versions can’t match. This method skips pectin entirely, relying on natural fruit acids and careful cooking to achieve the perfect set.
Lemon juice is the secret weapon here, providing both brightness and the acidity needed to thicken the jelly without artificial additives. The process is straightforward—just pears, sugar, and time.
You’ll end up with a glossy, golden spread that captures the essence of ripe pears in every spoonful. The texture is smooth yet substantial, ideal for toast, pastries, or pairing with cheese.
Best of all, this jelly keeps beautifully in sealed jars, making it a practical and delicious addition to your pantry.
Ingredients for Pear Jelly Recipe Without Pectin
Six simple ingredients transform into a glossy, naturally thickened pear spread without pectin.
| Ingredient | Amount | Notes |
|---|---|---|
| Ripe Pears 🍐 | 3 lb | Bartlett or Anjou preferred |
| Granulated Sugar 🧈 | 4 cups | Organic cane sugar works well |
| Fresh Lemon Juice 🍋 | ½ cup | Freshly squeezed for best acidity |
| Lemon Zest 🍋 | 1 tbsp | Finely grated from organic lemons |
| Water 💧 | 1 cup | For initial cooking |
| Vanilla Bean 🌿 | 1 whole | Split and scraped, optional |
The pears are everything here. Bartlett or Anjou have the right sugar-to-acid balance for natural thickening. Look for fruit that’s ripe but still firm—overripe pears lack the pectin needed for set. Farmers markets often have the best selection late summer through fall. I always buy organic (the good stuff, not the pre-packaged kind) to avoid wax coatings that can affect texture.
No fresh lemons? Bottled lemon juice at 1:1 ratio works in a pinch, but fresh gives better flavor and acidity. Want a twist? Swap vanilla bean for a cinnamon stick or star anise during cooking. The sugar amount is fixed here—reducing it risks the jelly not setting. If you’re using underripe pears, add an extra tablespoon of lemon juice to boost acidity.
Jelly keeps for 1 year unopened, 3 months once opened in the fridge. For longer storage, process in a water bath for 10 minutes. Always use clean, sterilized jars (worth the extra minute).
Why You’ll Love This Recipe
- No-Fuss Cooking: I toss the pears in the pot with sugar and lemon—no pectin, no stress, just simmer and stir.
- Bright and Zesty: The lemon zest cuts through the sweetness, giving that fresh pop that makes it irresistible.
- Gift-Worthy Spread: I jar it up for neighbors or slather it on toast for a lazy Sunday treat.
- Pantry Hero: Ripe pears on the verge? This saves them from the compost and fills my shelves for months.
Step-by-Step Instructions for Pear Jelly Without Pectin
Here’s my proven method for naturally thick jelly with no added pectin required.
Step 1: Cook the Pears Until Ultra-Soft
Combine the 3 lb ripe pears (peeled, cored, and chopped) with the 1 cup water in a large pot. Bring to a boil over medium-high heat, then reduce to medium and cook for 25-30 minutes, stirring occasionally, until the fruit breaks down completely and looks like a thick applesauce.
You want the pears to lose all structure and become mushy—this releases maximum pectin naturally. If the mixture looks dry before the pears are fully broken down, add a splash of water. The pears should glisten with liquid when properly cooked.
Step 2: Strain and Measure the Pear Juice
Pour the cooked pears into a fine-mesh sieve or cheesecloth-lined colander set over a large bowl. Let it drain for 15-20 minutes without pressing—this ensures clear jelly. You should have about 4 cups of strained liquid. If you have less, add water to reach 4 cups; if you have more, boil it down to 4 cups.
For the clearest jelly, resist the urge to squeeze the pulp. The sediment contains cloudy particles that will make your jelly murky. Discard the solids—they’ve given up all their flavor and pectin.
Step 3: Create the Jelly Base with Sugar and Acids
In a clean, heavy-bottomed pot, combine the 4 cups strained pear juice with the 4 cups granulated sugar, 0.5 cup fresh lemon juice, and 1 tbsp lemon zest. Stir well to dissolve the sugar, then bring to a rolling boil over high heat.
The lemon juice provides the acidity needed to activate the natural pectin in the pears. The zest adds bright, aromatic notes that balance the sweetness. Don’t reduce the sugar—it’s essential for proper setting and preservation.
Step 4: Cook to the Jelly Point and Test
Once boiling, reduce heat to medium-high and cook, stirring frequently, for 30-40 minutes until the mixture thickens and reaches 220°F on a candy thermometer. Watch for the jelly to sheet off a metal spoon—this is your visual cue.
As it nears completion, the bubbles will become smaller and thicker. If you’re unsure, do a cold plate test: place a spoonful on a chilled plate, let it sit for 1 minute, then push with your finger. If it wrinkles, it’s done.
Step 5: Add Vanilla and Jar the Jelly
Remove from heat and stir in the seeds from the 1 whole vanilla bean (scraped) if using. Skim off any foam from the surface with a metal spoon. Ladle the hot jelly into sterilized jars, leaving ¼-inch headspace.
Seal with lids and process in a water bath for 10 minutes for shelf stability, or let cool completely before refrigerating. The jelly will thicken further as it cools. Store in a cool, dark place for up to 1 year.
Pro Tips For Making Pear Jelly Recipe Without Pectin
- Boil Down Slowly: Cook the pear mixture at a gentle simmer, not a rolling boil—too high heat can caramelize the sugar before the jelly sets, leaving you with syrup instead of spreadable jelly.
- Use Slightly Underripe Pears: I learned this the hard way: overripe pears have less natural pectin, so pick ones that are firm but fragrant to help the jelly thicken without added pectin.
- Skim the Foam: As the mixture cooks, a frothy layer rises to the top—skip this step and your jelly will look cloudy, so just drag a spoon across the surface every few minutes to remove it.
- Test on a Cold Plate: After 45 minutes of simmering, drop a spoonful onto a chilled plate—if it wrinkles when pushed with a finger, it’s done; if not, keep reducing and check every 5 minutes.
Perfect Pairings for This Dish
Cheese Pairings
Spread this jelly on a charcuterie board with brie or camembert for a sweet-savory contrast that always impresses guests. The creamy cheese balances the jelly’s bright acidity perfectly. I love serving this with water crackers for crunch. 🧀
Breakfast Favorites
Swap your usual jam for this pear jelly on toasted sourdough or English muffins. It pairs beautifully with cream cheese or ricotta for added richness. A thin layer on pancakes or waffles elevates your morning routine.
Dessert Applications
Use as a glaze for pound cake or cheesecake—brush warm jelly over the top for a glossy finish. It also makes an excellent filling for thumbprint cookies or as a topping for vanilla ice cream. The natural fruit flavor shines through.
Savory Surprises
Try it as a glaze for roasted pork tenderloin or grilled chicken. The sweetness caramelizes beautifully under heat. I brush it on during the last 10 minutes of cooking for a sticky, flavorful crust. 💫
It also works wonderfully in a BBQ sauce blend with ketchup and spices.
Beverage Matches
Pair with earl grey tea for afternoon treats—the bergamot notes complement the pear. For cocktails, use in a whiskey sour or champagne cocktail for a fruity twist. The jelly dissolves beautifully in warm beverages.
Nutrition Facts
Frequently Asked Questions
Why does this jelly set without pectin?
Natural pectin in ripe pears combines with acidity from lemon juice to create the gel. Cooking concentrates these elements, allowing the jelly to thicken naturally.
How long does homemade jelly last?
Unopened jars keep for 1 year in a cool, dark place. Once opened, store in the fridge and use within 3 months for best quality.
Can I reduce the sugar amount?
No, sugar is essential for both preservation and setting. Reducing it may result in a runny product that doesn’t store well.
What if my jelly doesn’t set?
Reheat and cook longer, or add more lemon juice to boost acidity. Test with the cold plate method before re-jarring.

- Potato Candy Recipe 1933: Vintage Peanut Butter Roll Delight - October 30, 2026
- Potato Chip Cookie Recipe With Pecans: Buttery Crunch Meets Nutty Richness - October 30, 2026
- Potato Patty Recipe No Egg: Crispy Edges Without the Binder - October 30, 2026