
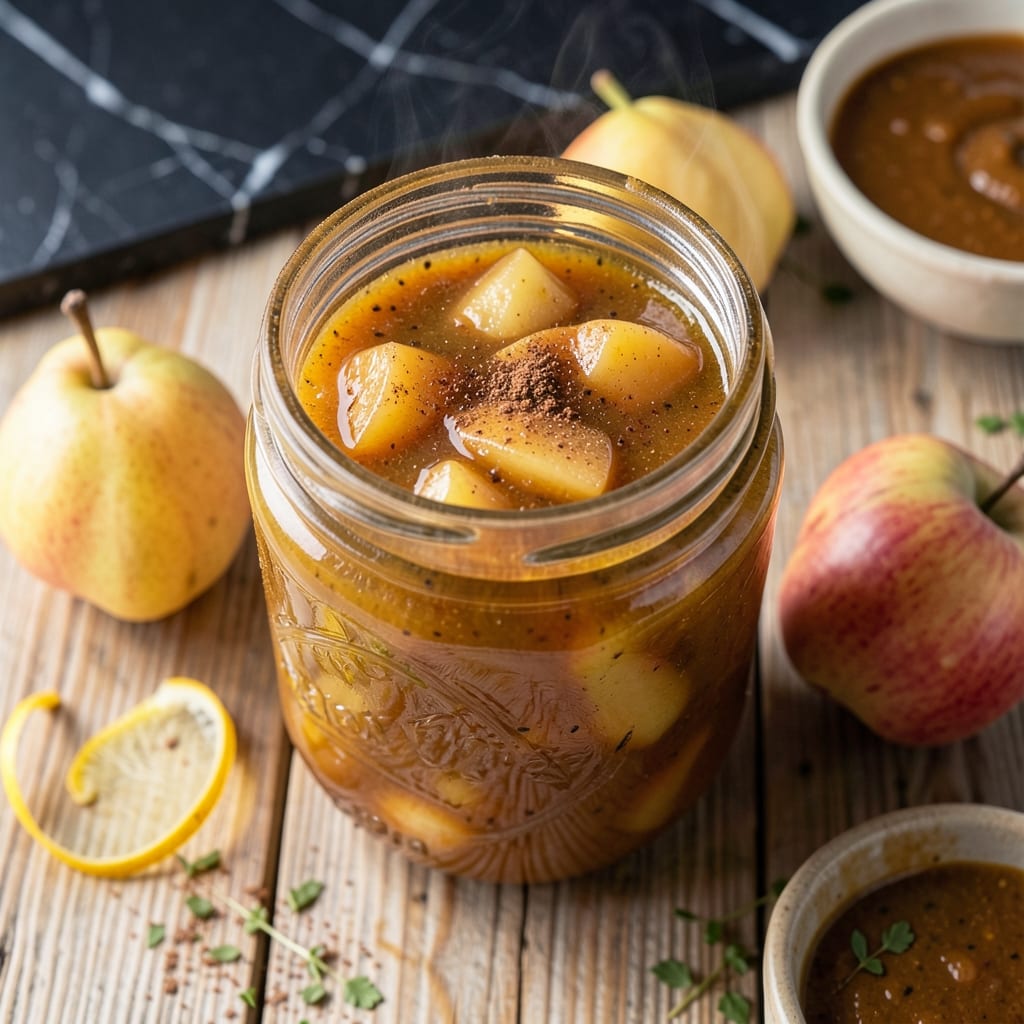
There’s something deeply satisfying about preserving summer’s bounty in jars you can enjoy all year long. This pear sauce captures the natural sweetness of ripe pears at their peak, transforming them into a smooth, versatile condiment that brightens up any meal.
The process is simpler than you might think—just pears, a touch of lemon juice, and proper canning techniques. I’ve refined this method over years of testing to ensure both safety and flavor. The result is a sauce that’s perfectly balanced, with just the right consistency for spreading or topping.
What you’ll love most is how this sauce retains the fresh, vibrant taste of summer pears. It’s ideal for pairing with meats, stirring into yogurt, or even enjoying straight from the jar. The canning process ensures it stays fresh and safe for months.
Follow these steps carefully, and you’ll have a pantry staple that tastes like summer in every spoonful.
Ingredients for Pear Sauce Recipe for Canning
Seven ingredients transform summer pears into a bright, canned sauce everyone loves.
| Ingredient | Amount | Notes |
|---|---|---|
| Ripe Pears 🍐 | 8 lb | Bartlett or Anjou, peeled and cored |
| Lemon Juice 🍋 | ½ cup | Freshly squeezed for brightness |
| Granulated Sugar 🍚 | ½ cup | Adjust to taste or omit |
| Water 💧 | 1 cup | To prevent browning during cooking |
| Ground Cinnamon 🌿 | 1 tsp | Optional for warmth |
| Vanilla Extract 🌾 | 1 tsp | Pure, for depth of flavor |
| Salt 🧂 | ¼ tsp | Fine sea salt preferred |
The pears are everything here. Bartlett or Anjou varieties have the right sweetness and texture—avoid Bosc, they’re too firm. Hit up your local farmers market for the ripest ones (they should yield slightly to pressure). If you’re buying in bulk, Costco often has great deals on pear seconds in late summer. Eight pounds sounds like a lot, but pears cook down significantly.
No fresh lemon juice? Bottled works in a pinch, but fresh tastes brighter. Skipping sugar? The pears are sweet enough on their own, especially if fully ripe. Out of cinnamon? Ground nutmeg or apple pie spice at half the amount works. The vanilla extract adds a subtle depth—imitation vanilla is fine, but pure tastes better. Water can be swapped for apple juice if you want extra sweetness.
This sauce keeps beautifully. Once canned, it’s shelf-stable for 12-18 months in a cool, dark place. Unopened jars are perfect for gifting. Once opened, refrigerate and use within 10 days (though it never lasts that long in my house).
Why You’ll Love This Recipe
- No-Peel Necessity: I just wash, core, and chop—no peeling pears saves so much time.
- Warm Spiced Sweetness: The cinnamon and sugar turn ripe pears into this cozy, naturally sweet sauce.
- Pantry Staple: I can this in batches and pull it out for holiday gifts or quick desserts all year.
- Budget-Friendly Batch: A bushel of pears is cheap in season, and this makes jars and jars for pennies.
Step-by-Step Instructions for Pear Sauce for Canning
The process is simple and rewarding—you’ll love how this preserves summer’s best flavors.
Step 1: Prep and Cook the Pears
Peel, core, and chop the 8 lb ripe pears into uniform chunks. As you work, toss them in a bowl with the 0.5 cup lemon juice and 1 cup water to prevent browning. This keeps the fruit looking fresh and vibrant.
Transfer the pears and all liquid to a large, heavy-bottomed pot. Add the 0.5 cup granulated sugar, 1 tsp ground cinnamon, 1 tsp vanilla extract, and 0.25 tsp salt. Stir well to combine. The liquid should just cover the pears—if not, add a splash more water.
Step 2: Simmer Until Soft and Saucy
Bring the mixture to a boil over medium-high heat, stirring occasionally. Once boiling, reduce the heat to medium-low and let it simmer uncovered for 30-40 minutes. You’ll notice the pears softening and breaking down into a chunky sauce.
Stir every 10 minutes or so to prevent sticking, especially as the mixture thickens. The sauce is ready when the pears are completely tender and mash easily with a spoon. If you prefer a smoother texture, use an immersion blender to purée it to your desired consistency.
Step 3: Sterilize Jars and Lids
While the sauce simmers, wash your canning jars and lids in hot, soapy water and rinse well. Place the jars on a baking sheet and put them in a 200°F oven for 10 minutes to sterilize. Keep the jars hot until you’re ready to fill them.
In a small saucepan, simmer the lids in water for 5 minutes to soften the sealing compound. This step ensures a proper seal and safe preservation. Never skip sterilization—it prevents spoilage and keeps your sauce safe for long-term storage.
Step 4: Fill Jars and Process for Shelf Stability
Ladle the hot sauce into the sterilized jars, leaving ½ inch headspace at the top. Wipe the rims with a clean, damp cloth to remove any residue, which could interfere with the seal. Place the lids on the jars and screw on the bands until fingertip-tight.
Process the jars in a boiling water bath for 20 minutes. Start the timer only once the water returns to a full boil. When done, carefully remove the jars and place them on a towel-lined countertop. You’ll hear the satisfying “pop” of the lids sealing as they cool.
Step 5: Cool and Store Your Preserved Sauce
Let the jars cool undisturbed for 12-24 hours. After cooling, check the seals by pressing on the center of each lid—it should not pop up. If any jars didn’t seal, refrigerate and use those within 2 weeks.
Store the sealed jars in a cool, dark place like a pantry. Properly canned pear sauce will keep for up to 1 year. Once opened, refrigerate and use within 1 week for the best flavor and freshness.
Pro Tips For Making Pear Sauce Recipe For Canning
- Peel After Cooking: Skip peeling raw pears—just core and quarter them, then simmer until soft. The skins slip right off after cooking, saving time and reducing waste.
- Use a Potato Masher: For a rustic texture, mash the cooked pears with a potato masher instead of blending. It’s faster, easier to clean, and gives the sauce a homier feel.
- Add Lemon Early: Toss pear chunks with lemon juice as soon as you cut them to prevent browning. I learned this the hard way after my first batch turned an unappetizing gray.
- Test Sugar First: Taste the pears before adding all the sugar—some varieties are sweeter than others. You can always add more, but you can’t take it out once it’s in.
Make-Ahead Tips for This Recipe
Batch Prep Efficiency
I always prep pears in multiple batches—8 lb fits perfectly in my 7-quart Dutch oven. Work in 2 lb increments to avoid overcrowding. This method keeps the cooking time consistent and prevents uneven softening. 💡
Jar Size Selection
For canning, I prefer pint jars—they’re perfect for gifting and single servings. Half-pints work for sample sizes, but pints give you 16 oz per jar. Don’t forget to account for the ½ inch headspace when filling.
Pre-Cooking Prep
Peel and core pears ahead, then toss with 0.5 cup lemon juice and 1 cup water in a large bowl. This prevents browning and keeps them fresh while you prep. I’ve found this step saves 20 minutes of active time during cooking.
Equipment Setup
Set up your canning station before cooking begins. Have jars sterilizing in the oven at 200°F, lids simmering on the stove, and your water bath canner ready. This workflow ensures everything moves smoothly when the sauce is ready. ⏰
Double Batch Tips
Want to make 16 lb instead? Double all ingredients but cook in two separate pots for even heat distribution. I use two burners and merge batches at the end. This scales beautifully while maintaining quality.
Storage Timeline
After processing, let jars cool 12-24 hours undisturbed. Once sealed, store in a cool, dark pantry. The sauce tastes best after 4-6 weeks as flavors meld, but it’s safe for up to 1 year. 🥫
Nutrition Facts
Frequently Asked Questions
Do I need to add sugar?
No, you can omit it entirely! Ripe pears are naturally sweet. The 0.5 cup in the recipe is optional for those who prefer a sweeter sauce.
How do I know when the sauce is ready for canning?
It should be thick enough to coat the back of a spoon. If it’s too thin, simmer for 5-10 more minutes. If too thick, add a little water.
What if my jars don’t seal?
Refrigerate unsealed jars and use within 2 weeks. To prevent this, ensure rims are clean and lids are properly prepped before processing.
Can I use a pressure canner instead?
Yes, but it’s unnecessary for high-acid foods like pear sauce. A boiling water bath for 20 minutes is sufficient and safer for beginners.

- Pina Colada Dip Recipe Red Lobster: Tropical Creaminess With Toasted Coconut - October 12, 2026
- Pickled Sweet Cherry Peppers Recipe Canning: Tangy Heat for Pantry Staples - October 12, 2026
- Peppercorn Sauce Recipe Vegan: Rich Umami Depth Without Cream - October 12, 2026