
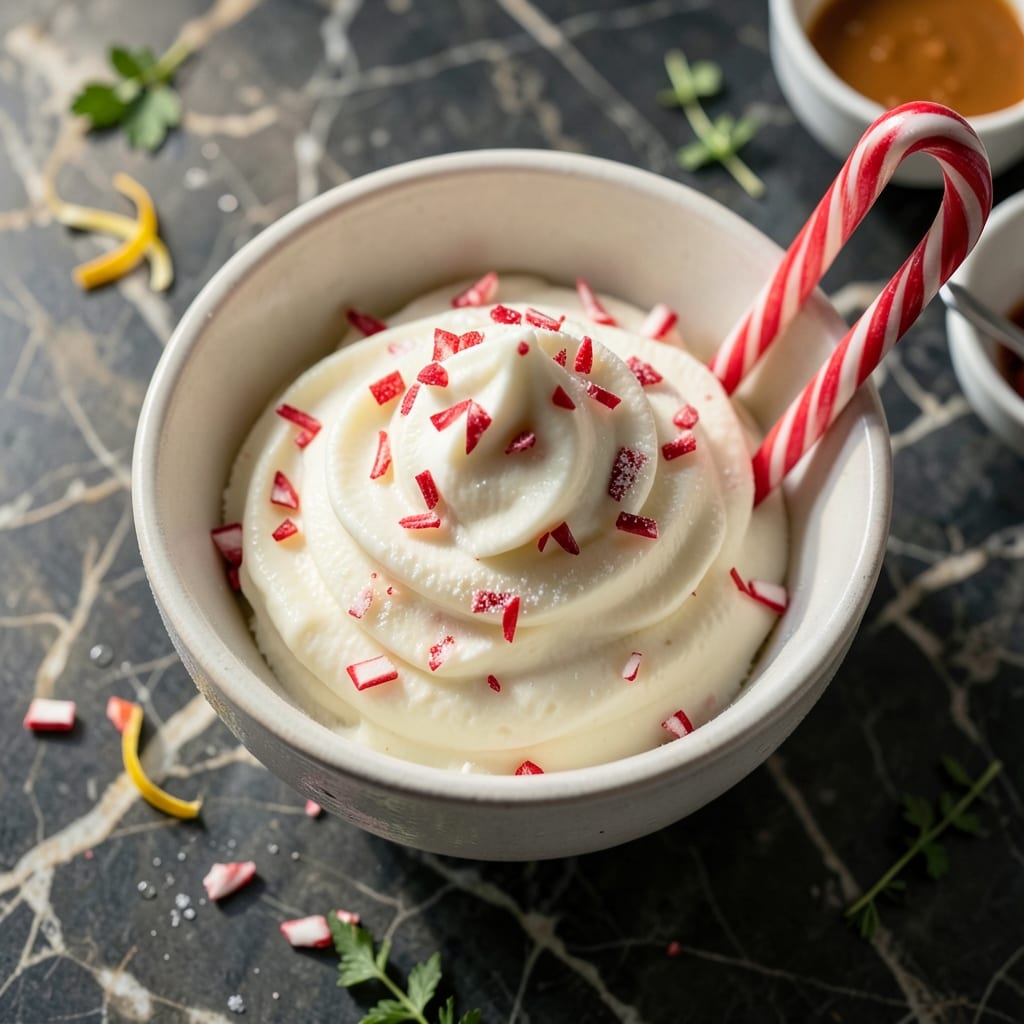
This egg-free peppermint ice cream delivers the perfect holiday treat with a smooth, creamy texture that rivals traditional versions. The secret lies in a simple base that requires no cooking and no eggs.
By using heavy cream and whole milk with a touch of vanilla, we create a rich foundation that lets the peppermint flavor shine. The crushed candy canes add that signature crunch and festive color without overpowering the delicate mint taste.
What you’ll get is a cool, creamy dessert that’s ready in under 30 minutes of prep time, plus freezing. It’s the ideal make-ahead treat for gatherings or a quiet evening by the fire.
Serve with extra candy cane pieces or a drizzle of chocolate for a truly festive presentation. This recipe proves you don’t need eggs to achieve professional-quality ice cream.
Ingredients for Peppermint Ice Cream Recipe Without Eggs
Nine simple ingredients for that cool, creamy holiday dessert everyone will love.
| Ingredient | Amount | Notes |
|---|---|---|
| Heavy Cream 🥛 | 2 cups | Cold, full-fat for richness |
| Whole Milk 🥛 | 1 cup | Cold, full-fat preferred |
| Granulated Sugar 🍚 | ¾ cup | Fine white sugar works best |
| Pure Vanilla Extract 🌿 | 1 tsp | Real vanilla, not imitation |
| Peppermint Extract 🌿 | 1 tsp | Pure extract, not oil |
| Salt 🧂 | ¼ tsp | Fine sea salt preferred |
| Candy Canes 🍬 | 6 whole | Crushed into small pieces |
| Red Food Coloring 🎨 | 4 drops | Optional for pink hue |
| Dark Chocolate Bar 🍫 | 2 oz | For optional drizzle |
The dairy base is everything here. Whole Foods and Trader Joe’s have great organic heavy cream and whole milk—look for vibrant dates on the carton (fresher is better). I always grab the store brand at Costco for bigger batches. The sugar should dissolve completely, so fine granulated is key. For the candy canes, Brachs or Bob’s Candy Canes crush up nicely (just avoid the tiny ones).
No peppermint extract? One-fourth teaspoon of peppermint oil works but use sparingly—it’s potent. Swap whole milk for half-and-half if you want it extra rich. The food coloring is optional (skip for white peppermint), but if using, gel-based works better than liquid. Candy cane shortage? Peppermint candies or crushed starlight mints do the trick. Always taste before freezing—adjust mint to preference.
The base keeps in the fridge for 24 hours before churning. Once churned, store airtight for up to 1 week (if it lasts that long). Freeze in portions for up to 3 months. Let sit at room temp for 5 minutes before scooping for easiest serving.
Why You’ll Love This Recipe
- No Churn Needed: I just mix, chill, and freeze—no eggs, no tempering, no fuss.
- Cool Freshness: The peppermint extract gives that crisp, candy-cane snap without being overpowering.
- Holiday Ready: Between us, this is my go-to for Christmas cookie swaps and winter potlucks.
- Leaves Leftovers: Honestly, it keeps beautifully in the freezer for up to a month, so I can make a double batch.
Step-by-Step Instructions for Peppermint Ice Cream Without Eggs
This no-churn method delivers silky texture and festive flavor without the fuss of custard.
Step 1: Infuse the Cream and Milk
In a large bowl, combine the 2 cups Heavy Cream and 1 cup Whole Milk. I always use full-fat for that ultra-luxurious mouthfeel. Whisk in the 0.75 cup Granulated Sugar until completely dissolved—you shouldn’t feel any grit when you rub the mixture between your fingers.
Add the 1 tsp Pure Vanilla Extract, 1 tsp Peppermint Extract, and 0.25 tsp Salt. Here’s the thing—the peppermint extract is potent, so resist the urge to add more. Stir in the 4 drops Red Food Coloring if you want that signature holiday pink hue.
Step 2: Crush and Incorporate the Candy Canes
Place the 6 whole Candy Canes in a sealed plastic bag and crush them with a rolling pin into small, irregular pieces—some fine dust, some slightly larger bits. This texture contrast is key. You want about ½ cup of crushed candy total.
Fold the crushed candy canes into the cream mixture gently but thoroughly. Don’t overmix to the point where the pink streaks disappear entirely—those swirls add visual appeal. Let the mixture sit for 5 minutes so the candy canes begin to soften slightly and infuse their flavor.
Step 3: Chill the Base to Perfection
Cover the bowl tightly and refrigerate for at least 4 hours, though overnight is even better. This chilling step is non-negotiable—it ensures your ice cream base is cold enough to freeze properly without forming large ice crystals.
I know it’s hard to wait, but this is the moment that matters: the colder the base, the creamier the final texture. You’ll know it’s ready when the mixture is completely chilled and slightly thickened, with the candy cane bits evenly distributed throughout.
Step 4: Churn or Freeze for Creamy Results
Pour the chilled base into your ice cream maker and churn according to the manufacturer’s instructions, typically 20-25 minutes. The mixture should look like soft-serve when it’s ready.
If you don’t have an ice cream maker, pour the base into a shallow, freezer-safe container and freeze. Every 30 minutes for the first 2 hours, vigorously stir the mixture with a fork to break up ice crystals. This manual method works, though the texture won’t be quite as smooth as churned.
Step 5: Add Chocolate Drizzle and Set
Transfer the ice cream to a lidded container. If using, melt the 2 oz Dark Chocolate Bar and drizzle it over the top in thin, even lines. Use a knife to gently swirl the chocolate into the ice cream for a marbled effect.
Cover with parchment paper pressed directly onto the surface—this prevents ice crystals from forming. Freeze for at least 4 hours until firm. The finished ice cream should be scoopable with a creamy, dense texture and visible ribbons of pink and chocolate throughout.
Pro Tips For Making Peppermint Ice Cream Recipe Without Eggs
- Chill the Base: Always refrigerate your cream-milk-sugar mixture for at least 4 hours before churning—I learned this the hard way after ending up with soupy ice cream that refused to set.
- Use Real Extracts: Skip the imitation stuff; pure vanilla and peppermint extracts make a real difference in flavor depth, especially since there are no eggs to mask cheap ingredients.
- Watch the Sugar: Dissolve the granulated sugar completely in the warm milk first—undissolved grains will give your ice cream an unpleasant gritty texture.
- Add Extracts Last: Stir in the peppermint and vanilla extracts after the base has cooled slightly; high heat can dull their flavors, and I’ve ruined batches by adding them too early.
Essential Equipment for Perfect Results
Ice Cream Maker
An ice cream maker is essential for achieving that ultra-smooth texture. I use my Cuisinart ICE-21—it’s affordable, reliable, and makes 1.5 quarts at a time. The bowl needs to freeze for 24 hours before churning, so plan ahead. 💡
Mixing Bowls
Use a large stainless steel mixing bowl for combining ingredients. I prefer stainless steel because it chills quickly and won’t absorb odors. A 4-quart bowl gives plenty of room for whisking without spills.
Whisk and Spatula
A sturdy balloon whisk helps dissolve the sugar completely into the cream. For folding in candy canes, a silicone spatula scraps every last bit from the bowl. I keep both from OXO in my kitchen.
Air-Tight Containers
Store your finished ice cream in airtight containers to prevent freezer burn. I use glass Pyrex containers with locking lids—they’re durable and let me see the pretty pink swirls. Leave ½-inch headspace for expansion. ❄️
Rolling Pin
Crush candy canes easily with a heavy rolling pin. Place them in a sealed bag and roll firmly. A French rolling pin gives you the best control for consistent pieces.
Fine Mesh Sieve
If you prefer ultra-fine candy cane bits, pulse them in a food processor, then sift through a fine mesh sieve. This creates a snow-like texture that blends beautifully into the ice cream.
Nutrition Facts
Frequently Asked Questions
Can I make this without an ice cream maker?
Yes! Freeze the base in a shallow container and stir vigorously with a fork every 30 minutes for 2 hours. The texture won’t be quite as smooth, but it’s still delicious.
Why is my ice cream icy?
This usually means the base wasn’t cold enough before freezing. Ensure it chills in the fridge for at least 4 hours, and avoid temperature fluctuations during freezing.
Can I use peppermint oil instead of extract?
Yes, but use sparingly—¼ teaspoon of oil equals 1 teaspoon of extract. Peppermint oil is much more concentrated and can overpower the mix.
How long can I store the finished ice cream?
It stays fresh in an airtight container for up to 1 week in the freezer. For longer storage, freeze in portions for up to 3 months.

- Pina Colada Dip Recipe Red Lobster: Tropical Creaminess With Toasted Coconut - October 12, 2026
- Pickled Sweet Cherry Peppers Recipe Canning: Tangy Heat for Pantry Staples - October 12, 2026
- Peppercorn Sauce Recipe Vegan: Rich Umami Depth Without Cream - October 12, 2026