
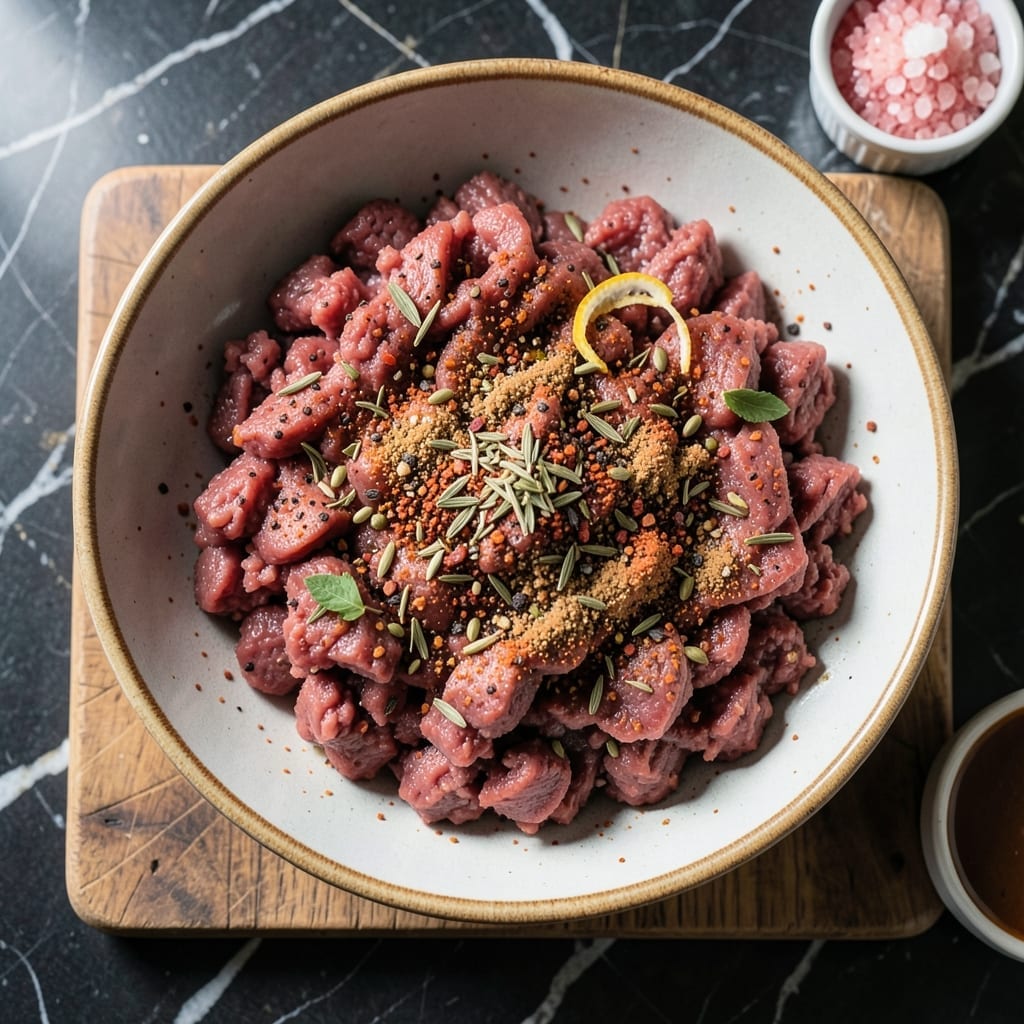
Making pepperoni at home transforms your pizza night into a gourmet experience. This recipe delivers authentic flavor with a perfect balance of spice and cure.
The process requires patience, as the meat needs time to develop its signature taste and texture. I’ve refined this method to ensure consistent results without specialized equipment.
What you’ll achieve is thinly sliced, spicy cured sausage that crispens beautifully on homemade pizzas. The aroma alone will elevate your kitchen to pizzeria status.
Each bite offers that familiar tangy kick with just the right amount of heat. This is homemade pepperoni worth the effort.
Ingredients for Pepperoni
A few quality ingredients and some patience yield authentic spicy cured sausage for pizzas.
| Ingredient | Amount | Notes |
|---|---|---|
| Ground Pork 🐷 | 2 lb | 80% lean, 20% fat ratio |
| Ground Beef 🥩 | 1 lb | 80% lean, 20% fat ratio |
| Kosher Salt 🧂 | ¼ cup | Diamond Crystal preferred |
| Curing Salt No. 1 🧂 | 1 tsp | Prague Powder or pink salt |
| Black Pepper 🌶️ | 2 tsp | Freshly ground, coarse |
| Paprika 🌶️ | 2 tbsp | Sweet or smoked variety |
| Fennel Seeds 🌿 | 2 tsp | Lightly crushed |
| Red Pepper Flakes 🌶️ | 1 tbsp | Adjust for heat preference |
| Garlic Powder 🧄 | 1 tbsp | Not garlic salt |
| Dried Oregano 🍃 | 1 tbsp | Mediterranean variety |
| Cayenne Pepper 🔥 | ½ tsp | Optional for extra heat |
| White Wine 🍷 | ¼ cup | Dry variety, chilled |
| Distilled Water 💧 | ¼ cup | Ice cold for mixing |
| Non-Fat Dry Milk 🥛 | ¼ cup | For binding and texture |
| Natural Hog Casings 🌭 | 4 pieces | Soaked in water |
The meat blend is everything. Ground pork and beef at 80/20 fat ratio give that classic pepperoni texture—too lean and it’ll dry out, too fatty and it won’t hold shape. I grab mine from Whole Foods or a trusted local butcher. The curing salt (Prague Powder #1) is non-negotiable—do not substitute regular salt. It’s what keeps the meat safe during the curing process and gives pepperoni its signature color.
No hog casings? Collagen casings work in a pinch, though they’re a bit easier to burst. Skip the fennel? Anise seeds can stand in, but the flavor’s slightly different. Out of white wine? Dry vermouth or even apple cider vinegar (at half the amount) will do. The red pepper flakes are where you control the heat—add more for extra kick or dial it back for milder flavor.
The raw mixture keeps in the fridge for 2-3 days before stuffing, but once cured, it’s good for 2-3 weeks in the fridge or 3 months frozen. Vacuum-seal for longer storage. Slice thin for crispy pizza topping, or leave thicker for snacking.
Why You’ll Love This Recipe
- Weeknight Simple: I just mix the ground pork and beef with the salts and pepper, then let it rest—no fancy steps.
- Ridiculously Good: That combo of curing salt and black pepper gives it that classic pepperoni punch I crave.
- Snack or Dinner: Slice it thin for pizza topping or serve thick cuts with crackers and cheese.
- Stretches Far: One batch makes enough to stock the freezer, so I’m never without. Honestly, it’s my secret for last-minute meals.
Step-by-Step Instructions for Homemade Pepperoni
This method delivers authentic flavor and texture right in your own kitchen.
Step 1: Mix the Spice Blend and Cure the Meat
In a small bowl, combine the 0.25 cup Kosher Salt, 1 tsp Curing Salt No. 1, 2 tsp Black Pepper, 2 tbsp Paprika, 2 tsp Fennel Seeds, 1 tbsp Red Pepper Flakes, 1 tbsp Garlic Powder, 1 tbsp Dried Oregano, and 0.5 tsp Cayenne Pepper. This blend creates that signature pepperoni spice profile.
In a large mixing bowl, add the 2 lb Ground Pork and 1 lb Ground Beef. Sprinkle the spice mixture evenly over the meat. I like to let this sit for 10 minutes so the curing salt can start working before mixing.
Step 2: Incorporate Liquids for Binding and Flavor
Pour the 0.25 cup White Wine, 0.25 cup Distilled Water, and 0.25 cup Non-Fat Dry Milk over the seasoned meat. The dry milk adds a subtle sweetness and helps bind the mixture, while the wine deepens the flavor complexity.
Using your hands, mix everything thoroughly for 3-5 minutes until the mixture becomes sticky and uniform in color. You want to develop the myofibrillar proteins for proper binding. The meat should feel slightly tacky—this indicates the proteins are activating correctly.
Step 3: Stuff the Casings and Form the Sausage
Soak the 4 pieces Natural Hog Casings in warm water for 30 minutes to make them pliable. Rinse them under cool water and slide them onto your sausage stuffer tube, tying a knot at the end.
Slowly feed the meat mixture into the casings, being careful not to overstuff. Twist into 12-inch links as you go, leaving a bit of space between each for tying. Don’t rush this—even pressure prevents air pockets that can spoil the cure.
Step 4: Cure and Dry for Optimal Flavor and Texture
Hang the sausages in a cool, dry place (55-60°F) with good air circulation. Let them dry for 24 hours to develop the initial cure. You’ll notice the casings start to tighten and darken slightly.
After the initial drying, transfer to your curing chamber or refrigerator. Maintain 55°F and 70% humidity for 4-6 weeks for full flavor development. The pepperoni is ready when it’s firm to the touch and has that characteristic deep red color with a slightly wrinkled casing.
Pro Tips For Making Pepperoni
- Chill the Fat: Pop your ground pork and beef in the freezer for 20 minutes before mixing—I learned this the hard way after my first batch turned to greasy mush because the fat warmed up too fast.
- Measure Curing Salt: Use a digital scale for the curing salt No. 1; even 0.1g over can make the pepperoni unsafe, and I was skeptical until I tried it and tasted the difference in flavor balance.
- Skip the Overmixing: Mix just until the ingredients come together, about 1-2 minutes max—after my third batch turned tough, I finally realized I was working the meat like bread dough.
- Rest Before Smoking: Let the pepperoni rest in the fridge for 24 hours after stuffing; sounds weird, but it works to firm up the casings and deepen the flavor before the smoke even hits it.
Flavor Customization for These Flavors
Spice Level Adjustments
For milder pepperoni, reduce the red pepper flakes to 1 tsp and omit the cayenne. I often do this for kids’ pizzas. 🌶️
Sweet Pepperoni Twist
Add 1 tbsp brown sugar to the spice mix for a sweeter profile. This pairs beautifully with the fennel seeds and creates a caramelized edge when baked.
I love this variation on breakfast pizzas with eggs.
Smoky Depth
Swap smoked paprika for regular and add ½ tsp liquid smoke to the wet ingredients. This mimics commercial pepperoni’s depth.
Use sparingly—too much can overpower the meat.
Herb Variations
Replace oregano with 1 tbsp dried thyme for a French-inspired twist. Or try rosemary for piney notes.
Fresh herbs don’t work here—they’ll spoil during curing.
Fat Ratio Tweaks
For juicier pepperoni, increase fat to 25% in your meat blend. For crispier results, drop to 15%. 💡
I prefer 20% as the perfect middle ground.
Nutrition Facts
Frequently Asked Questions
Do I need special equipment to make this?
A sausage stuffer and kitchen scale are essential for even results. A meat grinder helps if starting with whole cuts.
How long does homemade cured sausage last?
Properly cured and stored, it keeps for 2-3 weeks refrigerated or 3 months frozen. Vacuum-sealing extends freshness.
Why is my pepperoni turning green?
This harmless oxidation occurs during curing. It’s normal and doesn’t affect safety or taste.
Can I skip the curing salt?
Never. Curing Salt No. 1 prevents botulism and ensures safe preservation. There are no safe substitutes.

- Beef Cutlet Recipe Ideas: Crispy Breaded Patties With Bold Seasonings - September 28, 2026
- Bluefin Tuna Recipe Ideas: Sushi-Grade Seared and Sesame-Crusted - September 28, 2026
- Blue Zone Recipe Ideas: Longevity-Boosting Meals for Vibrant Living - September 28, 2026