
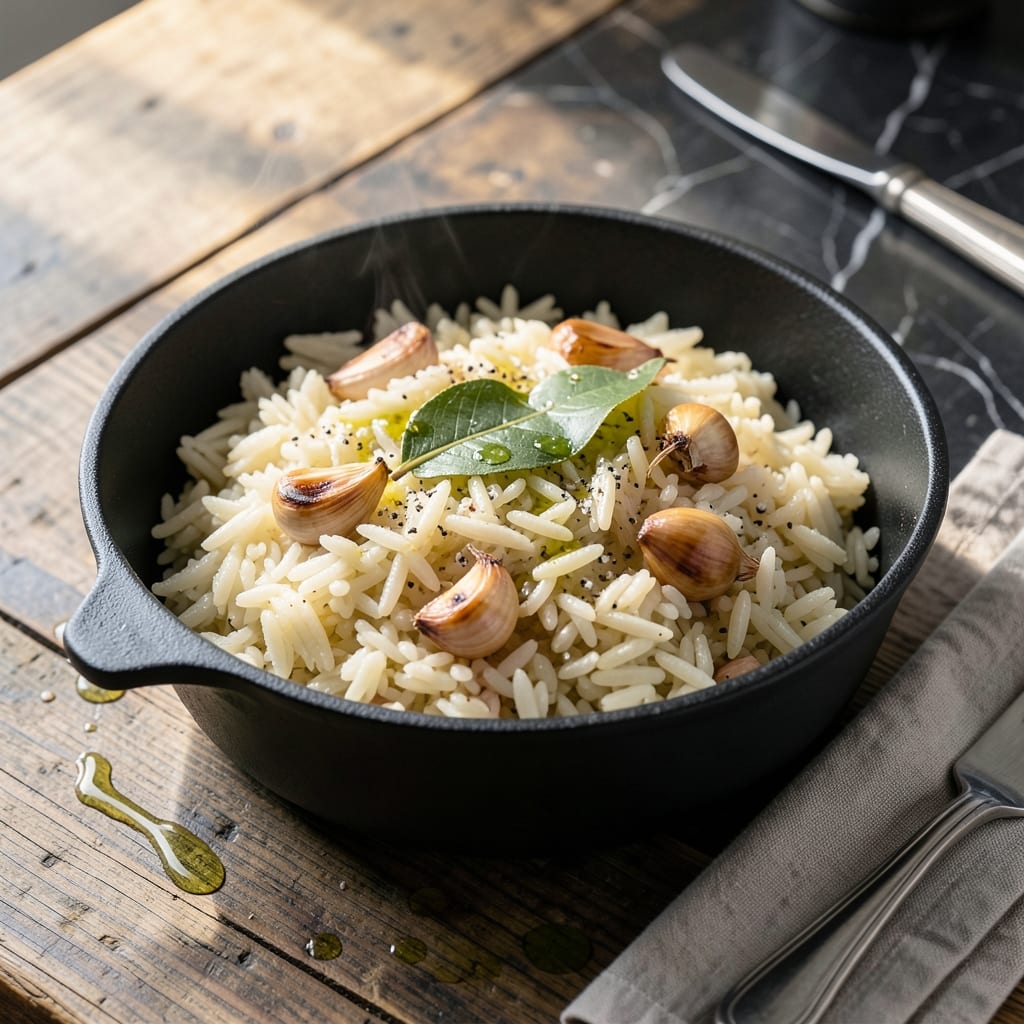
Mastering stovetop rice requires precision, not luck. This no fail technique delivers fluffy grains every time.
Standing beside my grandmother in Sicily, I learned the exact water-to-rice ratio and timing that transforms basic ingredients into perfect rice. The method is simple yet foolproof.
With the right heat control and resting period, you’ll achieve rice that’s tender, separate, and never mushy. No special equipment needed.
This is the foundation for countless meals, from simple sides to elaborate entrees. Follow these steps for consistent results.
Ingredients for Perfect Rice Recipe Stovetop
Seven simple ingredients transform into tender, separate grains with precise technique.
| Ingredient | Amount | Notes |
|---|---|---|
| Long-Grain White Rice 🌾 | 2 cups | Rinsed until water runs clear |
| Water 💧 | 4 cups | Filtered or spring preferred |
| Kosher Salt 🧂 | 1 tsp | Diamond Crystal or Morton |
| Extra-Virgin Olive Oil 🫒 | 1 tbsp | Optional for richness |
| Garlic Cloves 🧄 | 2 cloves | Minced, optional for flavor |
| Bay Leaf 🍃 | 1 whole | Optional for aroma |
| Fresh Parsley 🌿 | 2 tbsp | Chopped, for garnish |
| Lemon Zest 🍋 | 1 tsp | Optional bright finish |
The rice selection is critical. Long-grain white rice like jasmine or basmati yields the fluffiest results—avoid short-grain varieties (they turn sticky). Rinsing is non-negotiable; it removes excess starch that causes gumminess. I prefer Lundberg or Carolina brands for consistent quality. Water should be measured precisely—use a liquid measuring cup for accuracy, not a dry one.
No long-grain rice? Basmati or jasmine work equally well. For extra flavor, toast the rice in olive oil before adding water. Short on time? Instant rice (though less ideal) can be used with reduced water and cooking time. The bay leaf and garlic are optional but add depth—skip the salt if using pre-salted broth instead of water.
Cooked rice keeps 4-5 days refrigerated in an airtight container. For longer storage, freeze in portions for up to 6 months. Reheat with a splash of water in the microwave (covered) or stovetop with a damp towel over the pot to prevent drying.
Why You’ll Love This Recipe
- One Pot Wonder: I love that everything cooks in a single pot—just rice, water, garlic, and a drizzle of olive oil.
- Garlic Infused: The olive oil and garlic cloves give the rice a rich, savory depth that plain rice just can’t match.
- Meal Prep Hero: It’s my go-to for batch cooking—reheats beautifully and pairs with almost anything.
- Budget Stretch: A pound of long-grain rice costs pennies and feeds my family for days with zero waste.
Step-by-Step Instructions for Perfect Rice on the Stovetop
Master this method and you’ll achieve consistently fluffy, separate grains with every batch.
Step 1: Rinse and Prepare the Rice
Place the 2 cups long-grain white rice in a fine-mesh strainer and rinse under cold water until the water runs completely clear. This step removes excess starch that would otherwise make the rice gummy. I always swirl the rice with my hand to help release the starch more effectively.
While the rice drains, mince the 2 cloves garlic cloves if using. This aromatic addition elevates the flavor profile without overpowering. Have all your ingredients measured and ready—4 cups water, 1 tsp kosher salt, 1 tbsp extra-virgin olive oil, 1 whole bay leaf, 2 tbsp fresh parsley, and 1 tsp lemon zest—as the rice cooks quickly once started.
Step 2: Toast the Rice for Enhanced Flavor
In a heavy-bottomed pot with a tight-fitting lid, heat the 1 tbsp extra-virgin olive oil over medium heat. Add the drained rice and stir to coat each grain with the oil. Toast the rice for 2-3 minutes, stirring constantly, until it becomes slightly translucent at the edges and gives off a nutty aroma.
This toasting step is crucial—it deepens the flavor and ensures the grains remain separate. Add the minced garlic cloves and 1 whole bay leaf during the last 30 seconds of toasting to bloom their aromas without burning them. The garlic should sizzle gently but not brown.
Step 3: Add Liquid and Simmer to Perfection
Pour in the 4 cups water and add the 1 tsp kosher salt. Stir once to distribute the rice evenly, then stop stirring—this prevents the rice from releasing more starch. Bring the mixture to a full, rolling boil over high heat. You’ll see large, vigorous bubbles breaking the surface consistently.
Once boiling, immediately reduce the heat to low, cover the pot with its lid, and let it simmer undisturbed for 15 minutes. Resist the urge to lift the lid—steam is your ally here, and releasing it disrupts the cooking process. The rice should absorb all the liquid and become tender without turning mushy.
Step 4: Rest and Fluff for Optimal Texture
After 15 minutes, turn off the heat and let the rice rest, covered, for an additional 10 minutes. This resting period allows the grains to steam gently, ensuring even cooking throughout. The rice will finish absorbing any remaining moisture and become perfectly fluffy.
Remove the bay leaf and discard it. Gently fluff the rice with a fork, lifting from the bottom to separate the grains. Avoid using a spoon, as it can compress the rice and make it dense. The grains should be light, separate, and free from any crust on the bottom of the pot.
Step 5: Garnish and Serve Immediately
Transfer the rice to a serving dish and garnish with the 2 tbsp fresh parsley and 1 tsp lemon zest if using. The parsley adds a fresh, vibrant note, while the lemon zest provides a bright, citrusy finish that cuts through the richness of the rice.
Serve immediately while hot. The texture should be light and airy, with each grain distinct yet tender. If you notice any moisture pooling at the bottom of the serving dish, it means the rice needs a bit more resting time next batch—adjust accordingly.
Pro Tips For Making Perfect Rice Recipe Stovetop
- Boil Then Simmer: Start with a rolling boil, then immediately reduce to the lowest simmer—any higher and the water evaporates too fast, leaving undercooked rice.
- Rinse the Rice: I learned this the hard way—rinsing removes excess starch so your grains stay separate, not gummy.
- Skip the Peeking: Resist the urge to lift the lid while cooking—steam is what finishes the rice, and every peek adds 5 minutes.
- Toast the Garlic: Sauté the minced garlic in olive oil for 30 seconds before adding water—sounds simple, but it adds depth you can’t get otherwise.
Common Mistakes When Making perfect rice recipe stovetop
Skipping the Rinse
I see many home cooks skip rinsing their long-grain white rice, but this is a critical mistake. Unrinsed rice contains excess starch that turns your pot into a gummy disaster. Always rinse until the water runs completely clear—this takes about 3-4 changes of water in my experience. 💡
Incorrect Water Ratio
Using the wrong water-to-rice ratio guarantees either mushy or undercooked results. The perfect ratio is 2 cups water for every 1 cup rice. Measure precisely with a liquid measuring cup, and remember that 1 cup rice yields about 3 cups cooked.
Peeking While Cooking
Lifting the lid during cooking releases precious steam and disrupts the cooking process. Once you cover the pot after bringing to a boil, resist the urge to peek for the full 15 minutes. Trust the process—your patience will be rewarded with perfectly fluffy grains.
Stirring After Boiling
Stirring the rice after it starts boiling breaks the grains and releases more starch, leading to a sticky mess. Stir once to distribute the rice when you first add the water, then leave it completely undisturbed until the cooking time is complete.
Rushing the Rest
The resting period is just as important as the cooking time. After turning off the heat, let the rice sit covered for 10 minutes. This allows the grains to finish steaming and absorb any remaining moisture. Skipping this step often results in undercooked or unevenly cooked rice.
Using the Wrong Pot
A heavy-bottomed pot with a tight-fitting lid is essential for even heat distribution and proper steam retention. Thin pots can cause hot spots that burn the rice, while loose lids allow too much steam to escape. I recommend a 3-quart enameled cast iron pot for best results. 🔥
Nutrition Facts
Frequently Asked Questions
Why do I need to rinse the rice first?
Rinsing removes excess starch that would make the grains sticky. Continue until the water runs completely clear, usually 3-4 changes of water. This simple step ensures fluffy, separate grains every time.
What’s the ideal water-to-rice ratio?
Use 2 cups water for every 1 cup rice. Measure precisely with a liquid measuring cup for accuracy. This ratio guarantees perfectly tender grains without mushiness.
Can I use a different type of rice?
Basmati or jasmine work equally well as substitutes. Avoid short-grain varieties, as they tend to turn sticky. Adjust water slightly if needed, but keep the 15-minute simmer time consistent.
How do I fix undercooked rice?
If grains are still firm, add 2-3 tablespoons of water, cover, and steam for an additional 5 minutes. Let it rest again before checking. Avoid stirring, as this can break the grains.

- Pina Colada Dip Recipe Red Lobster: Tropical Creaminess With Toasted Coconut - October 12, 2026
- Pickled Sweet Cherry Peppers Recipe Canning: Tangy Heat for Pantry Staples - October 12, 2026
- Peppercorn Sauce Recipe Vegan: Rich Umami Depth Without Cream - October 12, 2026