
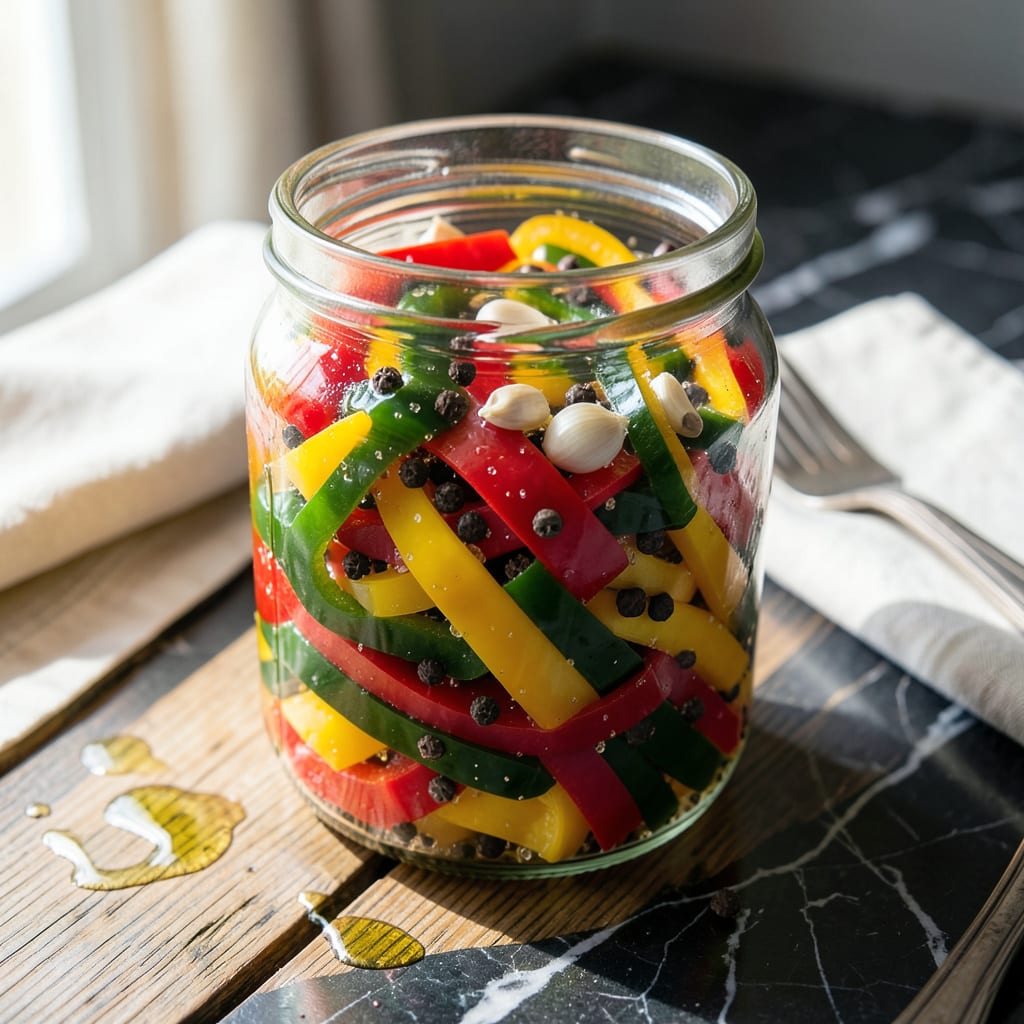
These pickled bell peppers bring bright, tangy flavor and satisfying crunch to any meal. The simple brine of vinegar, sugar, and salt preserves their crisp texture while adding zesty depth.
Perfect for sandwiches, antipasto platters, or snacking straight from the jar. They keep for weeks in the fridge and taste even better as the flavors meld.
Ingredients for Pickled Bell Peppers
Bright, crisp, and tangy—these pickled peppers come together with a simple brine.
| Ingredient | Amount | Notes |
|---|---|---|
| Bell Peppers 🌶️ | 2 lb | Assorted colors, sliced into strips |
| White Vinegar 💧 | 2 cups | 5% acidity preferred |
| Water 💧 | 1 cup | Filtered for best flavor |
| Granulated Sugar 🍚 | 2 tbsp | Adjust for sweetness preference |
| Kosher Salt 🧂 | 1 tbsp | Non-iodized preferred |
| Garlic Cloves 🧄 | 4 cloves | Peeled and smashed |
| Black Peppercorns 🌶️ | 1 tsp | Whole, for brine infusion |
| Mustard Seeds 🌿 | 1 tsp | Yellow or brown variety |
| Dried Red Pepper Flakes 🔥 | ½ tsp | Optional for heat |
The peppers are everything here. Farmers market bell peppers give the best crunch and color variety (red, yellow, orange). Look for firm, glossy skins with no soft spots. I grab mine from Whole Foods when farmer’s markets aren’t an option—their organic section is reliable. Slice them into even strips so they pickle uniformly. The vinegar? Distilled white vinegar is classic, but apple cider vinegar works too (just expect a slight color shift).
No kosher salt? Sea salt or pickling salt at the same amount. Want it sweeter? Add an extra tablespoon of sugar or swap in honey (but skip the honey for strict vegan). The garlic can be thinly sliced instead of smashed if you prefer a milder flavor. No mustard seeds? Coriander seeds or celery seeds add a similar depth. The red pepper flakes are totally optional—leave them out for a milder pickle.
These keep beautifully in the fridge for 3-4 weeks. Store in clean, airtight jars (mason jars are perfect). The flavors deepen over time, so wait at least 24 hours before digging in. Great for sandwiches, salads, or straight from the jar.
Why You’ll Love This Recipe
- No-Fuss Prep: I just slice the peppers, mix the vinegar, sugar and salt with water, and let them sit—no cooking required.
- Bright Tangy Crunch: The vinegar and sugar balance gives that sweet-sharp pop that makes every bite irresistible.
- Endless Uses: I toss them in sandwiches, salads, or straight from the jar as a snack.
- Pantry Staples: Bell peppers and basic pantry ingredients mean I can make these anytime without a special grocery trip.
Step-by-Step Instructions for Pickled Bell Peppers
This straightforward method ensures crisp, tangy peppers that keep their vibrant color and snap.
Step 1: Prepare the Bell Peppers
Rinse the 2 lb Bell Peppers under cold water and pat them completely dry. Remove the stems, seeds, and any white membrane from the interior. I find it easiest to quarter them lengthwise first, then slice into uniform ¼-inch strips.
The size matters—too thick and they won’t absorb the brine properly; too thin and they’ll lose their crunch. Aim for even pieces so every bite delivers that perfect pickled texture. Pack the strips into clean, heatproof jars or containers, leaving about ½ inch of headspace at the top.
Step 2: Create the Pickling Brine
In a medium saucepan, combine the 2 cups White Vinegar, 1 cup Water, 2 tbsp Granulated Sugar, and 1 tbsp Kosher Salt. Stir over medium heat until the sugar and salt fully dissolve—this should take 3-4 minutes.
You’ll know it’s ready when the mixture is clear and you can’t see any undissolved grains at the bottom. Don’t let it boil yet. At this point, add the 4 cloves Garlic Cloves (smashed), 1 tsp Black Peppercorns, 1 tsp Mustard Seeds, and 0.5 tsp Dried Red Pepper Flakes to the pan.
Step 3: Infuse and Pour the Brine
Bring the brine to a gentle boil, then reduce the heat to low and let it simmer for 5 minutes. This step allows the garlic, peppercorns, mustard seeds, and red pepper flakes to infuse their flavors into the liquid.
You should see small bubbles around the edges of the pan and steam rising from the surface. After 5 minutes, remove the saucepan from heat and let the brine cool for 2-3 minutes—just enough so it’s hot but won’t shatter the jars when poured.
Carefully ladle the hot brine over the pepper strips, ensuring they’re completely submerged. Use a spoon to press them down if needed. The liquid should cover the peppers by at least ¼ inch.
Step 4: Cool and Store for Optimal Flavor
Let the jars cool to room temperature on the counter, which typically takes 1-2 hours. You’ll notice the peppers begin to soften slightly and take on a translucent quality as they absorb the brine.
Once cooled, seal the jars with lids and refrigerate. For best flavor development, wait at least 24 hours before tasting. The peppers will continue to develop their tangy, slightly sweet flavor over time, reaching peak taste after about 1 week.
These will keep in the refrigerator for up to 1 month, though they’re so good they rarely last that long. The brine itself makes a fantastic addition to salad dressings or marinades.
Pro Tips For Making Pickled Bell Peppers
- Slice Evenly: Cut peppers into uniform 1/4-inch strips so they pickle at the same rate—I learned this the hard way after ending up with some floppy and some crunchy pieces.
- Boil the Brine: Heat the vinegar, water, sugar, and salt just until the sugar dissolves, then cool completely before pouring over peppers. Hot brine cooks them instead of pickling.
- Pack Them Tight: Press the pepper strips into jars as tightly as possible to remove air pockets—this keeps them submerged and prevents mold from forming on exposed bits.
- Wait 24 Hours: Give them a full day in the fridge before tasting. After burning through three batches too soon, I finally figured out the flavor needs that time to develop.
Make-Ahead Tips for Leftovers
Bulk Prep Strategy
I make 4-5 jars at once using this recipe—the effort is the same whether you’re making one or five. Multiply all ingredients by the number of jars you want. Use wide-mouth quart jars for easier packing and serving. 💡
Peppers Prep Ahead
Slice all your 2 lb Bell Peppers the night before and store them in airtight containers in the fridge. This saves time on pickling day. The peppers won’t lose crispness overnight if kept dry.
Brine Prep Shortcut
Prepare your brine mixture (without spices) up to 2 days ahead. Store it in the fridge in a sealed container. On pickling day, just reheat it with your spices before pouring over the peppers.
Jar Sterilization
Run your jars through the dishwasher on the sterilize cycle right before use. This ensures they’re clean and hot, ready for the brine. Alternatively, boil them in water for 10 minutes.
Flavor Development
For best results, let the pickled peppers sit for at least 48 hours before using. The flavors meld and deepen significantly. I’ve found the sweet spot is 1 week for optimal tang and crunch. ❄️
Storage Rotation
Label your jars with the date so you can track freshness. Since they keep for 3-4 weeks in the fridge, I make a new batch every month to always have them on hand.
Nutrition Facts
Frequently Asked Questions
How long do these keep in the fridge?
They stay fresh for 3-4 weeks when stored in clean, sealed jars. The flavors actually improve over time, so try to wait at least 24 hours before eating.
Can I use different vinegar types?
Yes! Apple cider vinegar adds a fruity note, while rice vinegar makes them milder. Stick to 5% acidity for safety and best texture.
Why did my peppers turn soft?
This usually happens if they weren’t fully submerged in brine or were sliced too thin. Use a spoon to press them down and ensure ¼-inch strips for ideal crunch.
What can I do with the leftover brine?
Don’t toss it! Use it to quick-pickle onions, boost salad dressings, or marinate proteins. The infused flavors add depth to many dishes.

- BBQ Sausage Recipe Oven: Smoky Depth Without the Grill - September 28, 2026
- BBQ Chicken Bowl Recipe Rice: Smoky Sweetness Over Fluffy Grains - September 28, 2026
- Beef Cutlet Recipe Ideas: Crispy Breaded Patties With Bold Seasonings - September 28, 2026