
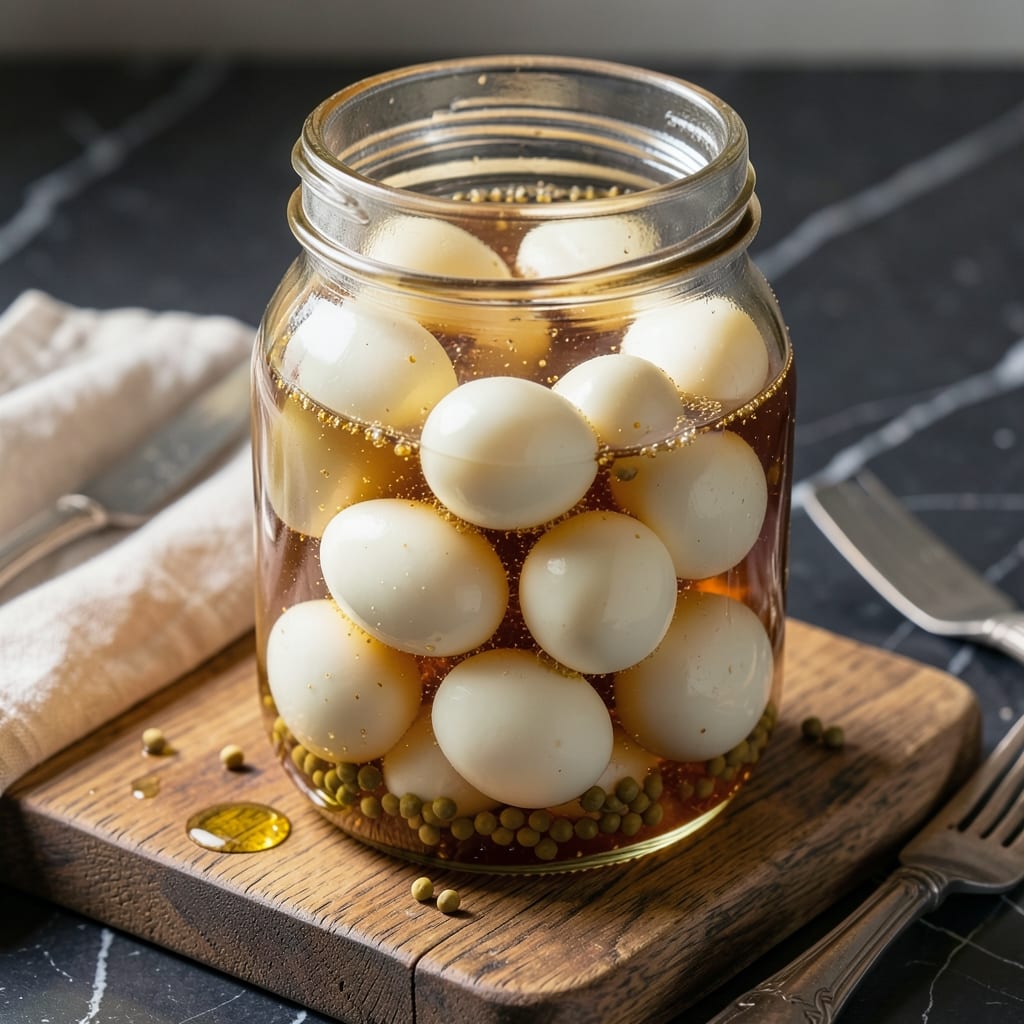
Refrigerator pickling eliminates the need for canning equipment while preserving eggs with bold flavor. This method relies on a simple vinegar brine to transform hard-boiled eggs into tangy, savory bites ready in 24 hours.
I developed this recipe for those who want homemade pickled eggs without the commitment of traditional canning. The process requires only a pot, jars, and basic pantry ingredients to create perfectly preserved eggs with ideal texture.
The brine infuses the eggs with a balanced mix of tang and spices, resulting in a restaurant-quality snack or appetizer. Each bite delivers consistent flavor without the shelf-stable processing of canned versions.
Store these in your fridge for up to 3 months, ready to enjoy straight from the jar or as part of your favorite dishes. This approach makes pickled eggs accessible to any home cook.
Ingredients for Pickled Egg Recipe No Canning
Basic pantry ingredients plus eggs transform into these tangy, savory fridge pickles.
| Ingredient | Amount | Notes |
|---|---|---|
| Large Eggs 🥚 | 12 whole | Hard-boiled and peeled |
| White Vinegar 💧 | 2 cups | 5% acidity for best preservation |
| Water 💧 | 1 cup | Filtered preferred |
| Granulated Sugar 🍚 | 1 tbsp | Balances acidity in brine |
| Kosher Salt 🧂 | 1 tbsp | Diamond Crystal preferred |
| Yellow Mustard Seeds 🌿 | 2 tsp | Whole seeds for texture |
| Black Peppercorns 🌶️ | 1 tsp | Whole, lightly crushed |
| Dried Red Pepper Flakes 🔥 | ½ tsp | Adjust for heat preference |
| Bay Leaves 🌿 | 2 pieces | Dried, whole leaves |
| Garlic Cloves 🧄 | 4 cloves | Peeled and smashed |
| Dried Dill Weed 🌿 | 1 tsp | Or substitute fresh dill |
| Small Red Onion 🧅 | 1 whole | Thinly sliced for brine |
The vinegar is doing all the preserving work here, so use 5% acidity white vinegar—that’s your standard grocery store stuff. For the eggs, older eggs peel easier than fresh ones (that air pocket between membrane and shell grows with age). I grab Diamond Crystal kosher salt when I can find it—consistent texture, no additives. Mustard seeds and peppercorns? Whole spices stay crunchy in the brine.
No mustard seeds? Yellow mustard at half the amount works, but you lose the pop of texture. Fresh dill is great if you’ve got it—use twice as much since dried is more concentrated. Want more depth? Add a splash of apple cider vinegar for fruitiness. The red onion is mostly for flavor, so yellow or white onion will do in a pinch (just slice thin so it infuses fast).
These keep beautifully in the fridge for 3 months. The eggs might darken slightly over time, but that’s just the vinegar working. Use glass jars with tight lids—no metal, it reacts with the acid. Perfect for snacking or popping into salads.
Why You’ll Love This Recipe
- No Fuss Prep: I just hard boil the eggs, mix the vinegar, water, sugar and salt, and let them sit—no canning jars or special equipment.
- Tangy Crunch: That first bite of vinegary zip with the creamy egg yolk is ridiculously good.
- Snack Stash: I keep a jar in the fridge for quick protein bites, picnic sides, or a last-minute appetizer.
Step-by-Step Instructions for Pickled Eggs
This no-canning method delivers tangy, flavorful eggs with minimal effort and maximum safety.
Step 1: Hard-Boil and Peel the Eggs
Place the 12 whole Large Eggs in a large pot and cover with cold water by about 1 inch. Bring to a boil over high heat, then immediately remove from heat, cover, and let sit for 12 minutes.
Drain the hot water and transfer the eggs to an ice bath to stop the cooking process completely. This ensures the yolks stay creamy and don’t develop that grayish ring. Peel the eggs carefully under cool running water—the water helps separate the membrane from the shell for easier peeling.
Step 2: Prepare the Brine and Aromatics
In a medium saucepan, combine the 2 cups White Vinegar, 1 cup Water, 1 tbsp Granulated Sugar, and 1 tbsp Kosher Salt. Heat over medium heat just until the sugar and salt dissolve completely—you don’t need to boil this mixture.
While the brine heats, thinly slice the 1 whole Small Red Onion, peel and smash the 4 cloves Garlic Cloves, and lightly crush the 1 tsp Black Peppercorns. These aromatics will infuse the brine with complex, savory depth as the eggs pickle.
Step 3: Combine and Cool the Brine
Remove the brine from heat and let it cool for 5 minutes. Then add the 2 tsp Yellow Mustard Seeds, 0.5 tsp Dried Red Pepper Flakes, 2 pieces Bay Leaves, and 1 tsp Dried Dill Weed. Stir to distribute the spices evenly throughout the liquid.
Pour the warm brine over the peeled eggs in a large glass jar or bowl. Add the sliced Small Red Onion, smashed Garlic Cloves, and crushed Black Peppercorns. The brine should completely submerge the eggs—if not, top it off with a bit more Water and White Vinegar in equal parts.
Step 4: Refrigerate and Wait for Flavor to Develop
Seal the jar or cover the bowl tightly and refrigerate for at least 24 hours before eating. I know waiting is the hardest part, but the eggs need this time to absorb the tangy, spiced flavors fully. The longer they sit, the more pronounced the pickled taste becomes.
For the best texture and flavor, I recommend waiting 3-4 days before digging in. The White Vinegar will turn the egg whites a slightly translucent, pickled color, and the yolks will develop a rich, tangy creaminess that’s absolutely addictive. Store in the refrigerator for up to 1 month.
Pro Tips For Making Pickled Egg Recipe No Canning
- Boil Gently: Hard-boil eggs at a gentle simmer, not a rolling boil—I learned this the hard way after cracking too many shells from aggressive bubbling.
- Cool Completely: Let eggs cool fully before peeling, or you’ll end up with torn whites and a messy brine, which ruins the look and texture.
- Use Fresh Eggs: Older eggs peel easier, but fresh ones hold their shape better in the pickling liquid, which actually changes the outcome.
- Heat the Brine: Dissolve sugar and salt in warm vinegar-water mix first—sounds weird, but it works and prevents grainy sediment in your jar.
Essential Equipment for pickled egg recipe no canning
Jars for Pickling
I use wide-mouth mason jars—quart or pint size—because they make packing eggs and pouring brine so much easier. Ball or Kerr brands are my go-to for consistent quality. The wide opening lets me fit whole eggs without cracking them. 💡
Saucepan for Brine
A medium stainless steel saucepan works perfectly for heating your brine. Avoid cast iron—it can react with the vinegar. I prefer 2-3 quart capacity to give the spices room to infuse without boiling over. Look for one with a heavy bottom for even heat distribution.
Strainer for Aromatics
When it’s time to remove the eggs from the brine or strain out spent spices, a fine-mesh strainer is essential. I use a 5-inch diameter strainer that fits over my jars. It catches all the mustard seeds and peppercorns while letting the liquid flow through easily.
Pot for Boiling Eggs
Choose a 5-6 quart pot for boiling your eggs—this gives them enough space to cook evenly without crowding. I use my enamel-coated Dutch oven because it heats evenly and is easy to clean. The ice bath afterward requires a large bowl that can hold all 12 eggs with ice.
Peeler for Eggs
While not strictly necessary, a serrated egg peeler makes removing shells so much easier, especially with fresh eggs. I found mine at a kitchen supply store for under $5. The tiny serrations grip the shell without damaging the egg underneath.
Labels for Storage
Don’t forget freezer-safe labels and a permanent marker to date your jars. I write the date and flavor variation right on the lid. This helps me track freshness and remember which spices I used in each batch.
Nutrition Facts
Frequently Asked Questions
How long do these pickled eggs last in the fridge?
Properly stored in a sealed glass jar, they stay fresh for up to 3 months. The vinegar brine preserves them safely without canning. Always use clean utensils when removing eggs to prevent contamination.
Can I use apple cider vinegar instead of white?
Yes, but it will change the flavor profile slightly. Apple cider vinegar adds a mild fruitiness, while white vinegar gives a sharper tang. For best results, stick to 5% acidity vinegar.
Why did my eggs turn rubbery?
Overcooking during the hard-boil stage causes this. Boil for exactly 12 minutes, then plunge into ice water immediately to stop the cooking. Older eggs also peel easier and have better texture.
Do I need to sterilize the jars first?
No, since this is refrigerator pickling, not shelf-stable canning. Just ensure jars are clean and dry before adding eggs and brine. Glass jars with tight lids work perfectly.

- Potato Candy Recipe 1933: Vintage Peanut Butter Roll Delight - October 30, 2026
- Potato Chip Cookie Recipe With Pecans: Buttery Crunch Meets Nutty Richness - October 30, 2026
- Potato Patty Recipe No Egg: Crispy Edges Without the Binder - October 30, 2026