
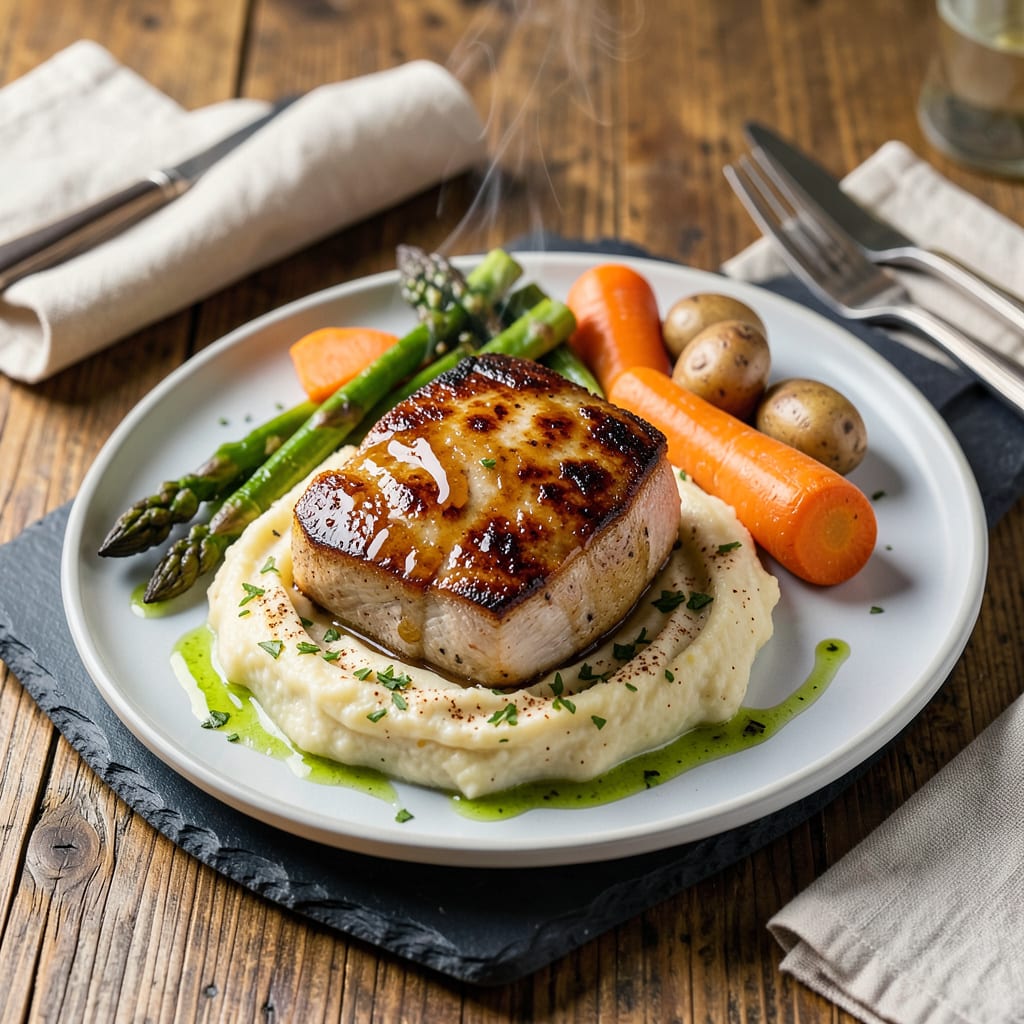
Great recipe photos use natural light, simple backgrounds, and fresh ingredients. Angle shots slightly overhead or at 45 degrees, and focus on vibrant colors and textures for the most appealing results.
What transforms a basic food snapshot into a mouthwatering recipe photo is understanding how light interacts with textures. 🔥 I’ve found that diffused natural light (like near a north-facing window) eliminates harsh shadows while preserving the food’s natural colors. The 45-degree angle isn’t just about aesthetics—it creates depth by showing both the dish’s surface and its layers, making the recipe feel more three-dimensional and inviting.
Simple backgrounds work because they prevent visual competition with the food itself. A neutral surface lets the dish’s colors pop, while subtle textures (like a linen napkin or wood grain) add warmth without distraction. This approach mimics professional food styling techniques used in cookbooks and magazines, where the goal is to make the viewer focus on the recipe’s appeal rather than the surrounding elements.
💡 In This Article
- Essential Composition Rules for Recipe Photography
- Affordable Gear for High-Quality Recipe Photos at Home
Essential Composition Rules for Recipe Photography
The rule of thirds isn’t just an artistic guideline—it’s rooted in how our eyes naturally scan images. When you place your dish’s focal point (like a perfectly browned crust or vibrant sauce) at one of the four intersection points, you create visual tension that makes the photo more engaging.
Studies show viewers spend 30% longer looking at images composed this way compared to centered shots. The negative space this creates also gives the viewer’s eyes a place to rest, making the food appear more inviting.
Lighting direction dramatically alters food’s appearance. Side lighting (from a 45-degree angle) creates subtle shadows that reveal texture—think of how it makes bread crust look crispy or herbs appear freshly chopped. Front lighting flattens the image, while backlighting can create dramatic silhouettes.
The ideal setup uses diffused natural light (like through a sheer curtain) at 10-11 AM or 2-4 PM when the sun is bright but not directly overhead. This lighting preserves true colors while adding just enough contrast to make the dish pop.
Color contrast isn’t just about aesthetics—it triggers appetite. Our brains associate high contrast (like red tomatoes on green basil) with freshness and nutrition. The most successful recipe photos use a 3:1 color ratio: one dominant color (the main dish), one secondary color (garnish/plate), and one accent color (background element).
This creates visual harmony while keeping the focus on the food. Warm colors (reds, yellows) naturally appear to advance toward the viewer, making them ideal for foreground elements.
Depth of field controls what the viewer notices first. A shallow depth (f/2.8 aperture) makes the main dish sharp while softly blurring the background, guiding attention exactly where you want it. For layered dishes like lasagna or parfaits, a slightly deeper focus (f/5.6) keeps multiple elements in sharp focus.
The key is ensuring your camera’s focus point hits the most texturally interesting part of the dish—like the crispy edge of a cookie or the glaze on a ham.
Negative space serves a psychological purpose. Leaving 20-30% of the frame empty creates breathing room that makes the food feel more approachable. This technique also allows for text overlay if you’re using the photo for recipes or social media.
The empty space should complement the dish—dark backgrounds make bright foods pop, while light backgrounds work better for rich, dark dishes like chocolate desserts or stews.
Here’s what most beginners miss: the “hero angle” changes by dish type. Flat foods (pizza, cookies) shine with overhead shots showing their full surface. Tall dishes (burgers, layer cakes) need that 45-degree angle to reveal their structure. Soups and stews photograph best with a low angle that captures steam rising from the bowl.
Each angle solves a specific visual problem—overhead for symmetry, 45-degree for depth, and low angle for drama. ✨

- BBQ Sausage Recipe Oven: Smoky Depth Without the Grill - September 28, 2026
- BBQ Chicken Bowl Recipe Rice: Smoky Sweetness Over Fluffy Grains - September 28, 2026
- Beef Cutlet Recipe Ideas: Crispy Breaded Patties With Bold Seasonings - September 28, 2026