
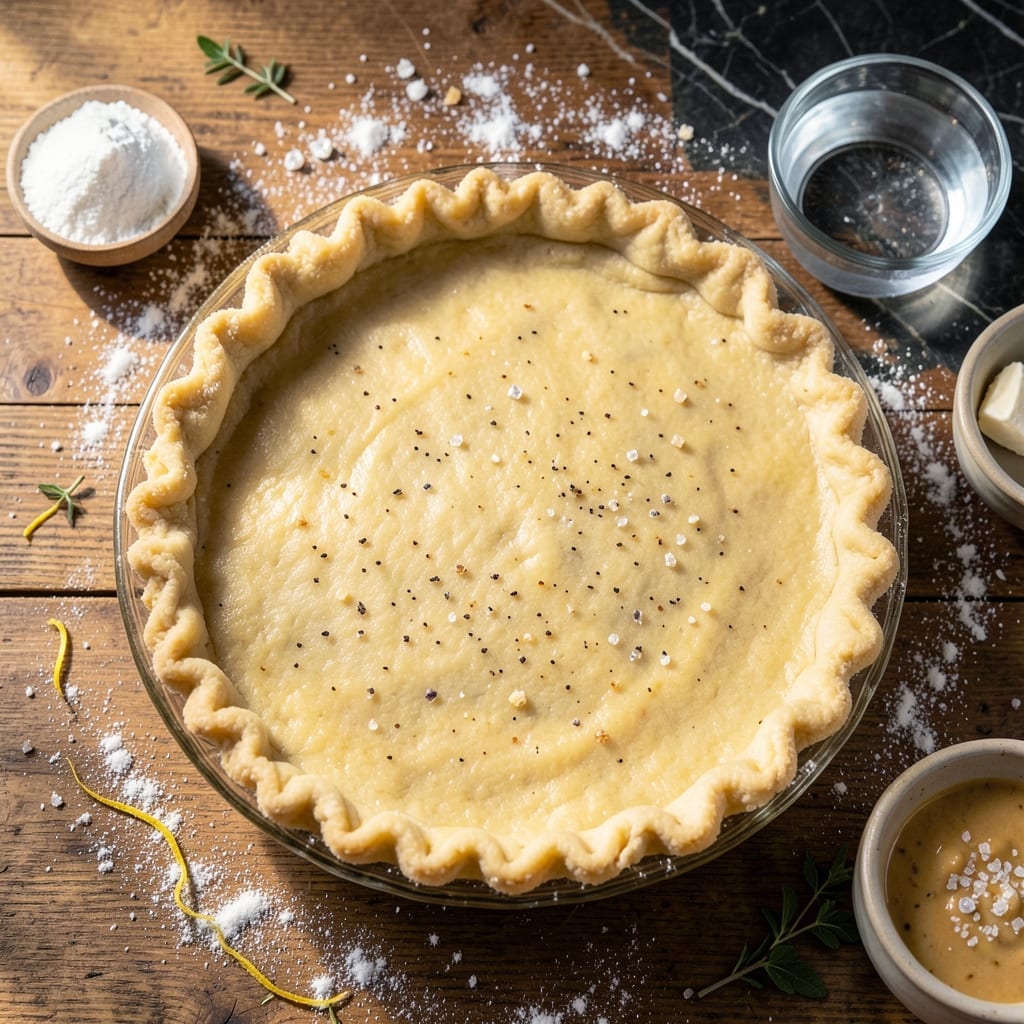
The foundation of any great lemon meringue pie starts with a flaky, buttery crust that holds its shape under the filling’s weight.
This recipe uses a traditional technique of cutting cold butter into flour until pea-sized crumbs form, then hydrating with ice water just until the dough comes together. The key is minimal handling to prevent gluten development, which ensures tenderness.
After a 30-minute rest in the refrigerator, the dough rolls out smoothly and bakes to golden perfection. Blind baking with pie weights prevents shrinking and creates a sturdy base for the lemon filling.
The result is a crust with distinct layers that remain crisp even after adding the meringue topping. This method delivers professional quality every time.
Ingredients for Pie Crust Recipe for Lemon Meringue Pie
Six ingredients create the professional-quality crust this dessert deserves.
| Ingredient | Amount | Notes |
|---|---|---|
| All-Purpose Flour 🌾 | 2 ½ cups | Spoon and level for accuracy |
| Unsalted Butter 🧈 | 1 cup | Cold, cut into 1/2-inch cubes |
| Granulated Sugar 🍚 | 1 tbsp | Fine white sugar preferred |
| Sea Salt 🧂 | ½ tsp | Fine grain for even distribution |
| Ice Water 💧 | ¼ cup | Plus additional as needed |
| White Vinegar 🍋 | 1 tsp | Or apple cider vinegar |
The butter quality is non-negotiable for distinct layers. European-style unsalted butter (like Plugrá or Kerrygold) has higher fat content, yielding superior flakiness. Ensure it’s ice-cold before cutting into flour—warm butter creates a tough crust. All-purpose flour is standard, but White Lily (if available in your region) produces exceptionally tender results due to its lower protein content.
No unsalted butter? Use salted and omit the added sea salt. Vinegar substitutes include lemon juice or vodka (both inhibit gluten formation). For a richer flavor, replace 1 tbsp flour with cornmeal. The ice water must be truly ice-cold—fill a glass with ice cubes and water, then measure from that. Don’t overwork the dough; visible butter flecks are ideal.
The dough rests 30 minutes before rolling—this relaxes gluten and prevents shrinking. Wrap tightly in plastic and refrigerate up to 2 days, or freeze for 1 month. For best results, use within the first day. Blind-baked crusts keep 24 hours at room temperature in an airtight container.
Why You’ll Love This Recipe
- I’ll be real: I always keep a batch of this dough in the fridge so pie night can happen on a whim.
- Five-Ingredient Magic: I love that this crust comes together with just flour, butter, sugar, salt, and ice water—no fuss, no special trips to the store.
- Buttery Perfection: The cold unsalted butter creates the flakiest layers that melt in your mouth with every bite of that lemon meringue.
- Make-Ahead Friendly: I’ll be real: I always keep a batch of this dough in the fridge so pie night can happen on a whim.
Step-by-Step Instructions for Pie Crust for Lemon Meringue Pie
Master these techniques and you’ll achieve a flaky, sturdy crust that perfectly complements the tangy filling.
Step 1: Combine Dry Ingredients for Even Distribution
In a large mixing bowl, whisk together the 2.5 cups All-Purpose Flour, 1 tbsp Granulated Sugar, and 0.5 tsp Sea Salt until thoroughly combined. This ensures the salt and sugar are evenly distributed throughout the flour, which creates consistent flavor in every bite.
The fine grain of the sea salt dissolves completely during mixing, while the granulated sugar adds just enough sweetness to balance the tart lemon filling. I always spoon and level the flour for accuracy—scooping directly from the bag can pack the flour and lead to a dense crust.
Step 2: Cut in Cold Butter for Ideal Flakiness
Add the 1 cup Unsalted Butter (cold and cut into ½-inch cubes) to the dry ingredients. Using a pastry cutter or your fingertips, work the butter into the flour mixture until the pieces are roughly the size of peas. This creates the flaky layers that make a great pie crust.
Work quickly to prevent the butter from warming—cold butter is essential for creating steam during baking, which lifts the dough into distinct layers. If the butter starts to soften or melt, pause and chill the mixture for 10 minutes before continuing. You should see visible butter pieces throughout the mixture when done.
Step 3: Add Liquid Ingredients to Form the Dough
Create a well in the center of the butter-flour mixture. Add the 0.25 cup Ice Water and 1 tsp White Vinegar all at once. Using a fork, gently stir the mixture until it just begins to come together. The vinegar tenderizes the gluten, preventing a tough crust.
Switch to your hands and gently knead the dough just until it forms a cohesive mass. Don’t overwork it—over-handling develops gluten, which results in a tough rather than tender crust. If the dough seems too dry, add ice water 1 tablespoon at a time until it holds together. The finished dough should be slightly crumbly but hold when pressed.
Step 4: Chill and Rest the Dough for Optimal Texture
Divide the dough into two equal portions (for a double-crust pie) or keep whole (for a single-crust pie). Shape each portion into a disk, wrap them tightly in plastic wrap, and refrigerate for at least 1 hour. This resting period allows the gluten to relax and the butter to firm up.
Chilling prevents the crust from shrinking during baking and makes it easier to roll out. For best results, I recommend chilling for up to 24 hours. When ready to use, let the dough sit at room temperature for 10-15 minutes to soften slightly before rolling—this prevents cracking.
Step 5: Roll and Blind Bake for a Perfect Shell
On a lightly floured surface, roll out the dough to a 12-inch circle about ⅛-inch thick. Transfer to a 9-inch pie dish, gently pressing it into the bottom and up the sides. Trim the edges, leaving a ½-inch overhang, then crimp decoratively.
For lemon meringue pie, blind bake the crust at 375°F for 15-20 minutes with pie weights or dried beans to prevent shrinking. Remove the weights and bake for an additional 5-10 minutes until the crust is light golden brown and completely set. Cool completely before adding the filling.
Pro Tips For Making Pie Crust Recipe For Lemon Meringue Pie
- Chill Everything First: Keep your butter, water, and even the flour in the fridge until ready to use—I learned this the hard way after my crust turned greasy from melted butter.
- Cut Butter Fast: Use a pastry cutter or your fingers to work the butter into the flour in 10-second bursts, leaving pea-sized chunks for flakiness.
- Skip Overworking: Mix the dough just until it holds together, or your crust will end up tough like my early attempts at holiday pies.
- Rest the Dough: Give it a solid 30 minutes in the fridge before rolling—my grandmother swore by this, and she was right.
Pro Cooking Tips for Great pie crust recipe for lemon meringue pie
Butter Temperature Control
Keep your 1 cup Unsalted Butter ice-cold until the moment you use it. I freeze my butter cubes for 15 minutes before cutting into flour. If your kitchen is warm, work in short bursts and return the bowl to the fridge between steps. 🌡️
Docking the Dough
Before blind baking, use a fork to dock the crust bottom all over. This creates small holes that allow steam to escape, preventing air pockets that can cause the crust to puff up and lose its shape under the filling.
Pie Weight Strategy
For even baking, use ceramic pie weights or dried beans. Fill the crust completely to the edges and press gently. I prefer RSVP International weights – they’re reusable and conduct heat evenly. Remove weights carefully to avoid tearing the crust.
Edge Protection
To prevent over-browning, cover the crust edges with aluminum foil or a silicone pie shield during the first 15 minutes of blind baking. This gives the bottom time to set while the edges stay perfectly golden.
Cooling Technique
After baking, cool the crust completely on a wire rack. This prevents condensation from forming underneath, which would make the crust soggy when you add the lemon filling. I let mine cool for at least 1 hour before filling. 💡
Repairing Cracks
If your crust develops small cracks during baking, don’t panic. Use a bit of leftover dough to patch them immediately after removing from the oven. Press gently and smooth with a damp finger for seamless repairs.
Nutrition Facts
Frequently Asked Questions
Why do I need to blind bake the crust?
Blind baking prevents a soggy bottom. The 375°F pre-bake sets the crust structure before adding the wet lemon filling, ensuring it stays crisp. It also prevents shrinking by giving the gluten time to set.
Can I use a food processor for the dough?
Yes, but pulse just until pea-sized crumbs form. Over-processing warms the butter and develops gluten, resulting in a tough crust. Transfer to a bowl to add the 1/4 cup ice water.
How do I keep the edges from burning?
Cover the crust edges with aluminum foil or a pie shield during the first 15 minutes of baking. This protects them while the bottom bakes through.
What if my crust cracks while baking?
Patch small cracks immediately with leftover dough. Press gently and smooth with a damp finger. For larger cracks, a thin layer of meringue will cover them when assembled.

- Potato Candy Recipe 1933: Vintage Peanut Butter Roll Delight - October 30, 2026
- Potato Chip Cookie Recipe With Pecans: Buttery Crunch Meets Nutty Richness - October 30, 2026
- Potato Patty Recipe No Egg: Crispy Edges Without the Binder - October 30, 2026